

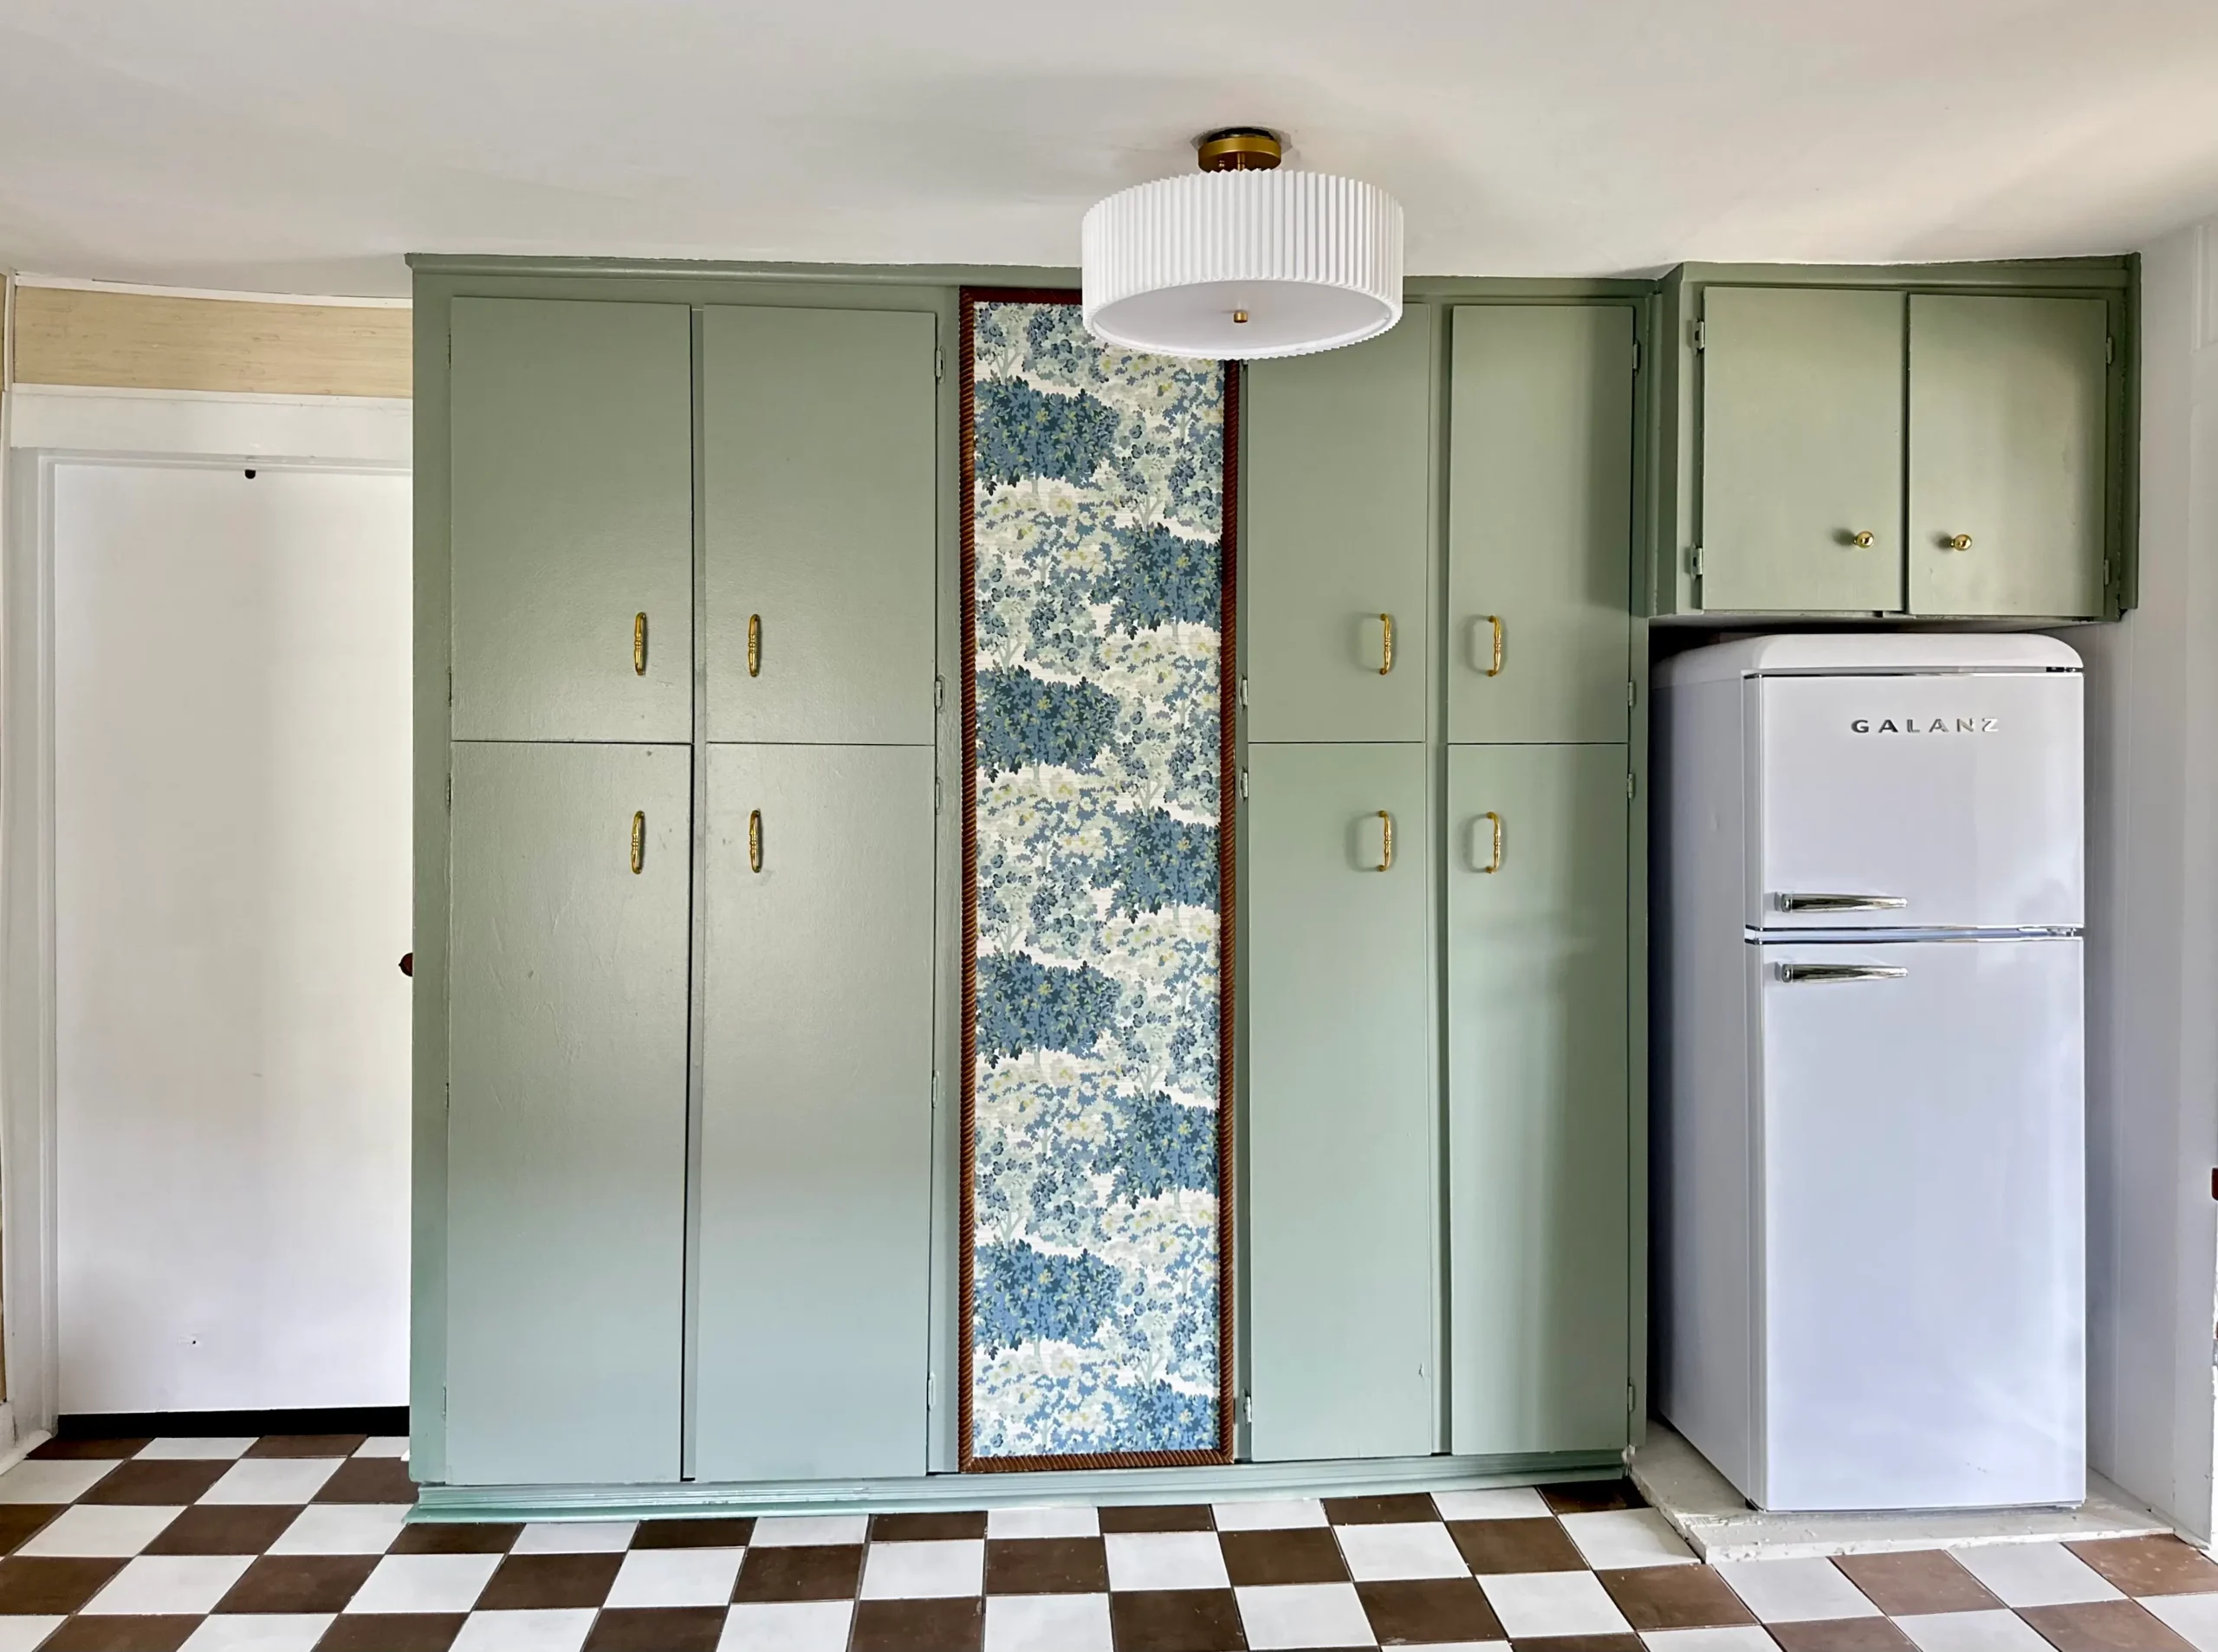

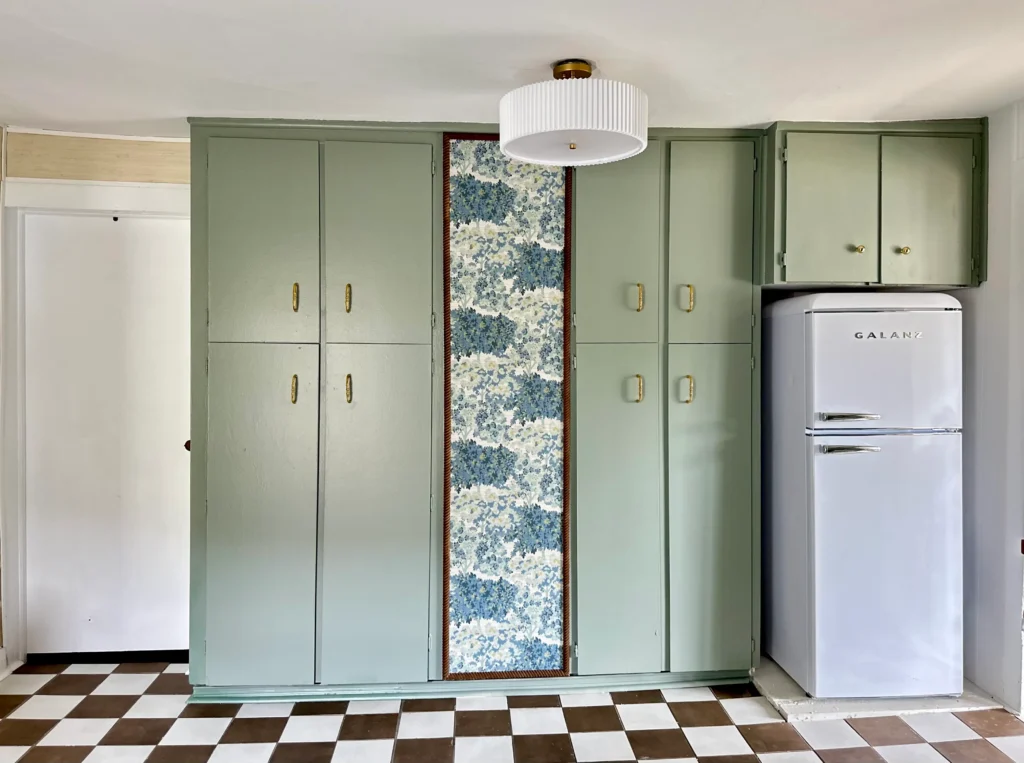
Hi friends! You know that one awkward, blank spot in a project that just stares at you until you fix it? In our recent kitchen renovation, it was a random inset filler panel sandwiched between the upper cabinet doors—I’m not even sure why it’s there! It wasn’t an actual cabinet, just empty vertical space in dire need of some personality. Here is how I DIYed an accent panel by framing peel-and-stick wallpaper.
*This post may contain affiliate links.
Turning an Awkward Kitchen Cabinet Panel into a Cottagecore Focal Point

It’s amazing how much difference a small, inexpensive project can make! I’d been swooning over Tempaper’s Canopy Toile Faux Grasscloth wallpaper for weeks, just waiting for an excuse to use it. When sudden inspiration struck, I realized this awkward little cabinet panel was basically a blank canvas. The greens and blues gave me the exact English cottage vibe I’d been chasing, and it paired so effortlessly with our SW Acacia Haze cabinet paint. Peel-and-stick wallpaper is ridiculously easy to work with—and since it’s totally removable, I can swap it out down the road without damaging a thing.
What I used for Framing Wallpaper on the Wall Panel:
- Peel-and-Stick Wallpaper: Tempaper Canopy Toile Faux Grasscloth- One roll.
- Moulding: Accent trim (from Lowe’s) I used a rope profile.
- Finish: Walnut wood stain
- Tools: Pneumatic brad nailer, miter saw, tape measure, and a level.
How to Frame Peel-and-Stick Wallpaper on a Cabinet Filler Panel:
Everything came together in just a few hours once I had the moulding stained.
Step 1: Prep and Smooth the Panel Surface:
Wipe down the entire surface with a damp cloth or a mild cleaner (TSP, if you have grease buildup) to remove any dust, kitchen grease, or grime so the adhesive sticks properly. If your surface has major bumps or old paint drips, lightly sand it until it’s smooth and flat so the wallpaper goes on seamlessly.

Step 2: Applying the Peel-and-Stick Wallpaper:
Measure your panel and cut your wallpaper strip, leaving a couple of extra inches at the top and bottom for wiggle room. Peel back a few inches of backing from the top, line it up straight against the top edge, and smooth it down with a wallpaper tool or plastic scraper to press out any air bubbles. Work your way slowly down the panel, peeling the backing as you go, and trim off the excess paper at the bottom with a utility knife or X-Acto knife. My panel was narrower than the wallpaper roll. So I didn’t need a second piece. If you do for the next piece, simply butt it up against the first piece and match up the pattern.
Step 3: Measure, Cut, and Stain the Wood Moulding:
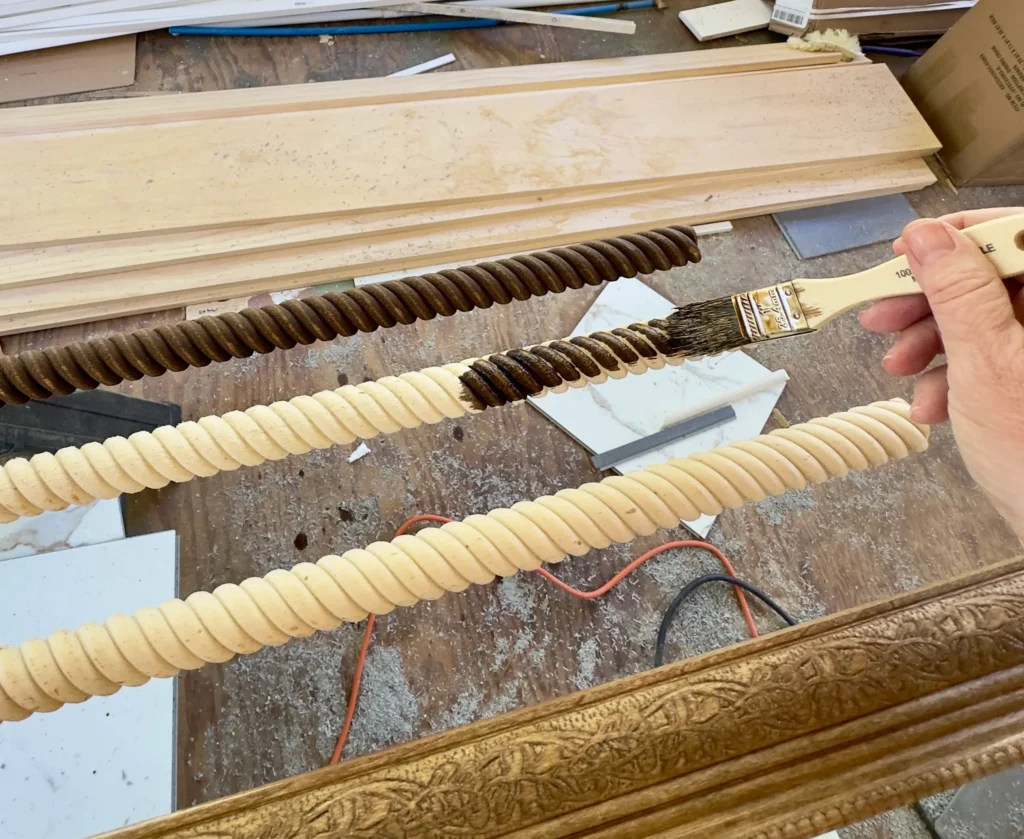
Measure the four sides of your panel to determine the frame lengths. Using a miter saw, cut the corners of your moulding at 45-degree angles so they join together cleanly (My hubby did this for me). I lightly sanded the pieces. Then I stained the pieces a medium brown. The pretty rope moulding I found took a few coats of stain to get into all those nooks and crannies. I let the pieces dry overnight.
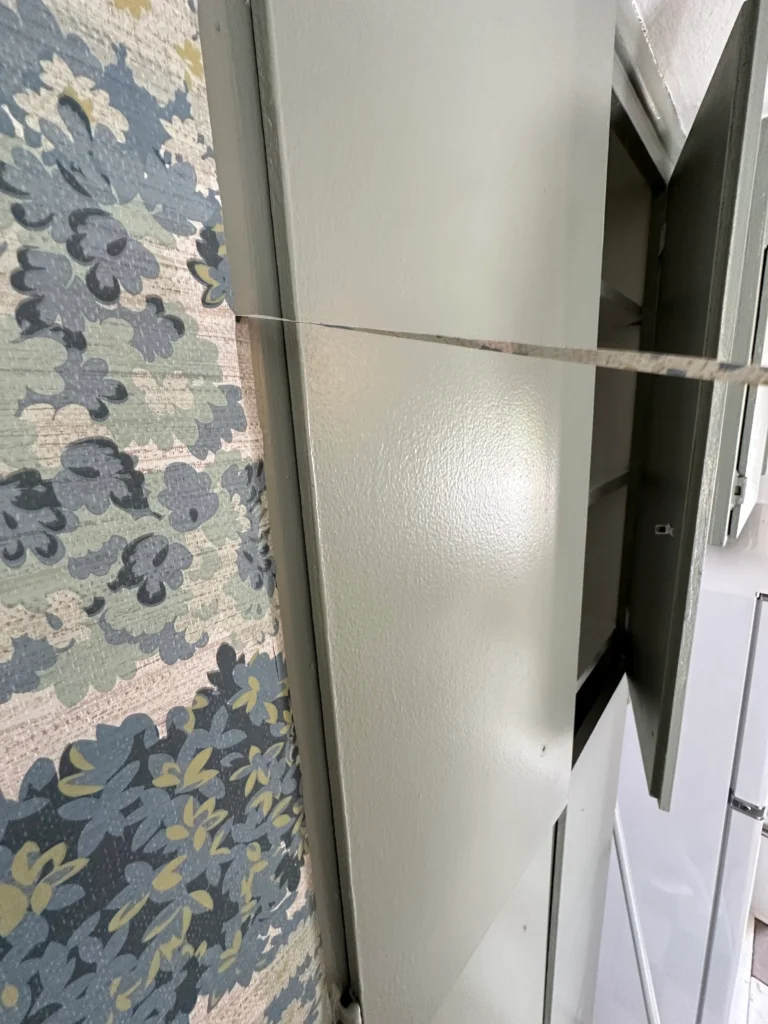
Step 4: Attach the Frame with a Pneumatic Nailer:
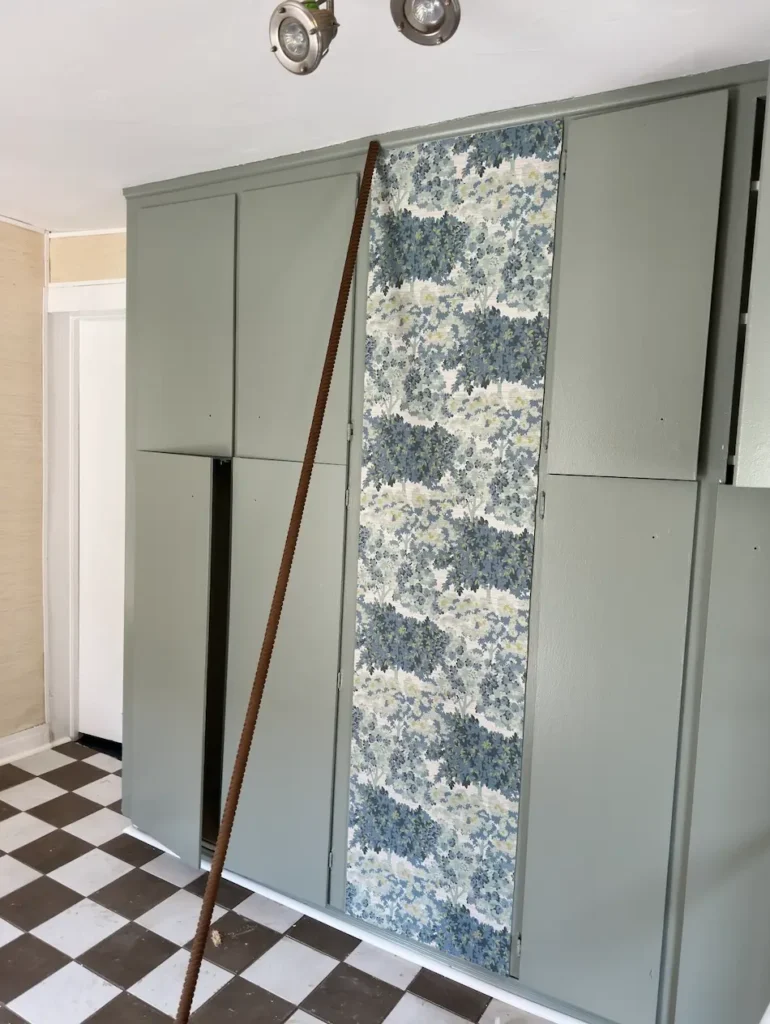
I dry-fitted the stained moulding around the wallpapered panel to make sure that the corners fit snugly. Once everything was aligned, I used a pneumatic brad nailer to secure the trim directly to the cabinet frame. The tiny finish nails held the moulding firmly in place while hiding the raw edges of wallpaper for a polished, finished look! I used a little wood putty in the corners as filler.

A Few More Ways Peel and Stick Wallpaper Can Quickly Add Color & Character:
Once you master this easy technique, you’ll realize it isn’t just for kitchen cabinets! You can use this exact molding-and-wallpaper combo to add instant character to almost any blank space:
- Try papering the inside of a closet: Transform a pantry or closet interior with a burst of pattern.
- Accent a ceiling space: Bring charm to a small nook, hallway, or powder room by wallpapering the ceiling.
- Line drawers or photo frames with leftover wallpaper pieces.
I love the way it turned out! I am looking around my house for other ways to frame some wallpaper. 🙂
Until next time,
-Libbie
You may also enjoy: