
Woot! Woot! I’m thrilled to share one of the most unique and texture-filled projects we’ve ever undertaken! This week, the star of the show is the rope accent wall. Yes, you heard that right! We’re showing you exactly How To DIY A Rope Accent Wall to add warmth and dimension to any room. After a little rough patch—and a major setback when our first attempt to paint the cabinets totally failed—we took a step back to regroup. But things are finally looking up! Our laminate cabinets have been successfully repainted in a stunning Navy (SW NAVAL) and look fantastic. Now that we’re diving into this rope wall, I can finally see the light at the end of the tunnel!

Why a Rope Wall?
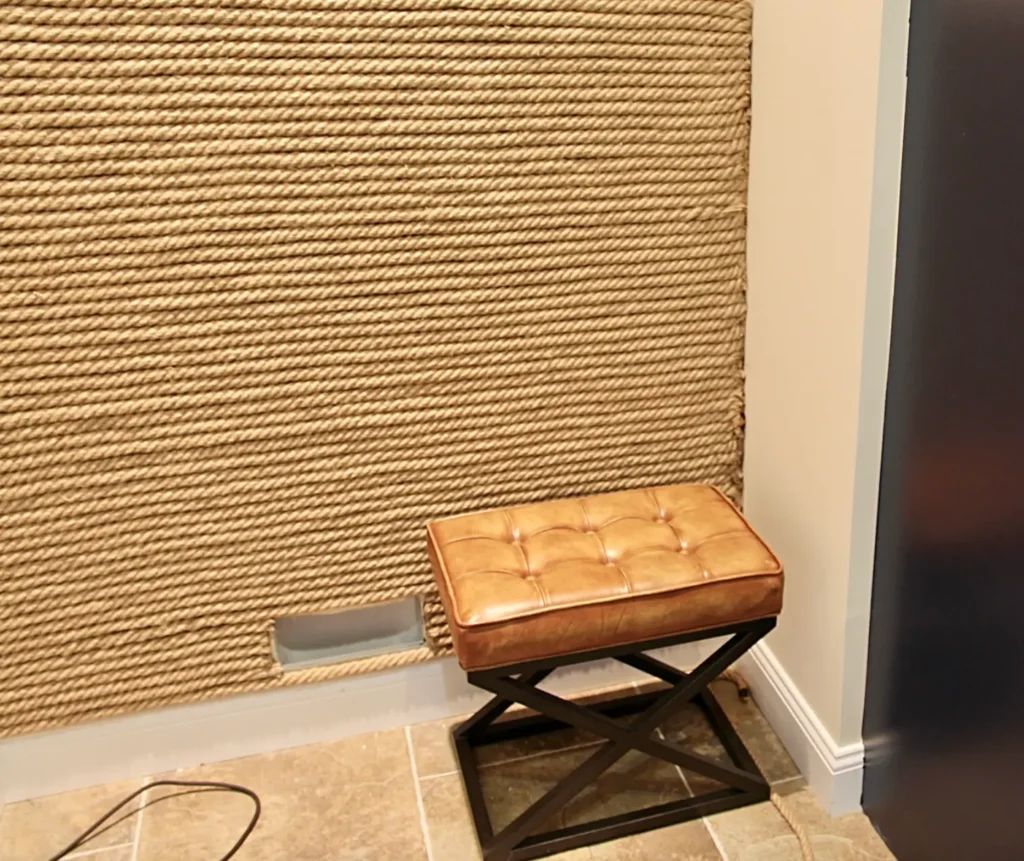
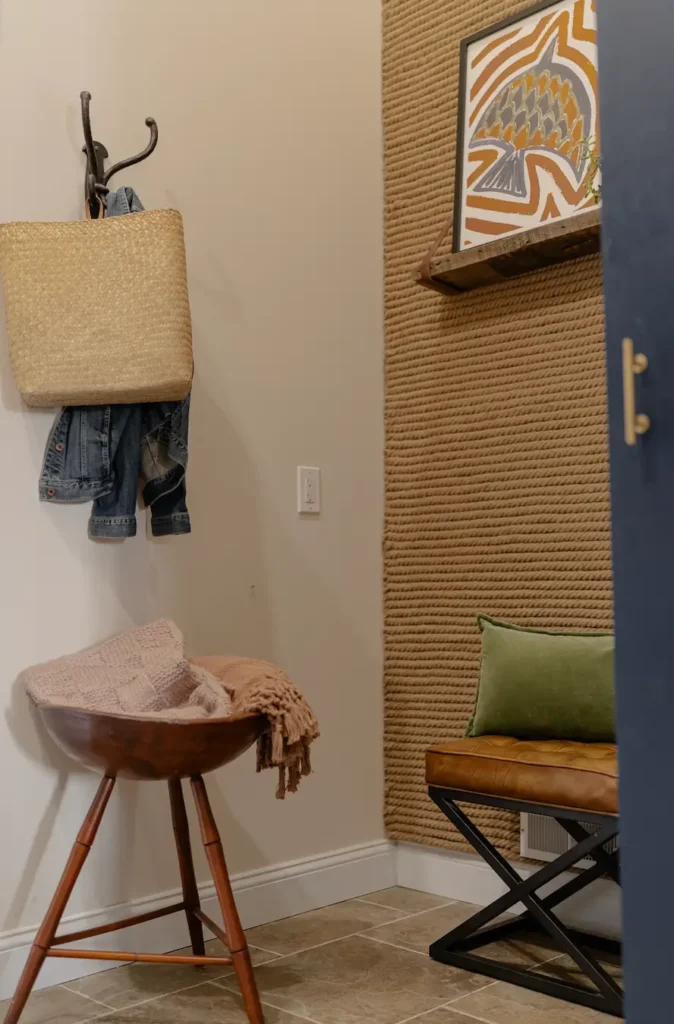
This week, it has been all about the Accent Wall. I knew from the beginning I wanted to bring in some texture into the space. The room is small, but it has 13-foot ceilings. The texture will add some warmth to the room. Since we already have a vertical wood wall and a skinny wood wall in this house, adding another wood accent wall was not an option. I also felt I wanted to add a very casual nod towards the nautical. So with texture in mind, I began to search.
One day, while traveling in the UK, I was searching for ideas for accent walls and came across this wallpaper on a UK decor site by a company called Direct Wallpapers.
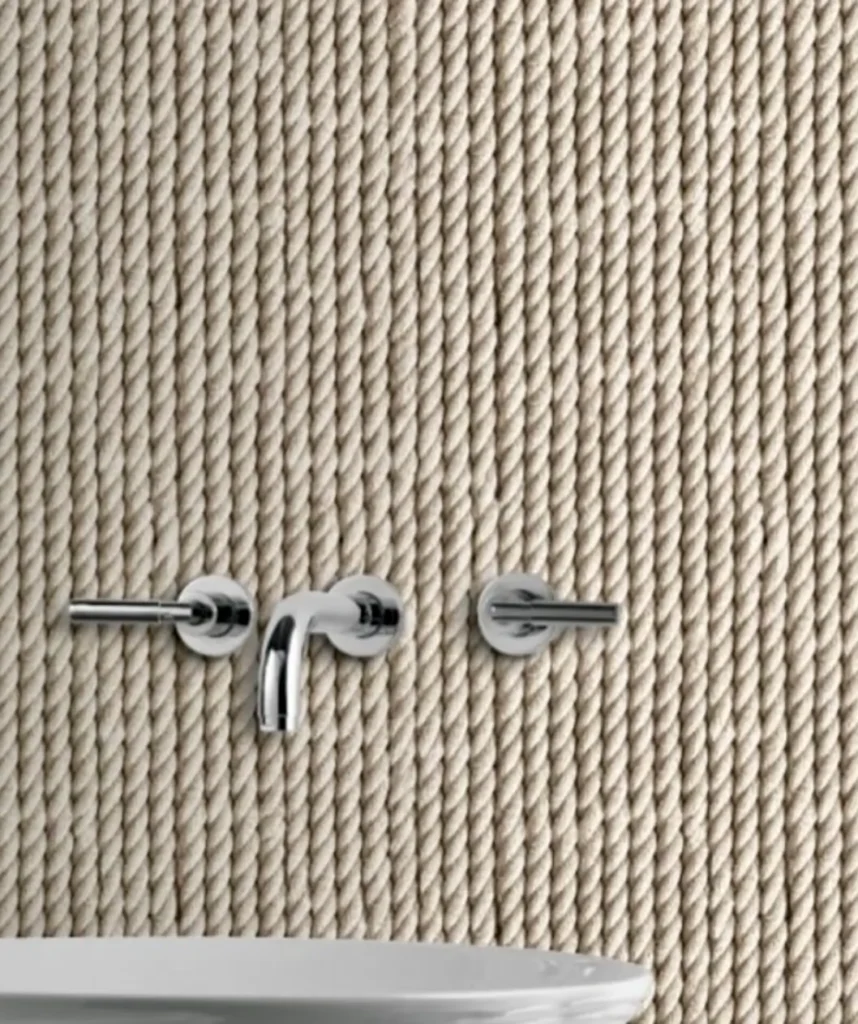
Although this is a photograph of a rope made into wallpaper, I immediately thought of real ROPE!!! YESSSSSS. Hubs will love this! 😉 To my surprise, he did and immediately set to work figuring out how to attach it to the wall. Side note: My Husband is an Engineer. His first instinct is always “how,” while mine is to run for the glue gun, and then I am ready to go.

How to build a DIY Rope Wall:
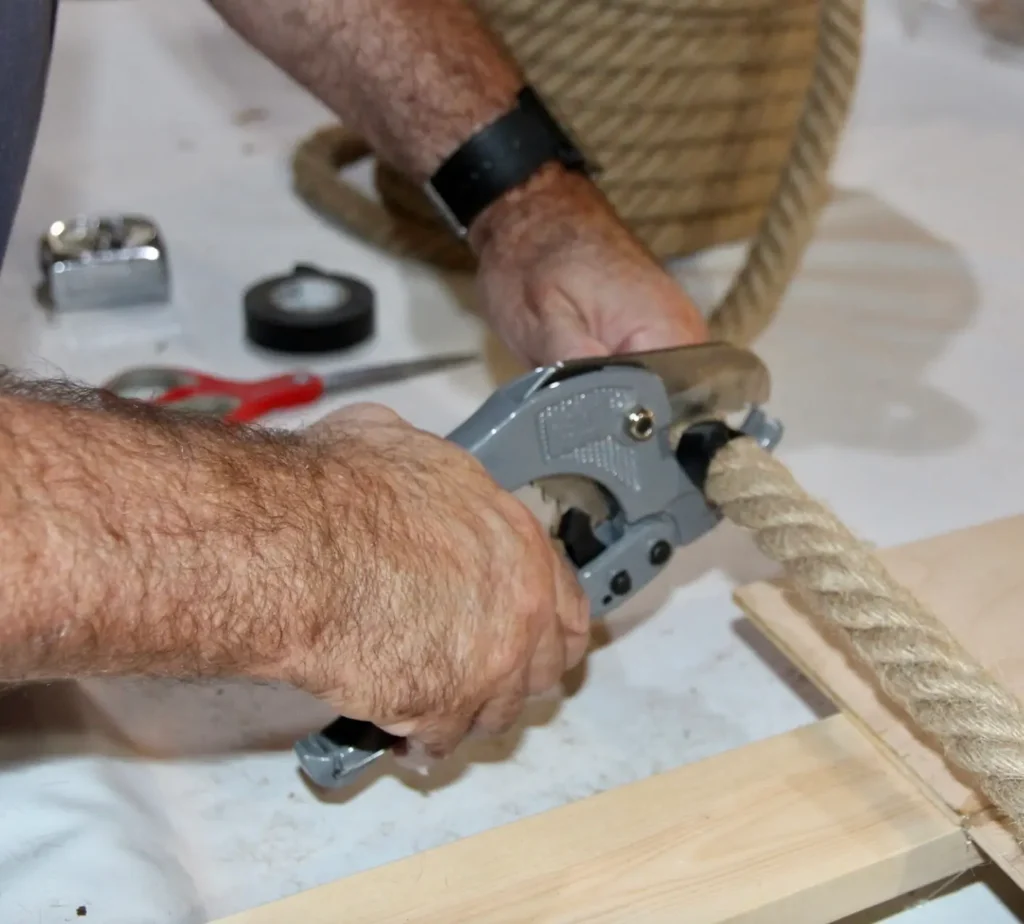
After deciding to attach the rope horizontally, I realized it would be much easier to install the 5.5 ft x 13 ft wall in sections. We secured the rope to 1/4 inch plywood (cut into 4.5 ft wide ft x 4 ft high) with my very favorite tool, a GLUE GUN.

The Rope Wall is being attached to the plywood.
WARNING: This was extremely time-consuming, and we ran into a few snags.
- The ends of the rope fray easily. So we wrapped the ends with electrical tape before cutting for each cut. We used a PVC pipe cutter to cut the rope. Thanks for that suggestion, Lowe’s!
2. We applied hot glue to the rope’s ends after cutting to prevent fraying once the electrical tape was removed.
3. Did I mention it’s time-consuming!
Next, we installed the plywood using drywall anchors to attach each section to the wall.

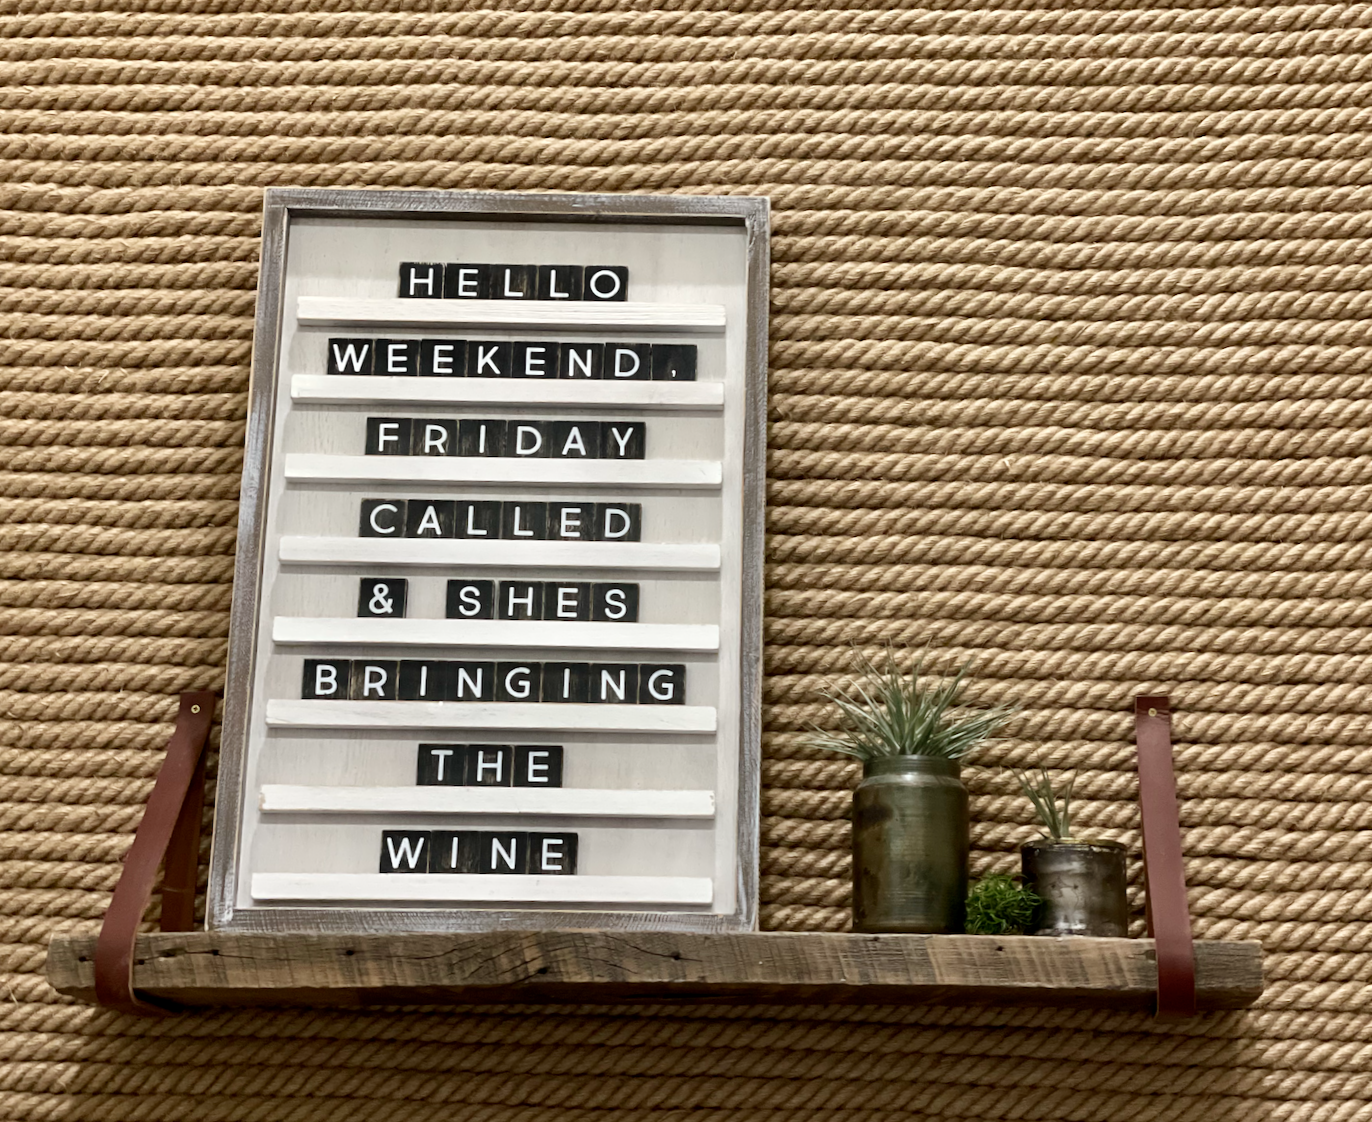
I’ve been asked several times about the shelf attached to the wall. Here is the link to the leather we used for the leather straps and the shelf. We haven’t decided whether to finish the edges next to the wall or not.
We could run a piece of rope or perhaps something else?? We will figure that out in the next week. Next up is the countertop for the washer and dryer. We have decided to go with a wood counter instead of the original plan of concrete. I think I will like the wood against the gorgeous Navy cabinets.

Until next time,
-Libbie
You may also be interested in:

Oh my ! So sorry for your snags, but it does look like you can see the light at the end of the tunnel. So proud of you for your persistence. The texture and originality will be worth all of the effort. Can’t wait to see more next week! Susie from The Chelsea Project
This wall is going to be amazing and it is such a clever idea. I can’t wait to see the finished room.
That rope wall is amazing! Great work!
That is so unique and gorgeous! I love the texture it brings to the space!
wow that’s a lot of work and one hot nautical laundry room coming up in 3 weeks! looking forward to following along!
Wow!!! What an inventive idea for a wall treatment. It looks great!!! Can’t wait to see next week!!
It looks so cool! I love the texture that it brings to the space!
Wow, what a cool idea! I have never seen anything like this!
What a cool idea! Texture galore. I love ingenious husbands who help us figure out our crazy ideas!
What a fun wall!!
This may be one of the smartest designs I have seen in a long time!! Such great texture and I love the color and warmth that it adds! Congrats on your new accent wall ❤️
Such a neat idea!! What patience! It looks fabulous!
I am in love with this. In love, I tell ya!
what a fun wall. I have never seen anything like this!
http://prn.to/2jZau5J
Omg I cannot imagine the time and hot glue gun burns you suffered for this wall, but it is super amazing! Good luckkkkk in the next couple of weeks!
Pretty Awesome!! How much did the rope cost?
Gigi,
Total it was maybe 200??? It was more expensive than I originally thought but the thickness of the rope covered more so that helped. That total covered the plywood and glue.
Thanks for stopping by!
Libbie
I absolutely love this wall !!………unfortunately so would my cats
Ahahaaaa!!! Debra! I’m laughing so hard right now. That was my first thought. It’s gorgeous, but would be frayed in a matter of minutes in my house.
LOL, I just told my daughter about your and Debra’s comments and she was soooooo excited! They just bought a house and want a mini version of this rope wall for their cat Penelope! hehehehe.
Thanks for taking the time to comment.
Libbie
Debra,
My daughter thinks you have stumbled on a brilliant idea and has requested a mini version of this wall for her new house and kitty!
LOL!
Libbie
It will be a dust collector.
LOL, Luckily I am armed with a Dyson vacuum cleaner which has some amazing attachments.
I wonder how this would look around a fireplace?
Curious how this has held up? Did the glue fail anywhere?