

Hey Friends! I seem to be in my dried flower era over here, and I can’t get enough. Dried flowers with their warmer color palettes and textures are perfect for Fall decor. So today I am popping in to share an easy way to add some Fall coziness to your home this season. Follow along to see how to DIY a Fall Dried Flower arrangement in a Lady head vase.
*This post contains affiliate links.

Fall Dried Flower Arrangement:
Let’s gather a few supplies to get started.
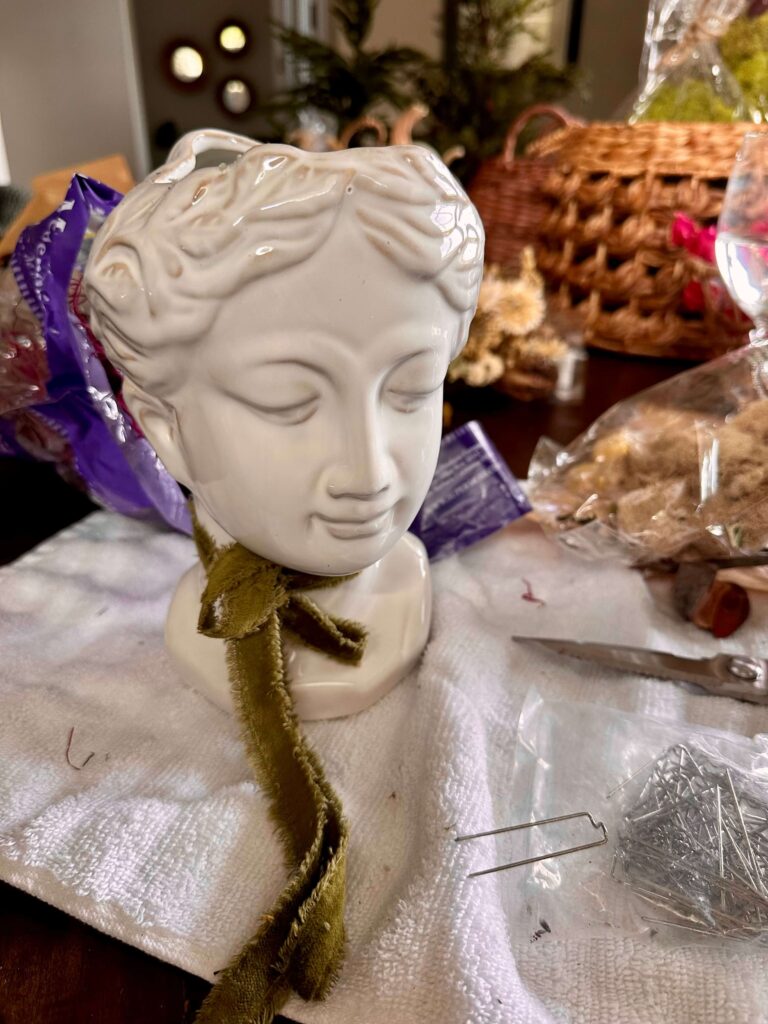
- Lady Head Vase -similar to mine
- Floral Foam
- Floral Pins
- Moss -(I used green and a bit of purple for extra pop!)
- Dried Flowers – These are all my favorite dried florals.
- Ribbon
I am using a mix of dried flowers that I had on hand. If you’re buying yours, choose colors and stems that are taller so they will work well with your vase. I absolutely love drying my own homegrown flowers—and store-bought fresh ones—but for this project, I went ahead and bought them. Sometimes you just gotta take the easy route!
Getting Started with Your Arrangement:
The vase I am using is one of those popular Lady Head Vases you are seeing everywhere. I actually used this one all summer to hold a plant. Poor thing lived in my bathroom (which has very little sun), so it has since met its demise. RIP, little plant! I even left the pretty green ribbon I had used on it when it held the plant because it works perfectly with my Fall colors.
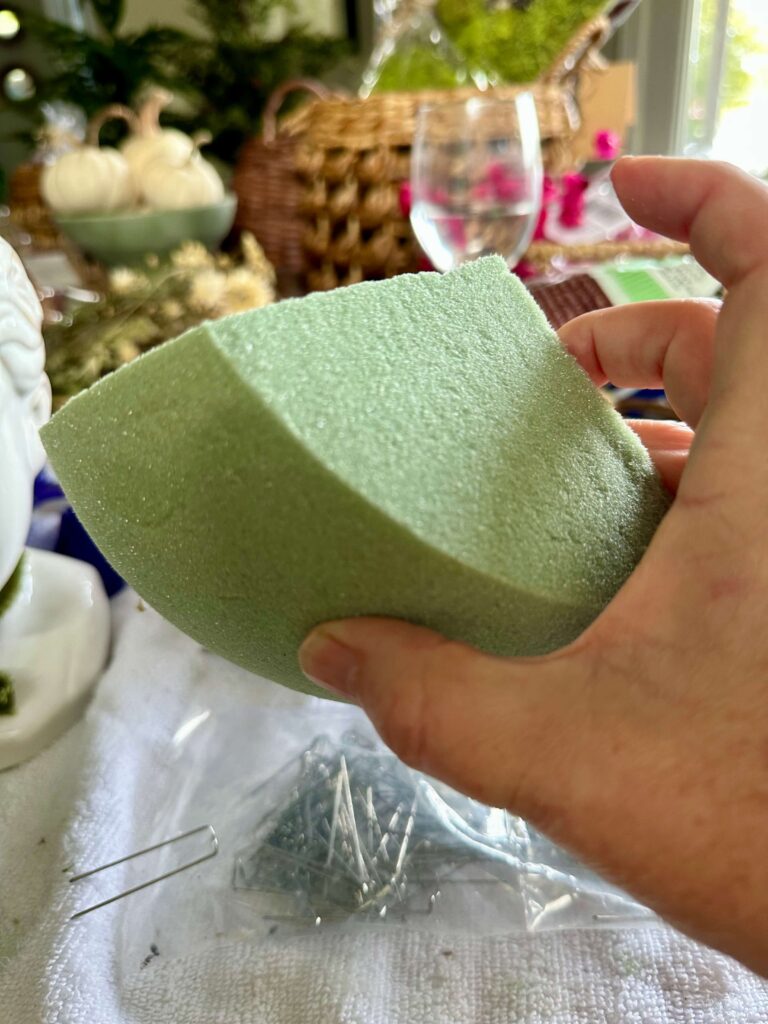
Now, for the mechanics! You have a couple of options for securing your flowers:
- Fill your vase with Floral Foam (this is the method I’m using!).
- Or, tape a piece of chicken wire to create a grid across the top.
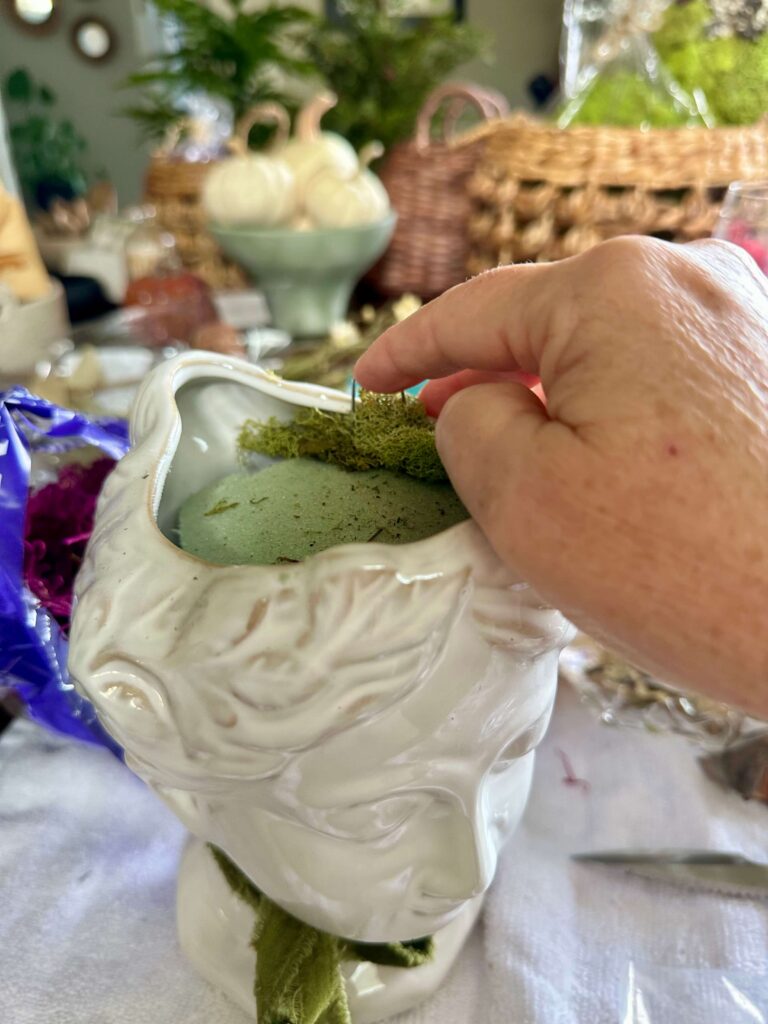
For the next step, I covered the floral foam with moss, securing it in place with floral pins. For this step, you could use hot glue to attach the moss, but I want to be able to reuse this gorgeous vase for another project in the Spring, so floral pins are much easier for me. Once your moss is in place, I will also use some purple moss for added color—it really gives a fun, unexpected touch! After that, it’s time to start arranging!
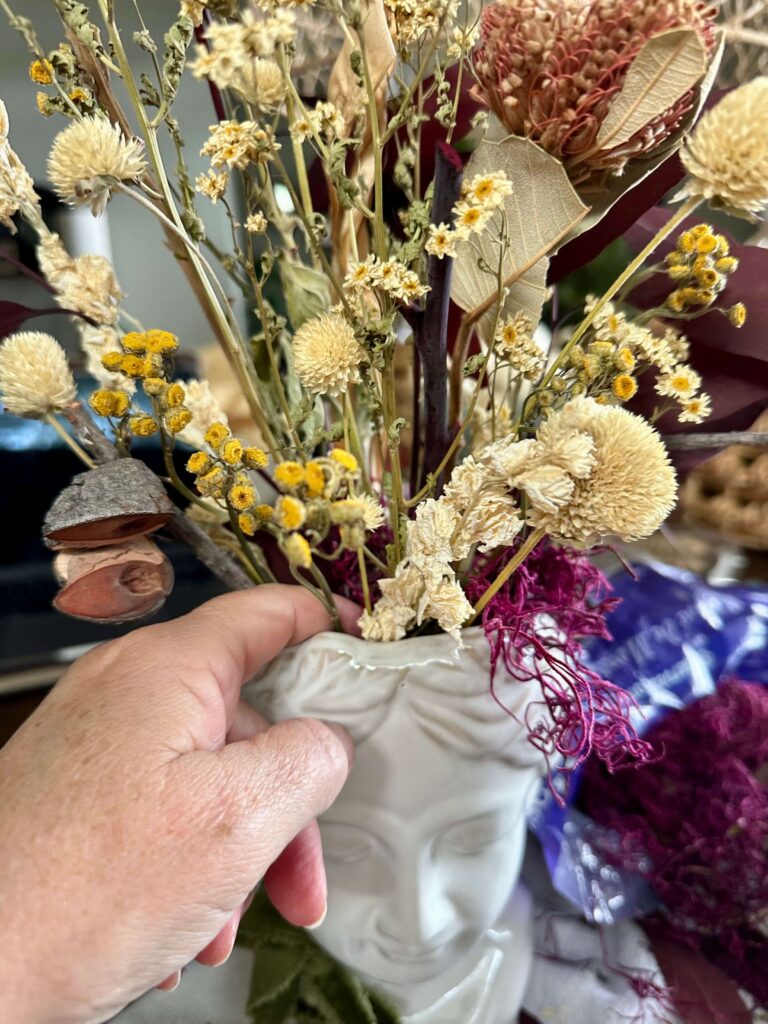
Arranging your Dried Flowers.
It’s time for the fun part! Here are a few little arrangement basics to keep in mind:
- This will be a three-sided design as it will not be seen from the back. No need to waste beautiful stems on a view no one will see!
- I am starting with my greenery, which are actually my wine-colored leaves, and then adding my taller flowers (using odd numbers, always a good design trick) to give me some structure.
- Next up, I will add some filler flowers until I feel it is full enough. Think about using different heights here!
- I will also add a few extra stems, bits of moss, and seed pods to provide more texture and interest. Dried flowers are all about that amazing texture!
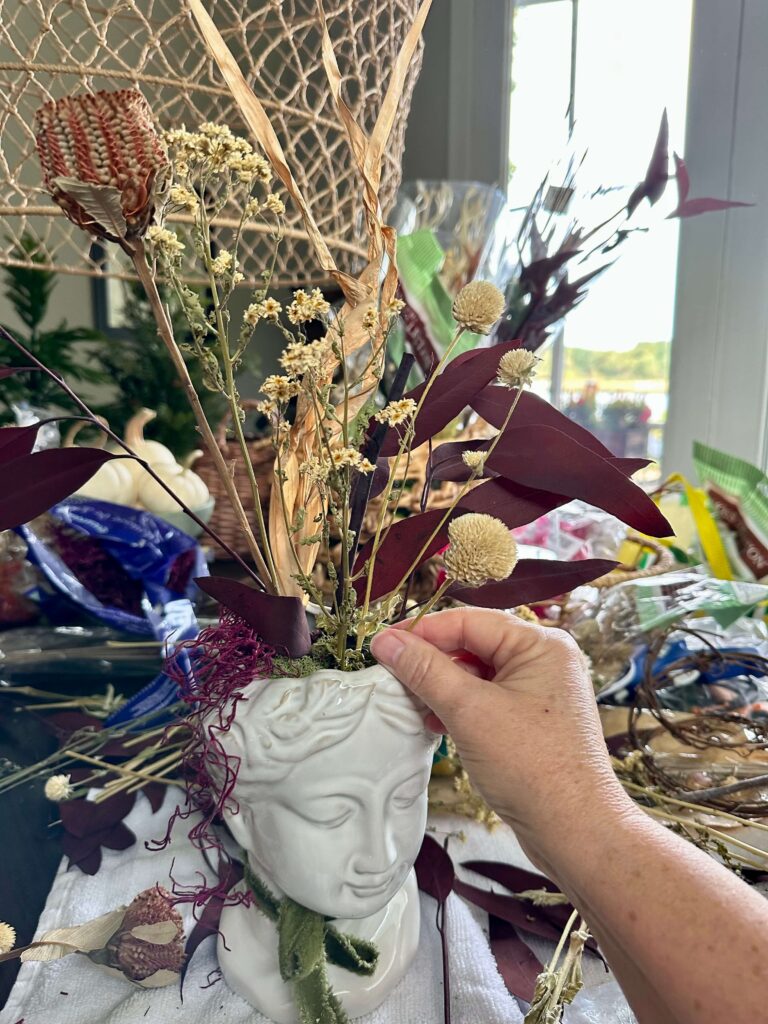
Keep moving the vase from side to side to check for holes and symmetry. Once I was happy with the arrangement, I added a bit more moss and some leaves to the middle, just to cover any visible foam and give it a polished finish.
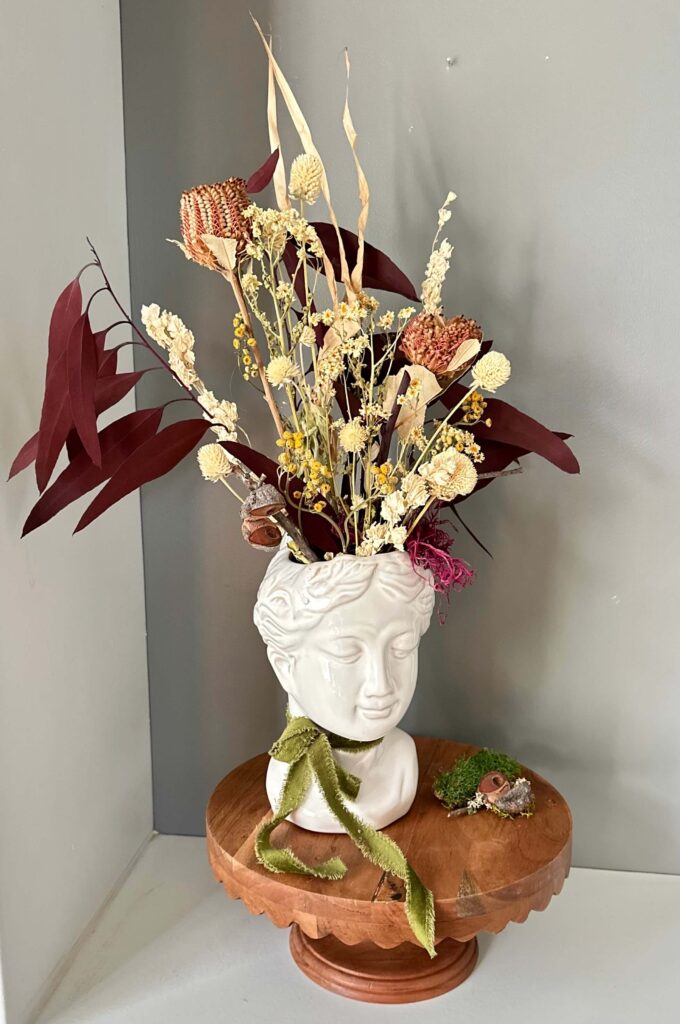
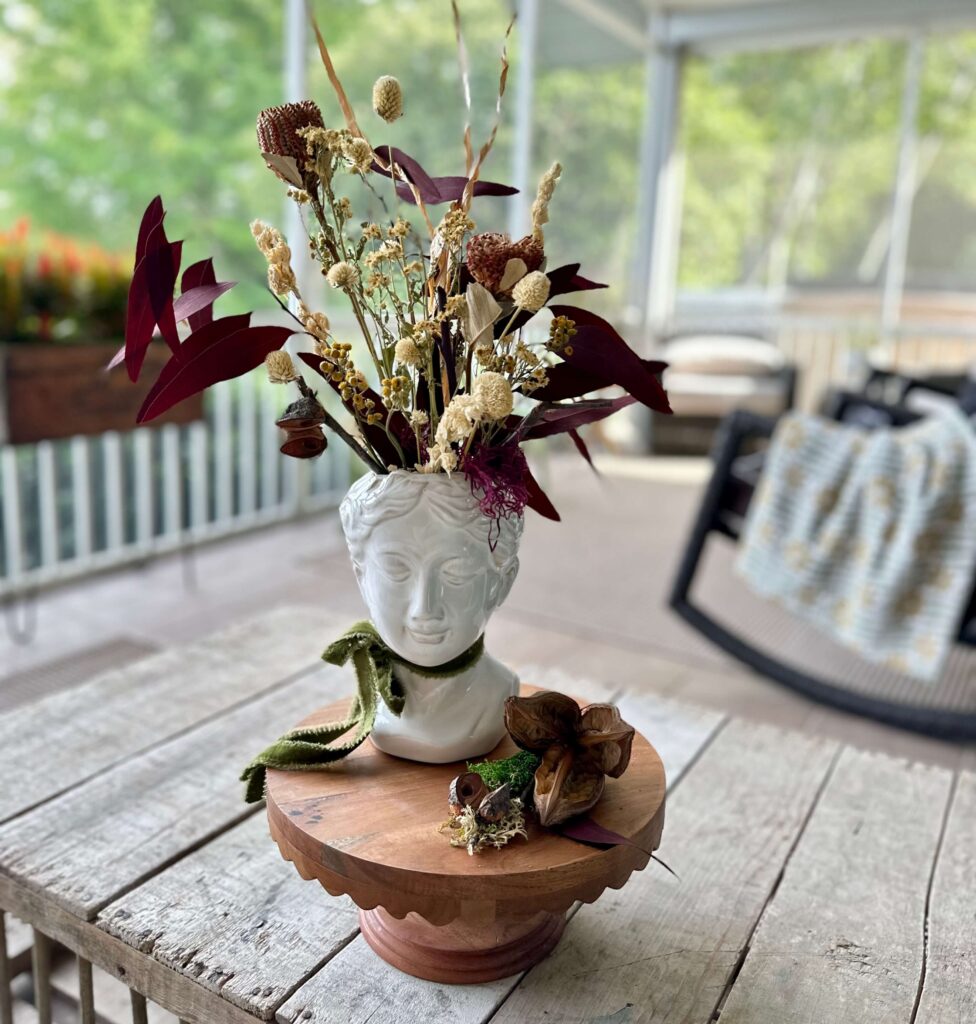
Ta Da! That is all there is to DIY a Fall Dried Flower Arrangement in a Head Vase!
Time to Find the Perfect Spot!
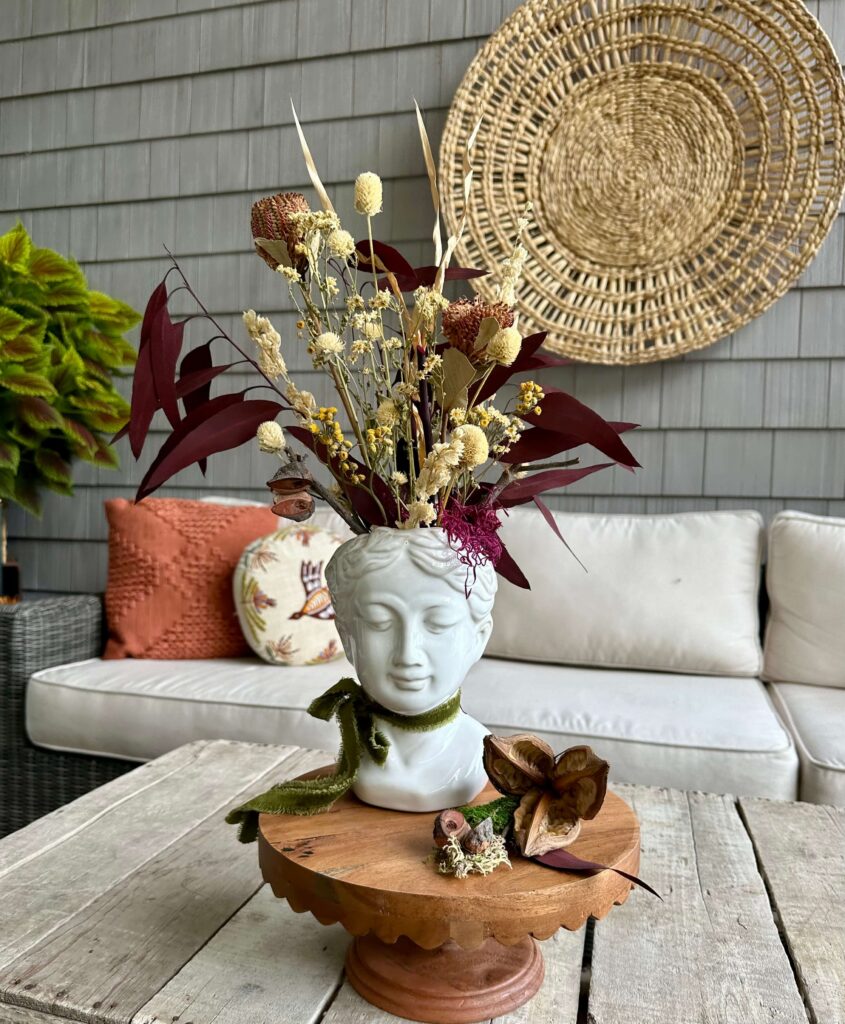
Now that your beautiful arrangement is complete, it’s time to show it off! I tried mine on my outside first—it looked pretty cozy with all of my outdoor plants -my porch is covered, so they would be protected. But it does get moisture from the lake, so…
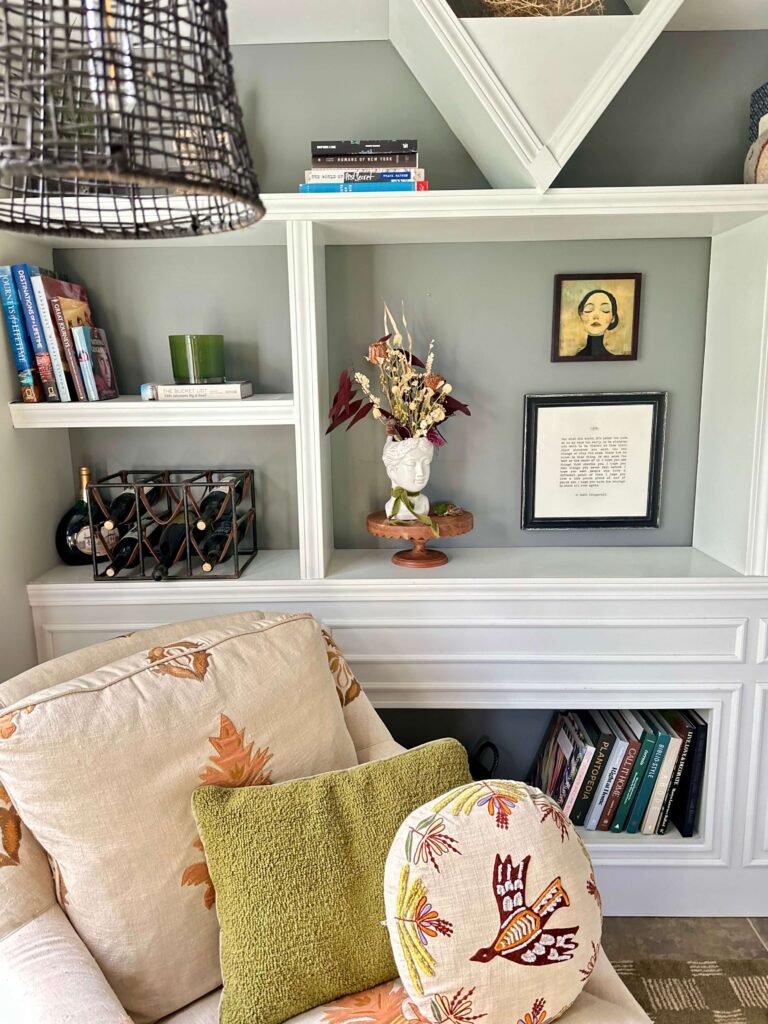
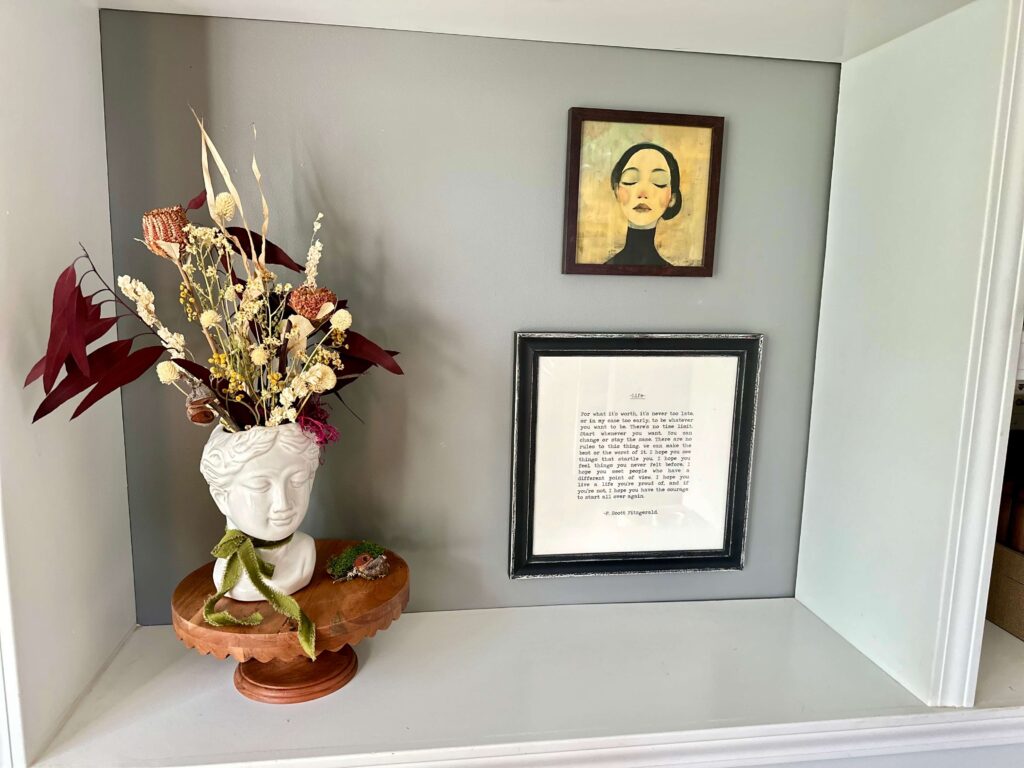
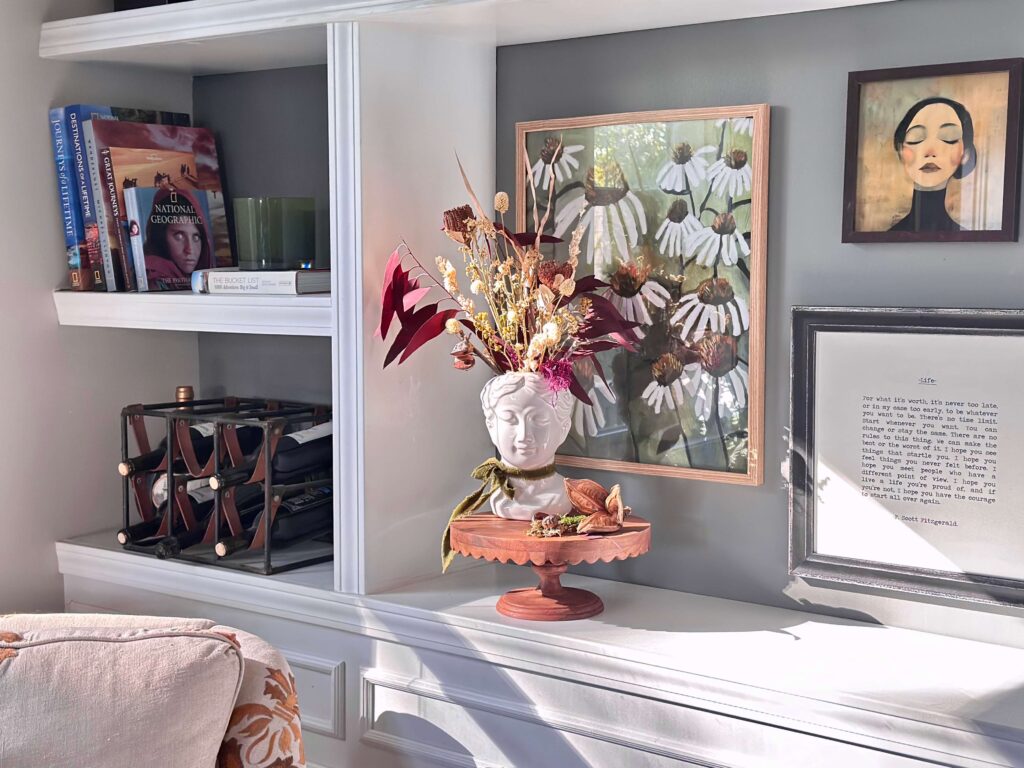
Then I moved it to my bookcase, where it immediately brought a big dose of Fall warmth. Since these flowers are dried, you don’t have to worry about sunlight or water, which means they can literally go anywhere!
I stacked mine on this scalloped cake plate from Walmart.
Try styling yours on a stack of vintage books or next to a few of your favorite candles. The best part is that this beauty will last well past Thanksgiving and maybe even until you decide it’s time to bring out the Christmas décor.
There you have it, friends! A super easy, super cozy way to bring some beautiful Fall texture into your home this season. I just love how the rich, warm colors of the dried flowers look with the fun, modern vibe of the head vase. It’s the perfect mix of old and new!
PIN IT FOR LATER!
If you try this project, be sure to tag me in your photos—I can’t wait to see your own dried flower creations!
Happy Flower Arranging!
Until next time,
-Libbie
You May Also Enjoy:
Fall Floral Magic-Create a Flower Arrangement with Fruit and Flowers

Thank you for linking to HIH 604. See you again! Did you know, you can also link up with https://esmesalon.com/seniorsalonpitstop/ Mon through Saturday