

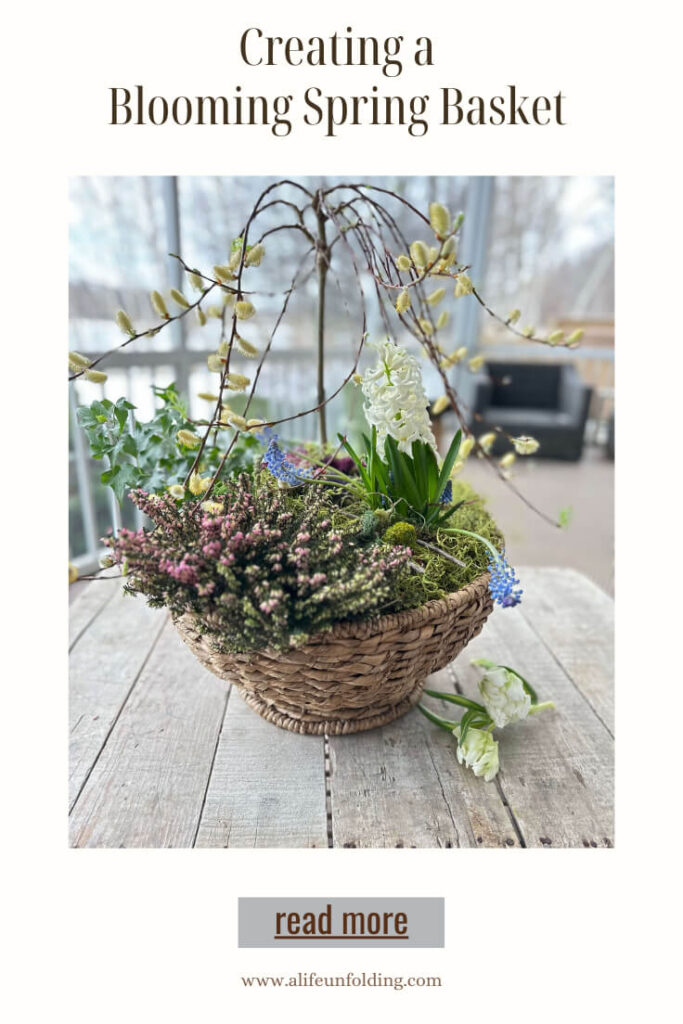
Hello! It is 52 degrees in Michigan today, which always induces Spring Fever, even though I know our next snow is not far behind. Once I open the windows for the first time of the season, I get the urge to lighten and brighten everything in my home. This week, I am spending some time with the grands while their parents are taking a short break. So with my time limited to the cat naps my 6 month old granddaughter is taking I am pulling together a Spring arrangement that will help shake the winter duldrums and only takes 15 minutes. Let me show you how to Create a blooming Spring Basket! It’s so easy!!
OOOh, and I have a bonus for you today. I am participating with some blogging friends sharing some of their Spring Ideas for the homes. So, I have tons of inspiration for you. A special thanks to Carol from Blue Sky at Home for hosting today’s hop, and if you are visiting from MaryJo’s blog Masterpieces of My Life A warm hello to you!

*This post contains affiliate links.
Blooming Spring Basket:
I love putting together quick and easy seasonal decor. The older I get, the less I like to store extra “stuff.” Plants and flowers have become my go-to for decorating for the seasons. This easy Spring Basket is one of my favorites.
What I am using today:
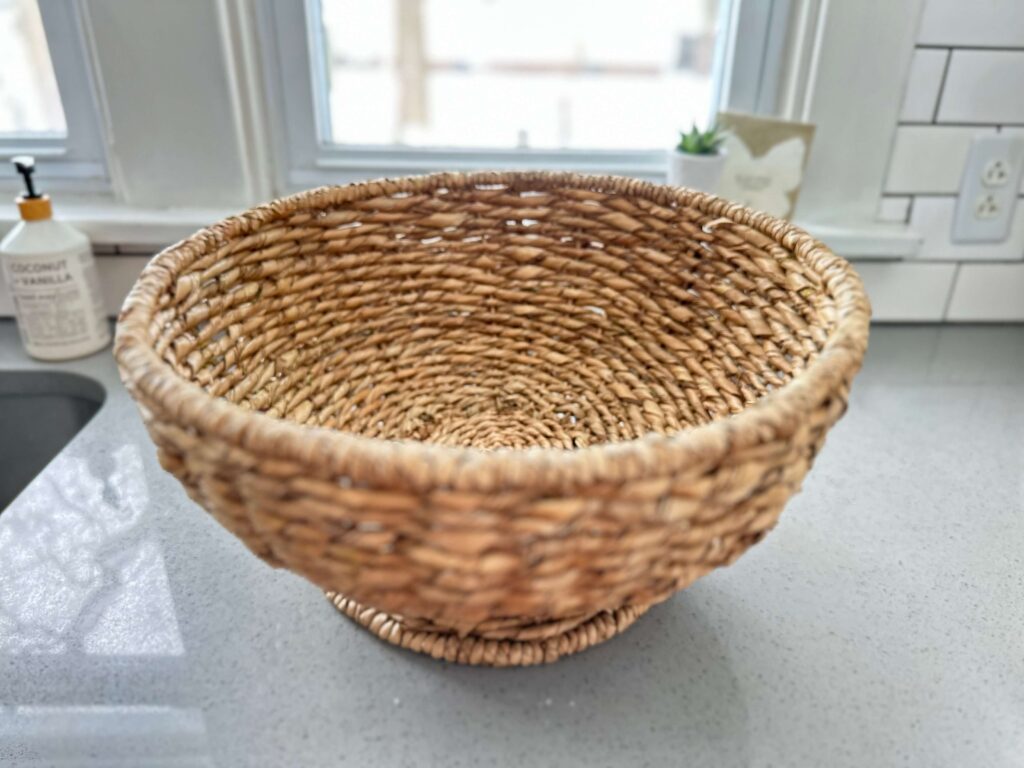
- Woven Basket- similar here and here.
- Moss
- 6-inch Potted Pussy Willow Plant
- 4-inch Potted Heather Plant
- 6-inch Potted Grape Hyacinth and Hyacinth
- 4- Inch Potted Ivy Plant
- Paper bags for filler
- Plastic bag as a liner.
I use this basket a lot throughout the year. For example, I made a Spring Bulb Planter and a Mini Christmas Tree Basket last year.
Other Spring Flower plants would work as well. I have used all of the following:
- Azaleas,
- Mini Roses
- Snowdrops
- Pansies
- Mini Iris
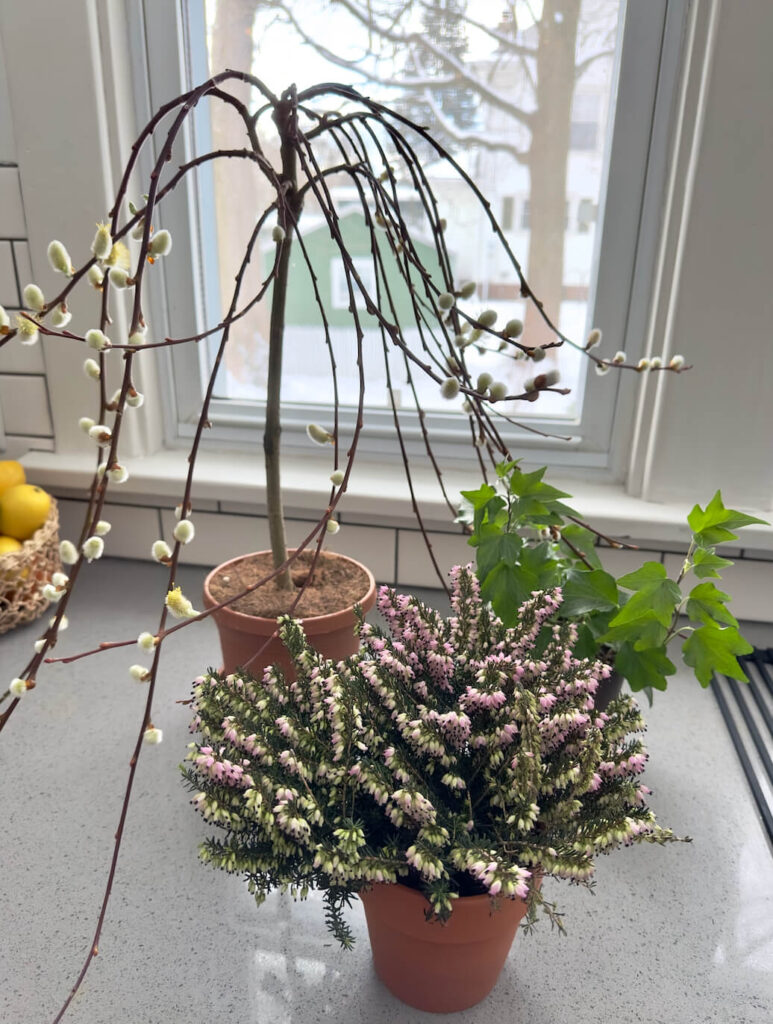
When choosing my plants, I try to choose three or four and look for plants of varying heights and textures. Below, I love the Pussywillow with the shrubby Heather and added Ivy for filler. When it wasn’t quite full enough for my liking, I added the Hyacinths.
Assembling Your Basket:
Once you have your basket and plants selected it’s time to assemble.
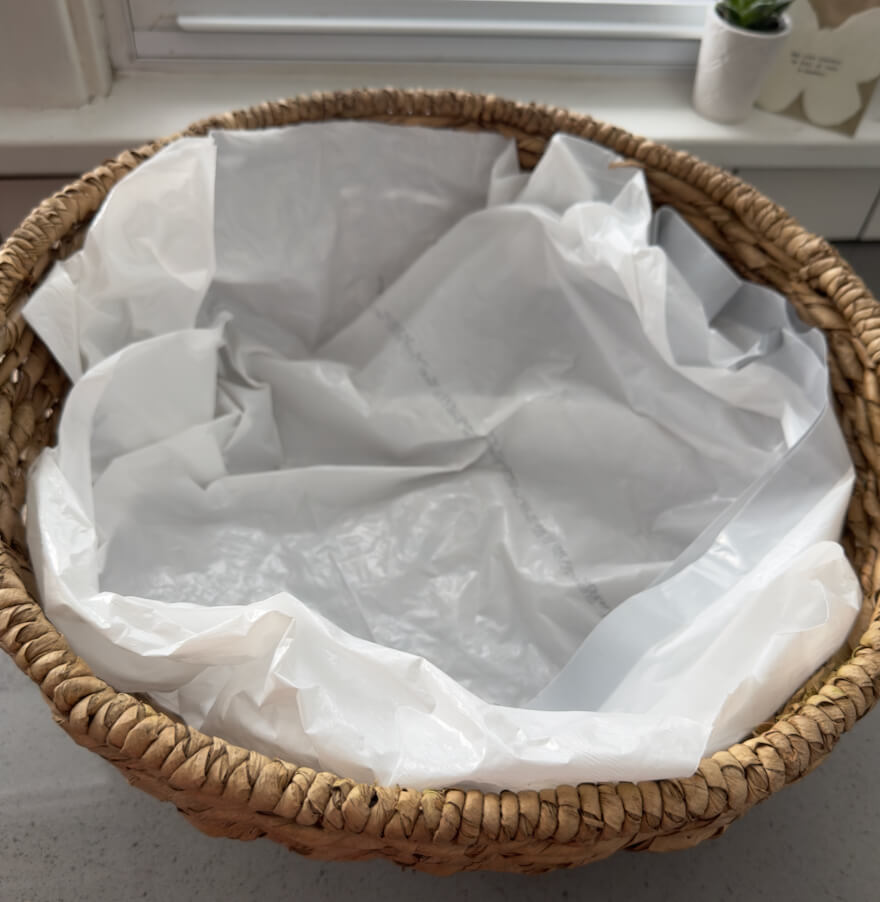
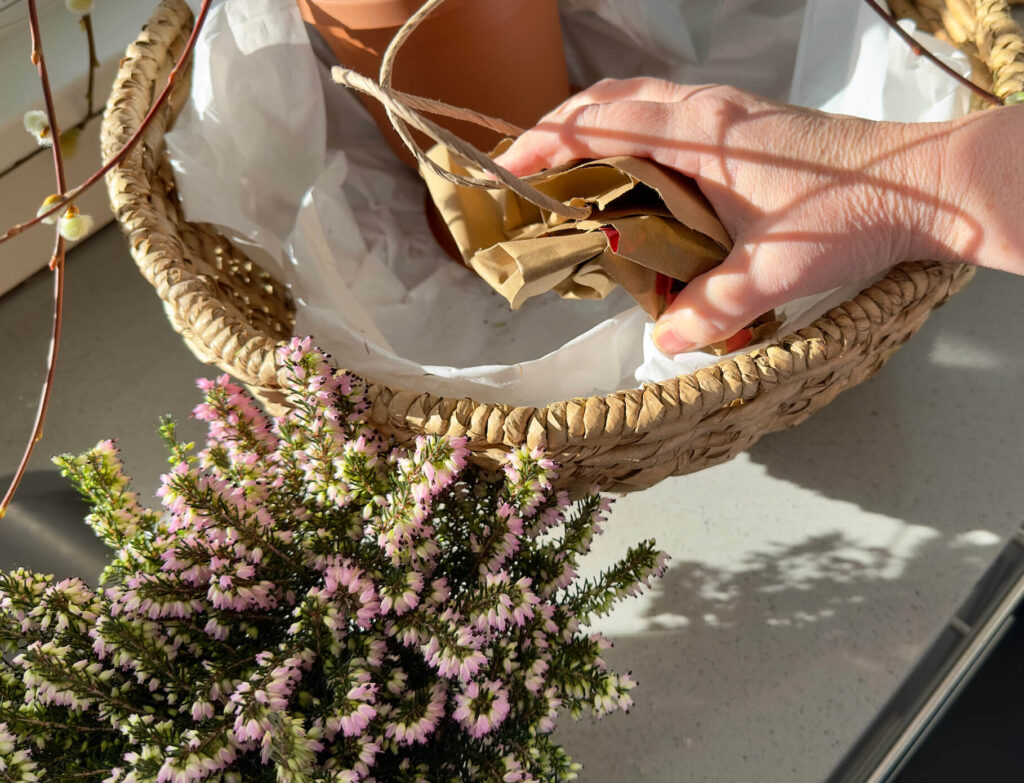
- First- I lined the basket with a plastic garbage bag to catch water spills. Because I am using potted plants in this arrangement, it won’t be a problem.
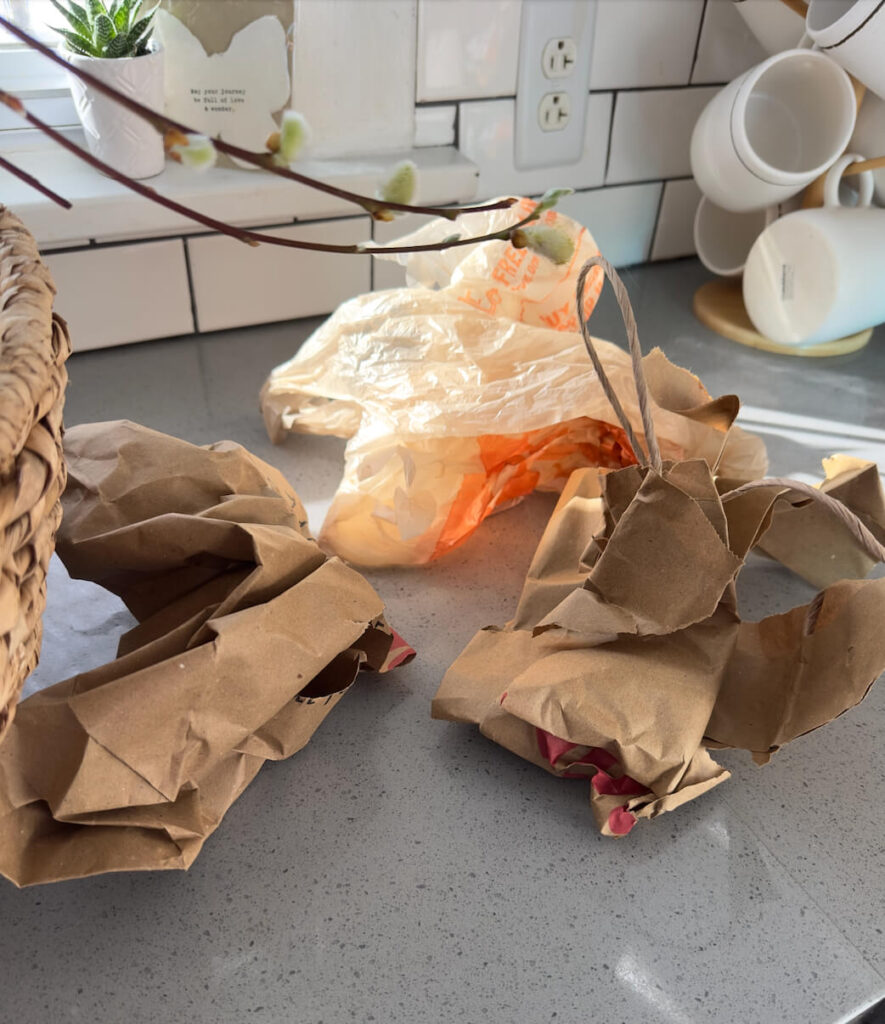
- Next, I used the paper bags to stabilize the plants as I added them to the basket.
Finishing your Blooming Spring Basket:
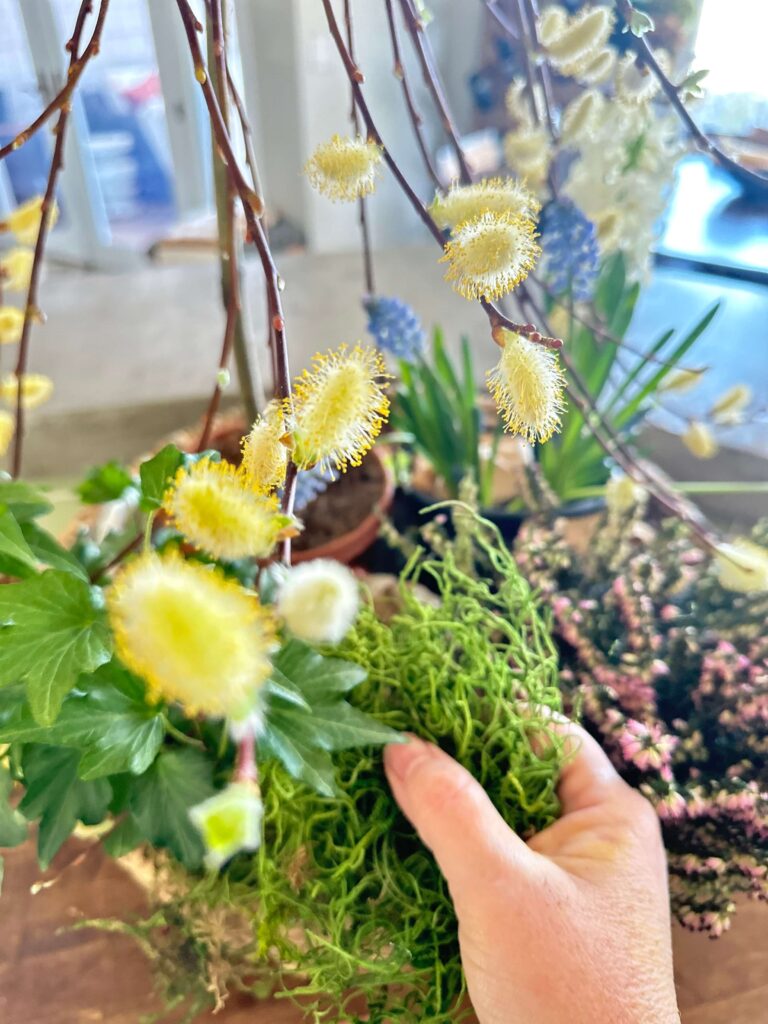
Just like with most types of floral and plant arrangements, you will want to cover the “secret sauce,” in this case, the paper bags and plant pots.
Once the plants are arranged to your liking, double-check that they feel secure (adding extra paper if necessary), and you are ready to top them off with moss.
Honestly, I use whatever moss I have on hand from a leftover project. My favorite is a mixed bag that has some color.
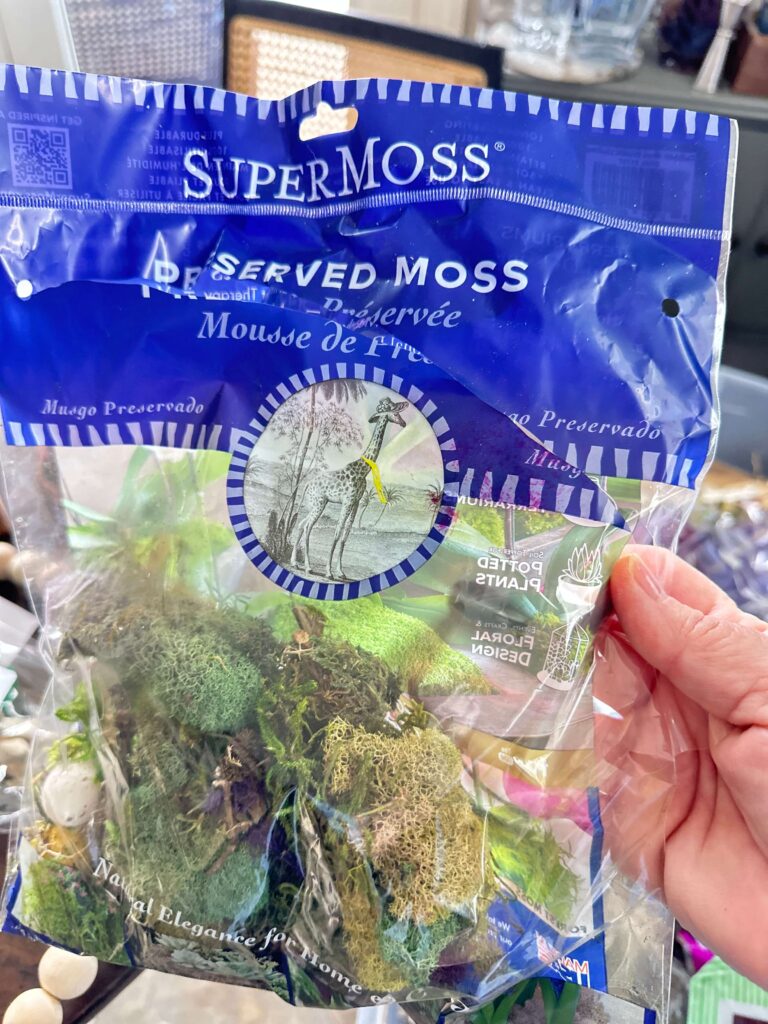
I also reuse the moss from projects. Simply store your moss in a Ziploc bag once your plants have finished flowering.
Once your plants are prettily arranged and the moss is in place, you are ready to show off your new Blooming Spring Basket. And it was done during nap time!

Caring for Your Blooming Spring Basket:
Keep your potted plants watered (every other day or so, depending on what plants you choose) and keep them in a bright location but not in direct sunlight, and your Blooming Basket should last a few weeks. If you chose bulb plants, which have a shorter life span, simply switch out the pots when they are through flowering.
If you want to shop my favorite Spring Planter Ideas, you can find these at My Amazon Storefront.
That’s it for today. But don’t forget to check out the rest of the Spring ideas at the hop. Next up is Michelle from Thistle Key Lane, who is sharing Spring Decorating with Bunnies and Eggs!
Until Next Time,
-Libbie
You may also enjoy:

Love this so much Libbie! I’m with you, I’m all about organic decor. The basket itself is amazing and the arrangement is beautiful. I’ve never seen a pussy willow like that. Happy spring! XO- MaryJo
This is so pretty, Libbie! Your arrangement is so unique and is perfect for spring! Thanks for the great post!
Hi Libbie, Your arrangement is so pretty! I adore that you used real flowers and plants. Hyacinths are my favorite spring flowers! Happy Spring!
Thanks, Donna!
I love your beautiful Spring basket, Libbie, with all of its texture and interest! This is perfect for Spring!
Libbie, your blooming spring basket is putting a smile on my face! Love the variety of plants and the pussywillow is adorable! I want one!
Libbie, you make this flower arrangement look so easy. It’s perfect for fleshing out home until there are spring flowers outside. I know you’ll enjoy the flowers. Thanks for sharing this great tutorial.
Thanks, Carol!
Libby, this flower arrangement came out so beautifully. It’s perfect to welcome spring into our homes.