

Hello Friends, I am writing this post while suffering a touch of PTSD from a self-imposed wallpaper disaster last weekend. I am not proud of my initial reaction (thanks to my hubby for talking me off the ledge), but because I love to share DIY success, it’s only fair to also show when I have a giant fail. Luckily, after my mini breakdown, we were able to come up with a workable solution so my mural project is finished and I love it. Let’s take a look at how I fixed my wallpaper mural hanging mistake!
Let’s start at the beginning.
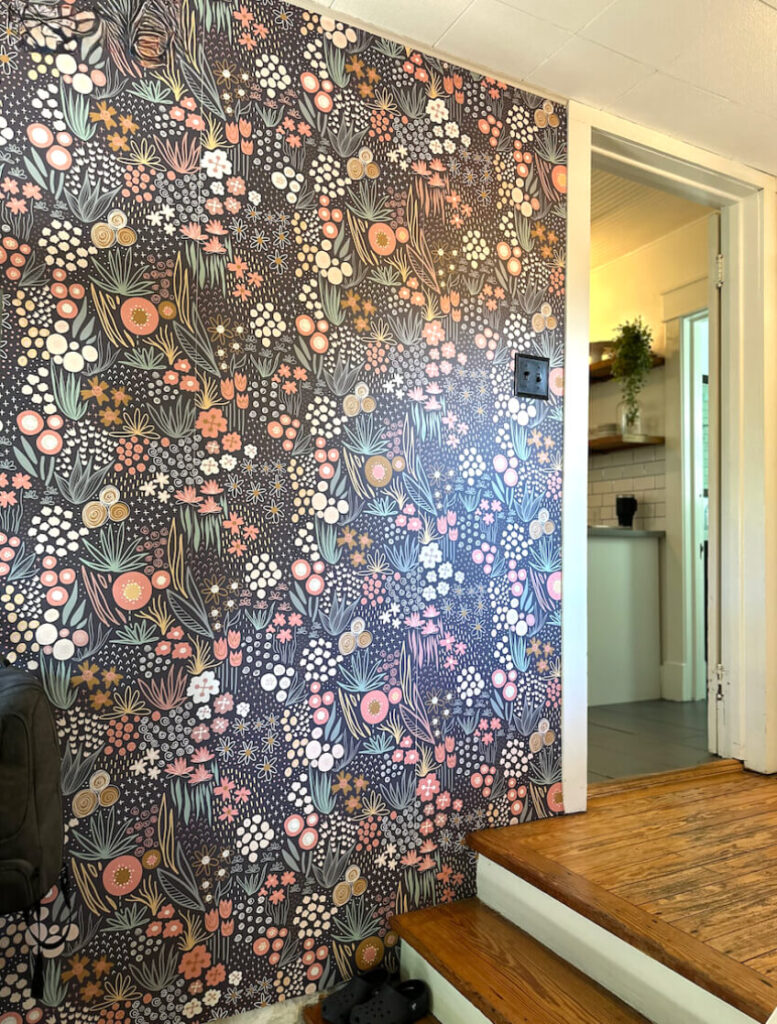
The Back Entryway Before:
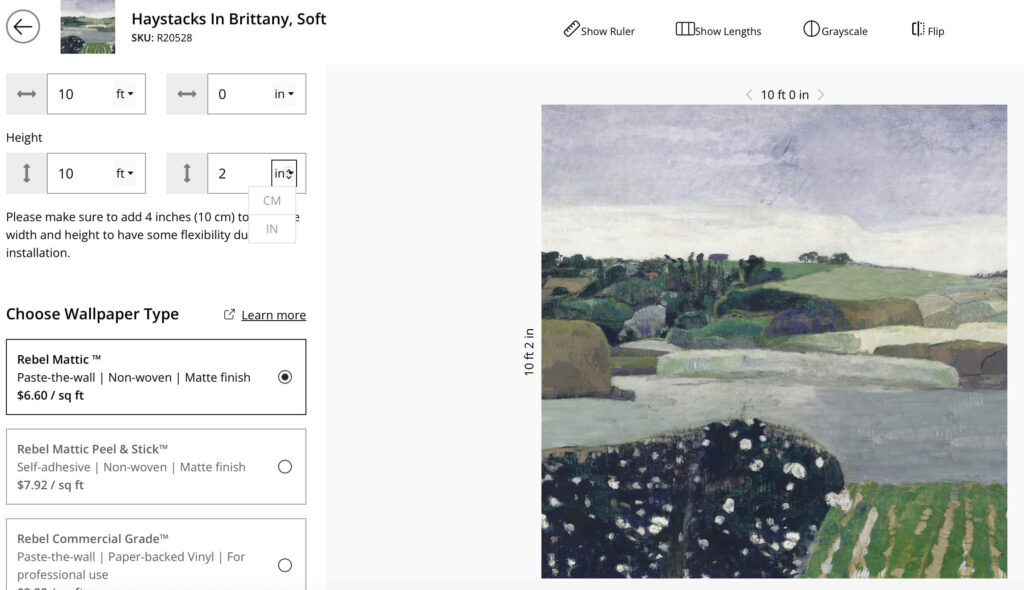
This is what our back entryway looked like when we bought this house. It is fine, but not really me, so I decided to freshen it up a bit. We swapped out some really nasty indoor/outdoor carpet, and then I found a very beautiful wall mural from my latest design crush, Rebel Walls. Perfect for the Entryway Makeover! Cue the Happy Dancing.

One of my favorite things about their website is that you can see how it will look in the size you need for your exact space. So, as I was looking at the final size of the mural, one of the parts I loved the most, the floral bushes in the lower right-hand corner, would be cut off due to the stairs. So I decided to flip the image.
They ship very fast! I was so excited to get started.
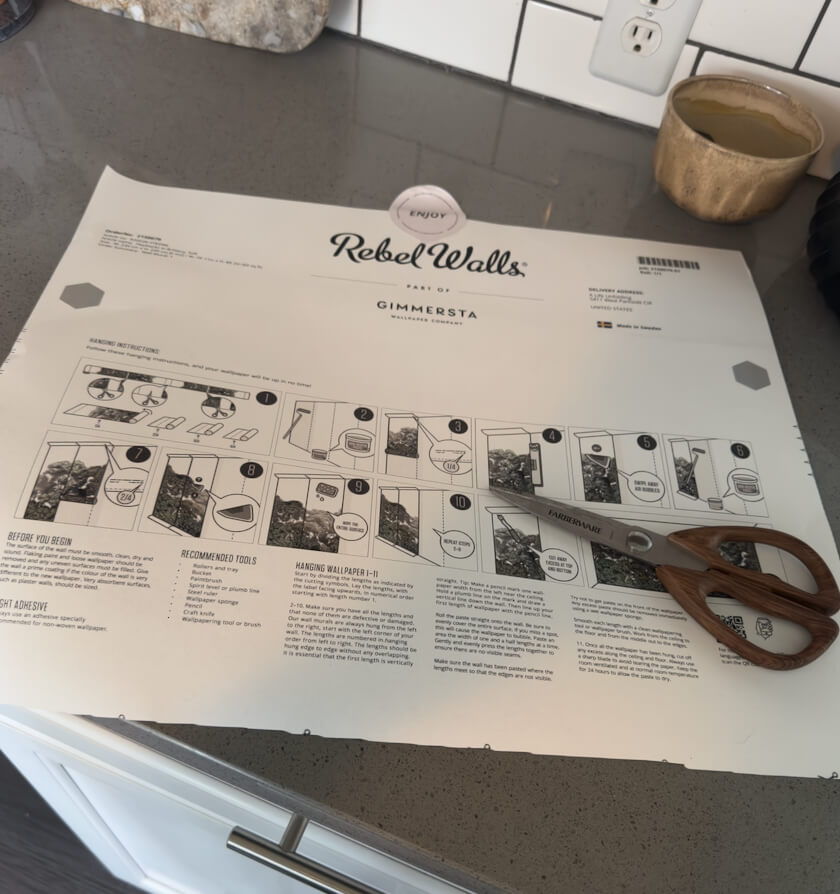
Let me be very clear here, I cannot stress this enough…. Rebel Walls’ installation directions on its website are very clear and easy to follow. And this is by no means the first wall mural I have installed. So I began by following the step-by-step very easy-to-follow instructions.
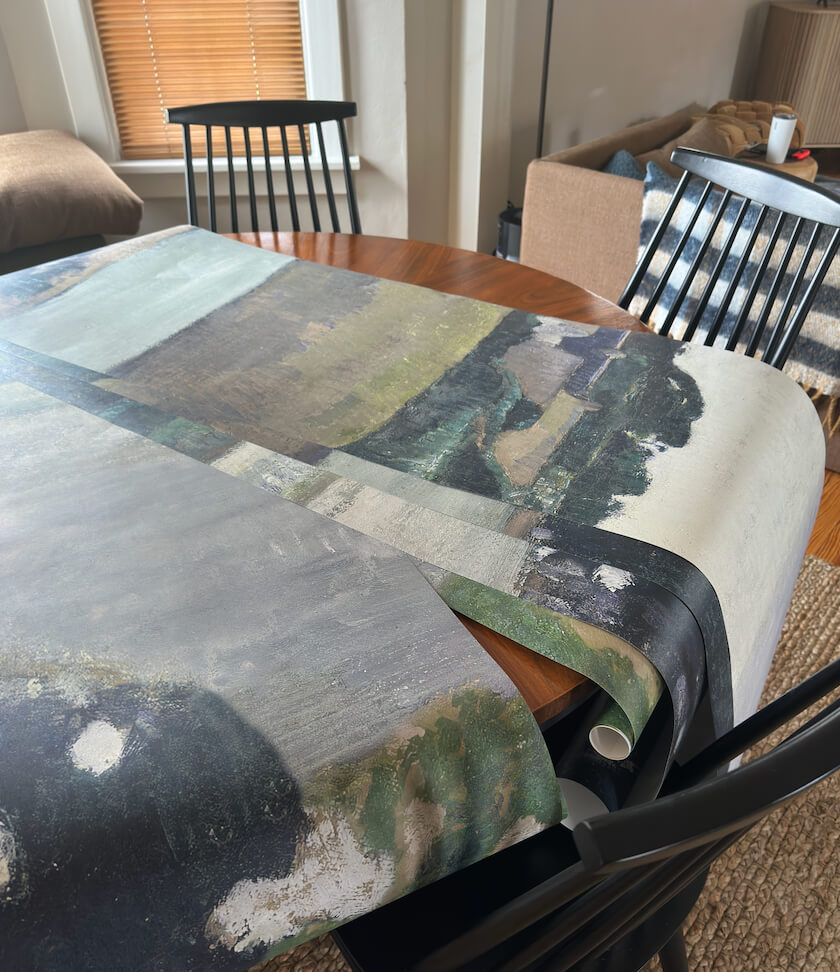
I carefully cut the wallpaper and laid it in order on the dining table.
The Mistake I made While Hanging My Wall Mural.
Okay, I did not take photos for the next few steps, so bear with me while I try to describe how/why/what I did next 🤦🏼♀️. I know how defensive this sounds on my behalf, but I was dealing with a bum knee that had ” popped” out while traveling the week before. It was 8:45 at night…way too late to start a new project. But instead of waiting for hubby to be free to help me, I decided to get started. Because I just couldn’t wait!! Sigh.
So, if you look at the above before picture, you will see that the wall is quite tall by the door (10 ft), and I quickly realized that I would need a ladder to start on that end. So I, in my impatience, I decided to start the project going from the right side to the left (not the recommended left-to-right).
This would have been okay; I’ve done it before. BUT I was tired and not paying attention. So instead of looking at the numbers on the tops of the wall mural. I glanced over at my mood board which had the orginal image (the one I had not flipped) with the bushes in the right hand corner. I just grabbed the strip and began to install. It went on like butter. I trimmed out those stairs and the light switch in record time. I swear it was the easiest piece of wallpaper I have EVER put up. Impressed with my mad skills I called my husband over impressed with how fast this mural was going to go up. I called my youngest daughter to show her how beautiful it was, and after the appropriate oohs and ahhs, it was time for the second strip.
Beware of Overconfidence in DIY
Do you see where I am going here? I had mistakenly laid and then CUT the first strip of paper into the last part of the mural. A mural is not a repeating pattern like regular wallpaper.
I am not going to lie. There were tears. I let out a string of curse words that my husband has probably not heard from me before. I was just so mad at myself. What a wallpaper fail.
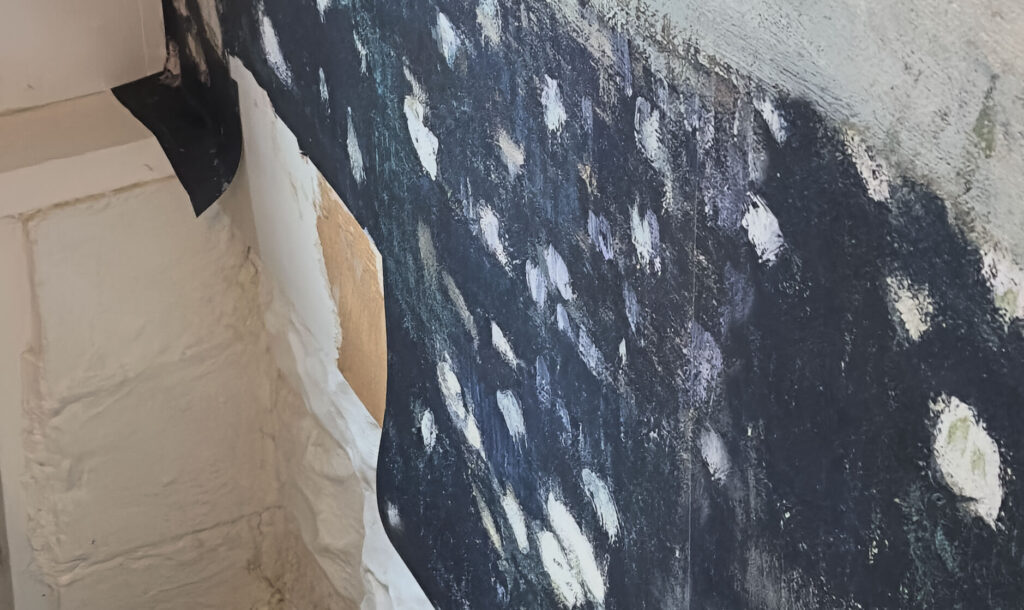
My husband truly saves the day with this next move…He says to me, Don’t just leave it. Let’s at least move it over while it’s still wet and see what we can do in the morning. Yep, that’s right, even though I am beyond tired, overwhelmed, and my knee at this point is killing me, my husband refuses to let me give up! YAY! This is where we stopped for the night.
Yikes.
How We Fixed Our Wallpaper Mural Mistake:
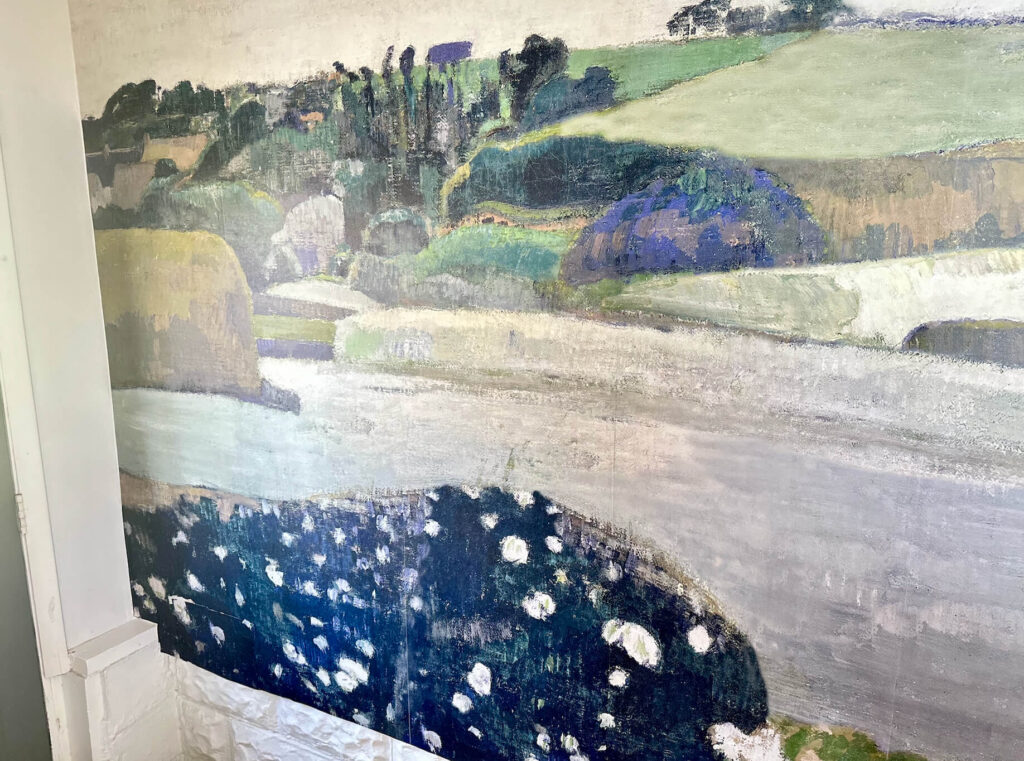
Okay, let’s begin with the fact that a good night’s sleep solves many problems! I was thinking more clearly and was ready to tackle the problem of a DIY wallpaper repair. First, the above photo does not show the BIG hole made from cutting out the light switch. I got very lucky with that one; as I mentioned, I was using a brand new exacto knife and cut a very smooth square. I was able to find that small rectangle piece after digging through the trash, and it was a easy patching job. You truly don’t even notice it, thanks to the pattern on the paper.
Now, the bottom of the mural, where I cut out around the steps, was another story. Since the wall is made of stone and was not even, the cuts were more “hacked” than smooth and came off in pieces, so this repair job was harder. I used another piece that matched as closely as I could find (remember that Rebel Walls murals do not have repeating patterns).
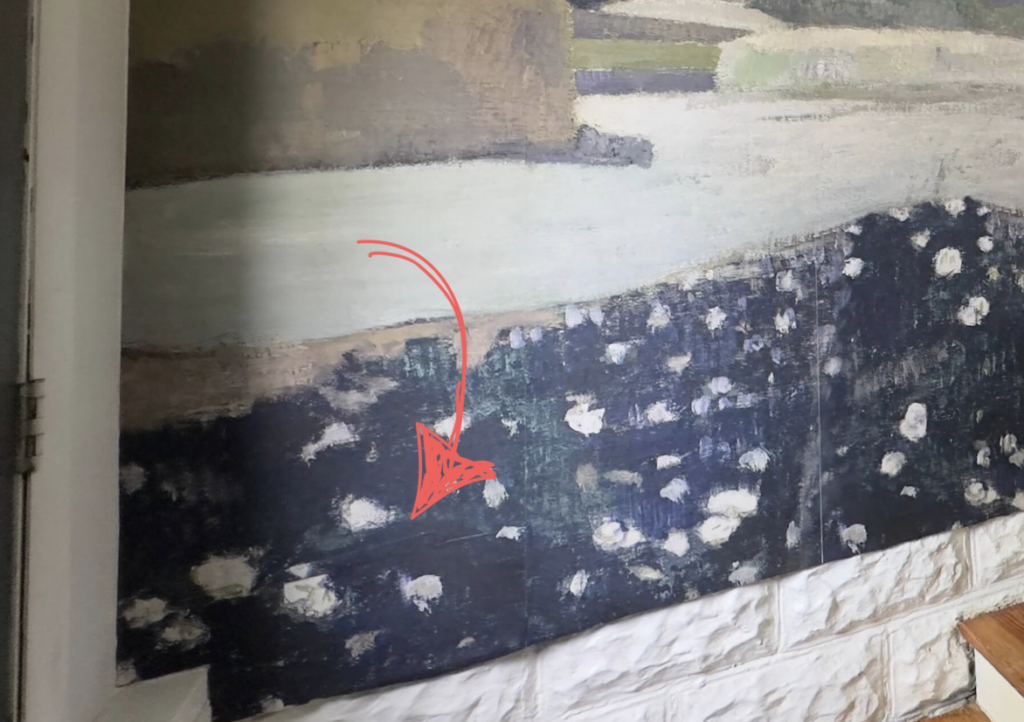
Next Up, A Navy Sharpie
I then found a navy blue marker to fill in any obvious lines and help with hiding wallpaper seams.
A close-up of the after of the mural. Not perfect, but I still love it.
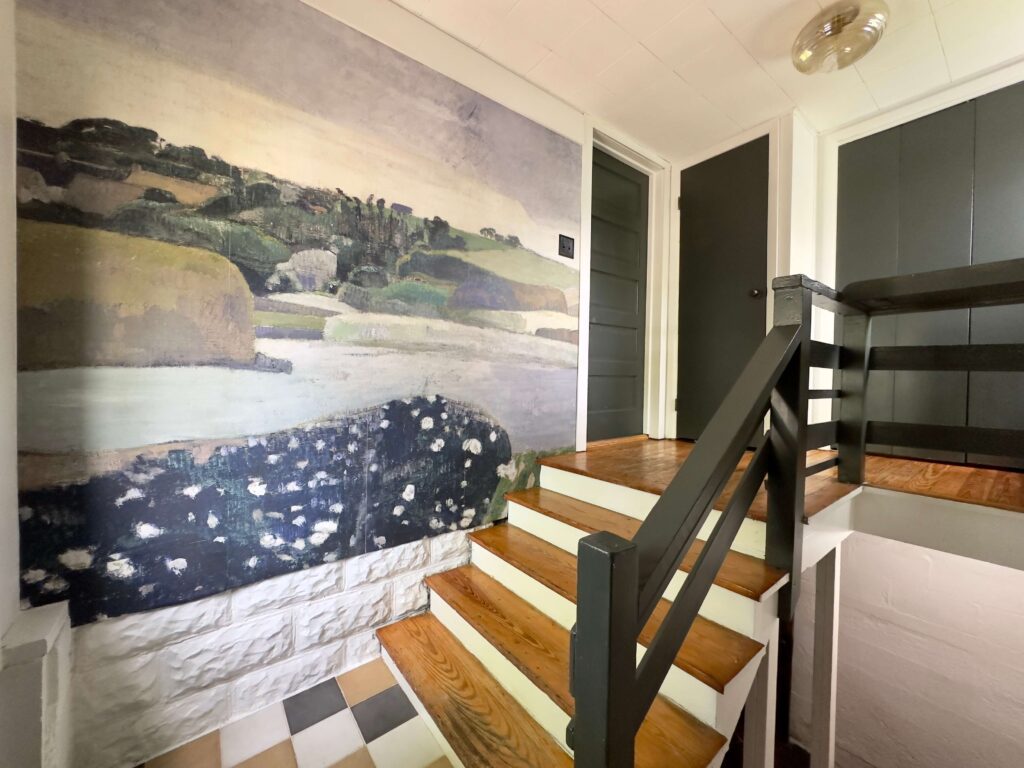
So there you have it, friends! This little entryway makeover for our back entrance is just one part of the fun I’m having participating in the Spring One Room Challenge. Seriously, you HAVE to go check out all the amazing and inspiring projects that everyone else is working on – you won’t be disappointed!
I truly love sharing my DIY and home decor adventures with you all, the good, the bad, and the slightly wonky. My biggest hope is that it inspires you to tackle those projects in your own homes, even if they don’t turn out perfectly the first time. Because honestly? Imperfect can still be pretty darn beautiful, and at the end of the day, if you love it, that’s all that truly matters.
Until next time,
-Libbie
You may also enjoy:
My Favorite Bold Colorful Wallpaper and Wall Murals
