
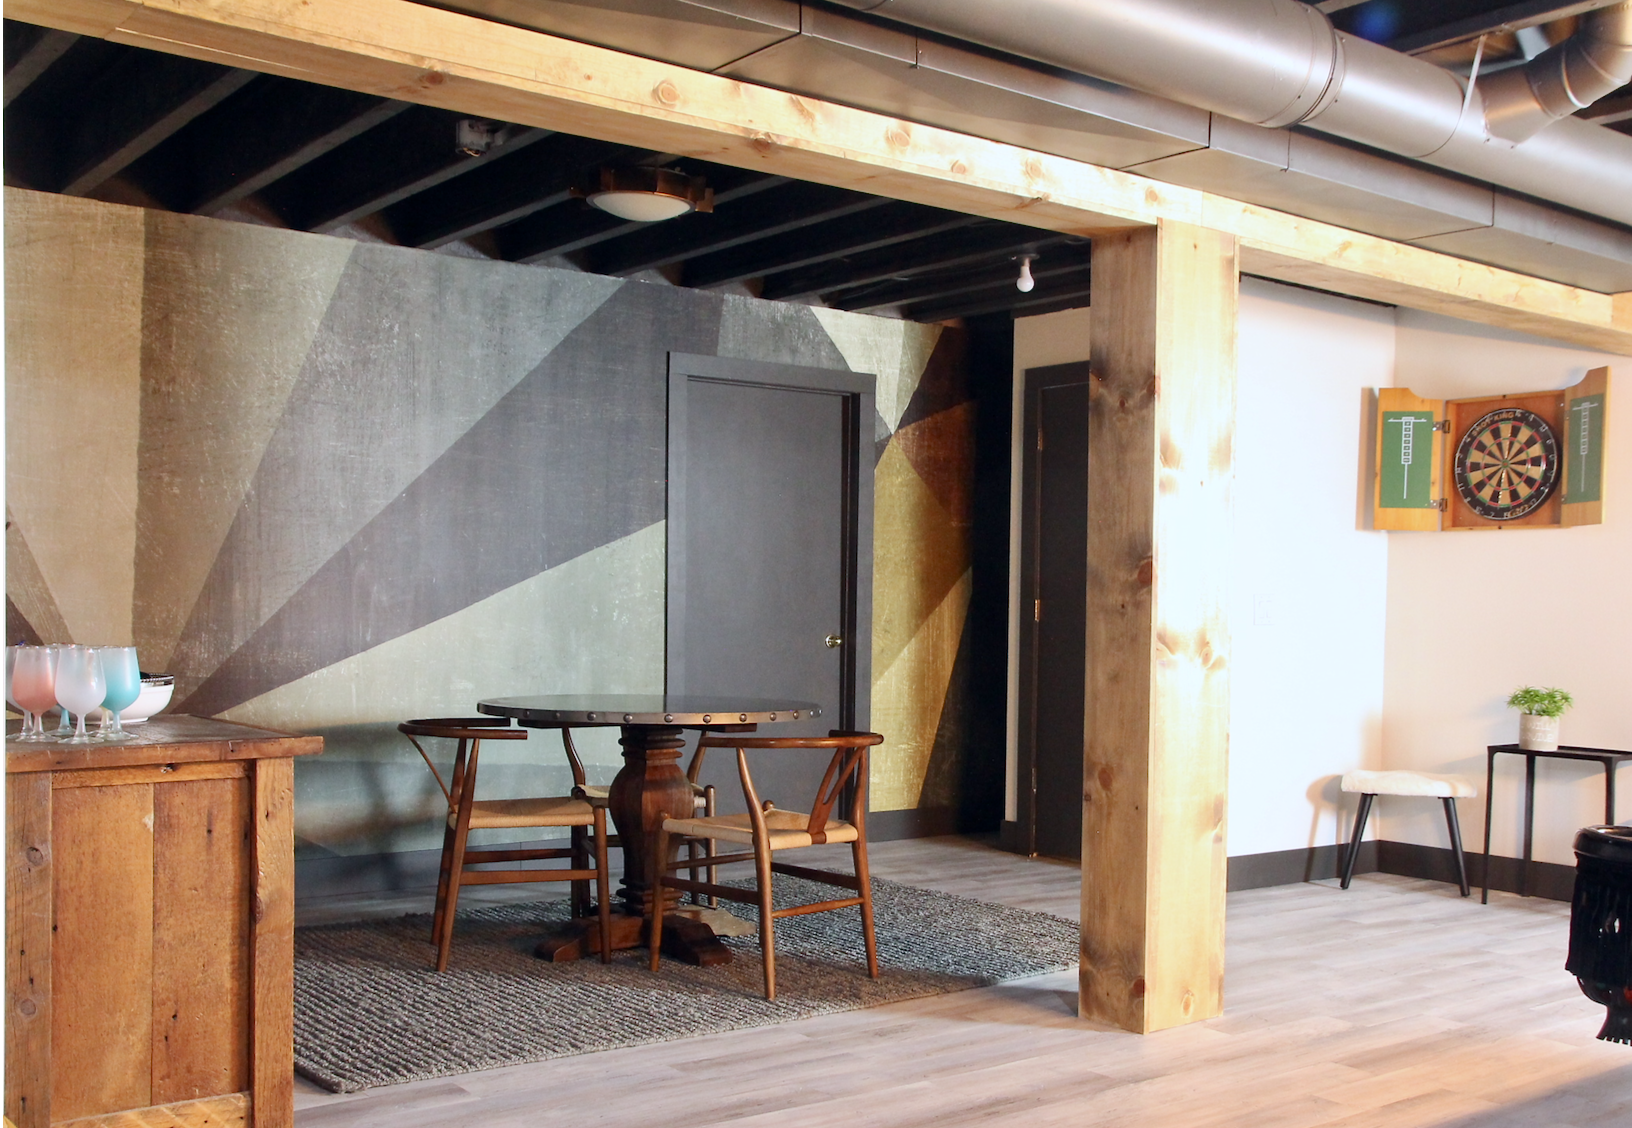
Hello! Thank you for popping in today. Have you ever thought about installing traditional pasted wallpaper but assumed it would be too hard? I had always thought it would be difficult or too messy, but I recently installed a VERY graphic wallpaper print in our basement renovation, and I LOVE it. Not only how it looks but how surprisingly easy it was to install.
Traditional wallpaper was easier to install than I thought.

The wallpaper I used was gifted to me by Photowall (my opinions are always my own). I have previously installed pre-pasted wallpaper and removable wallpaper, but this is the first time I have used traditional wallpaper myself. I have to say I was a little nervous, but I am always game to save a bit of cash and DIY it. I ordered the suggested wallpaper install kit from the PhotoWall website. The kit was convenient, so I highly suggest picking one up. This one is available from Amazon. I picked a Saturday morning to start and planned to allow two days. I am happy to report it only took a few hours!
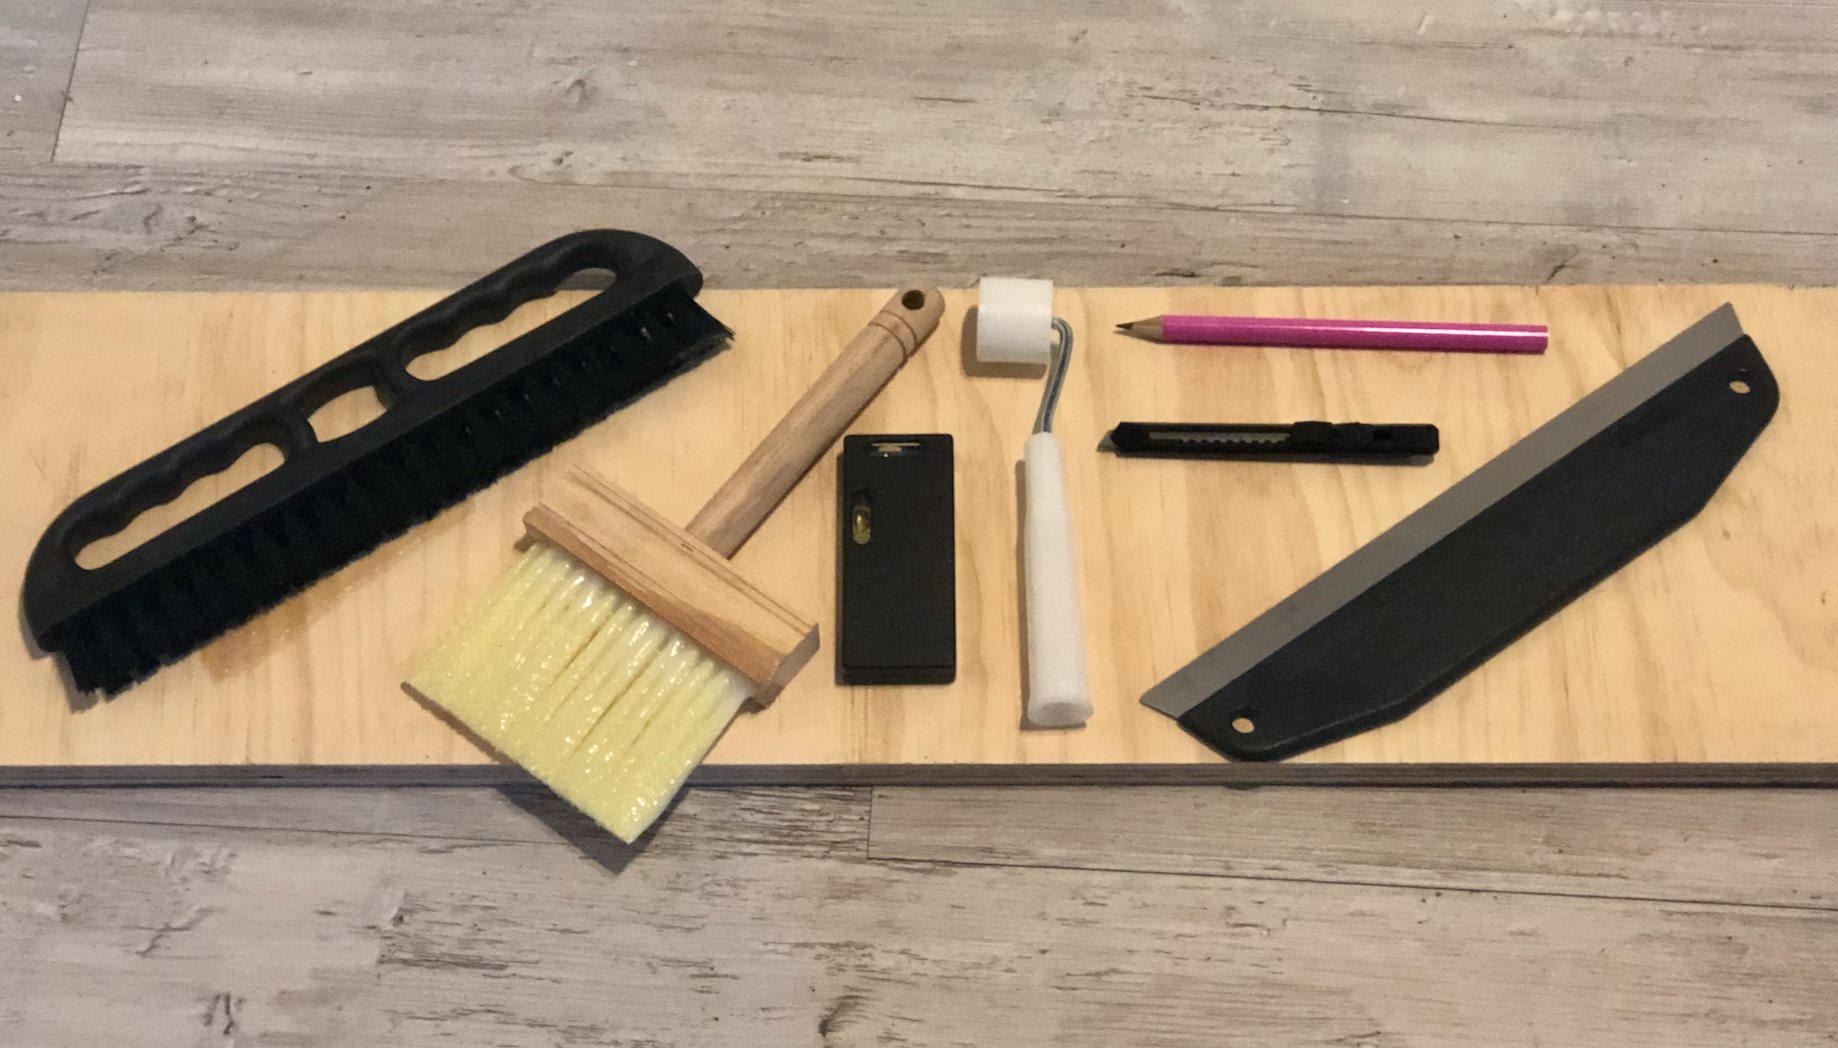
Tools needed for installation.
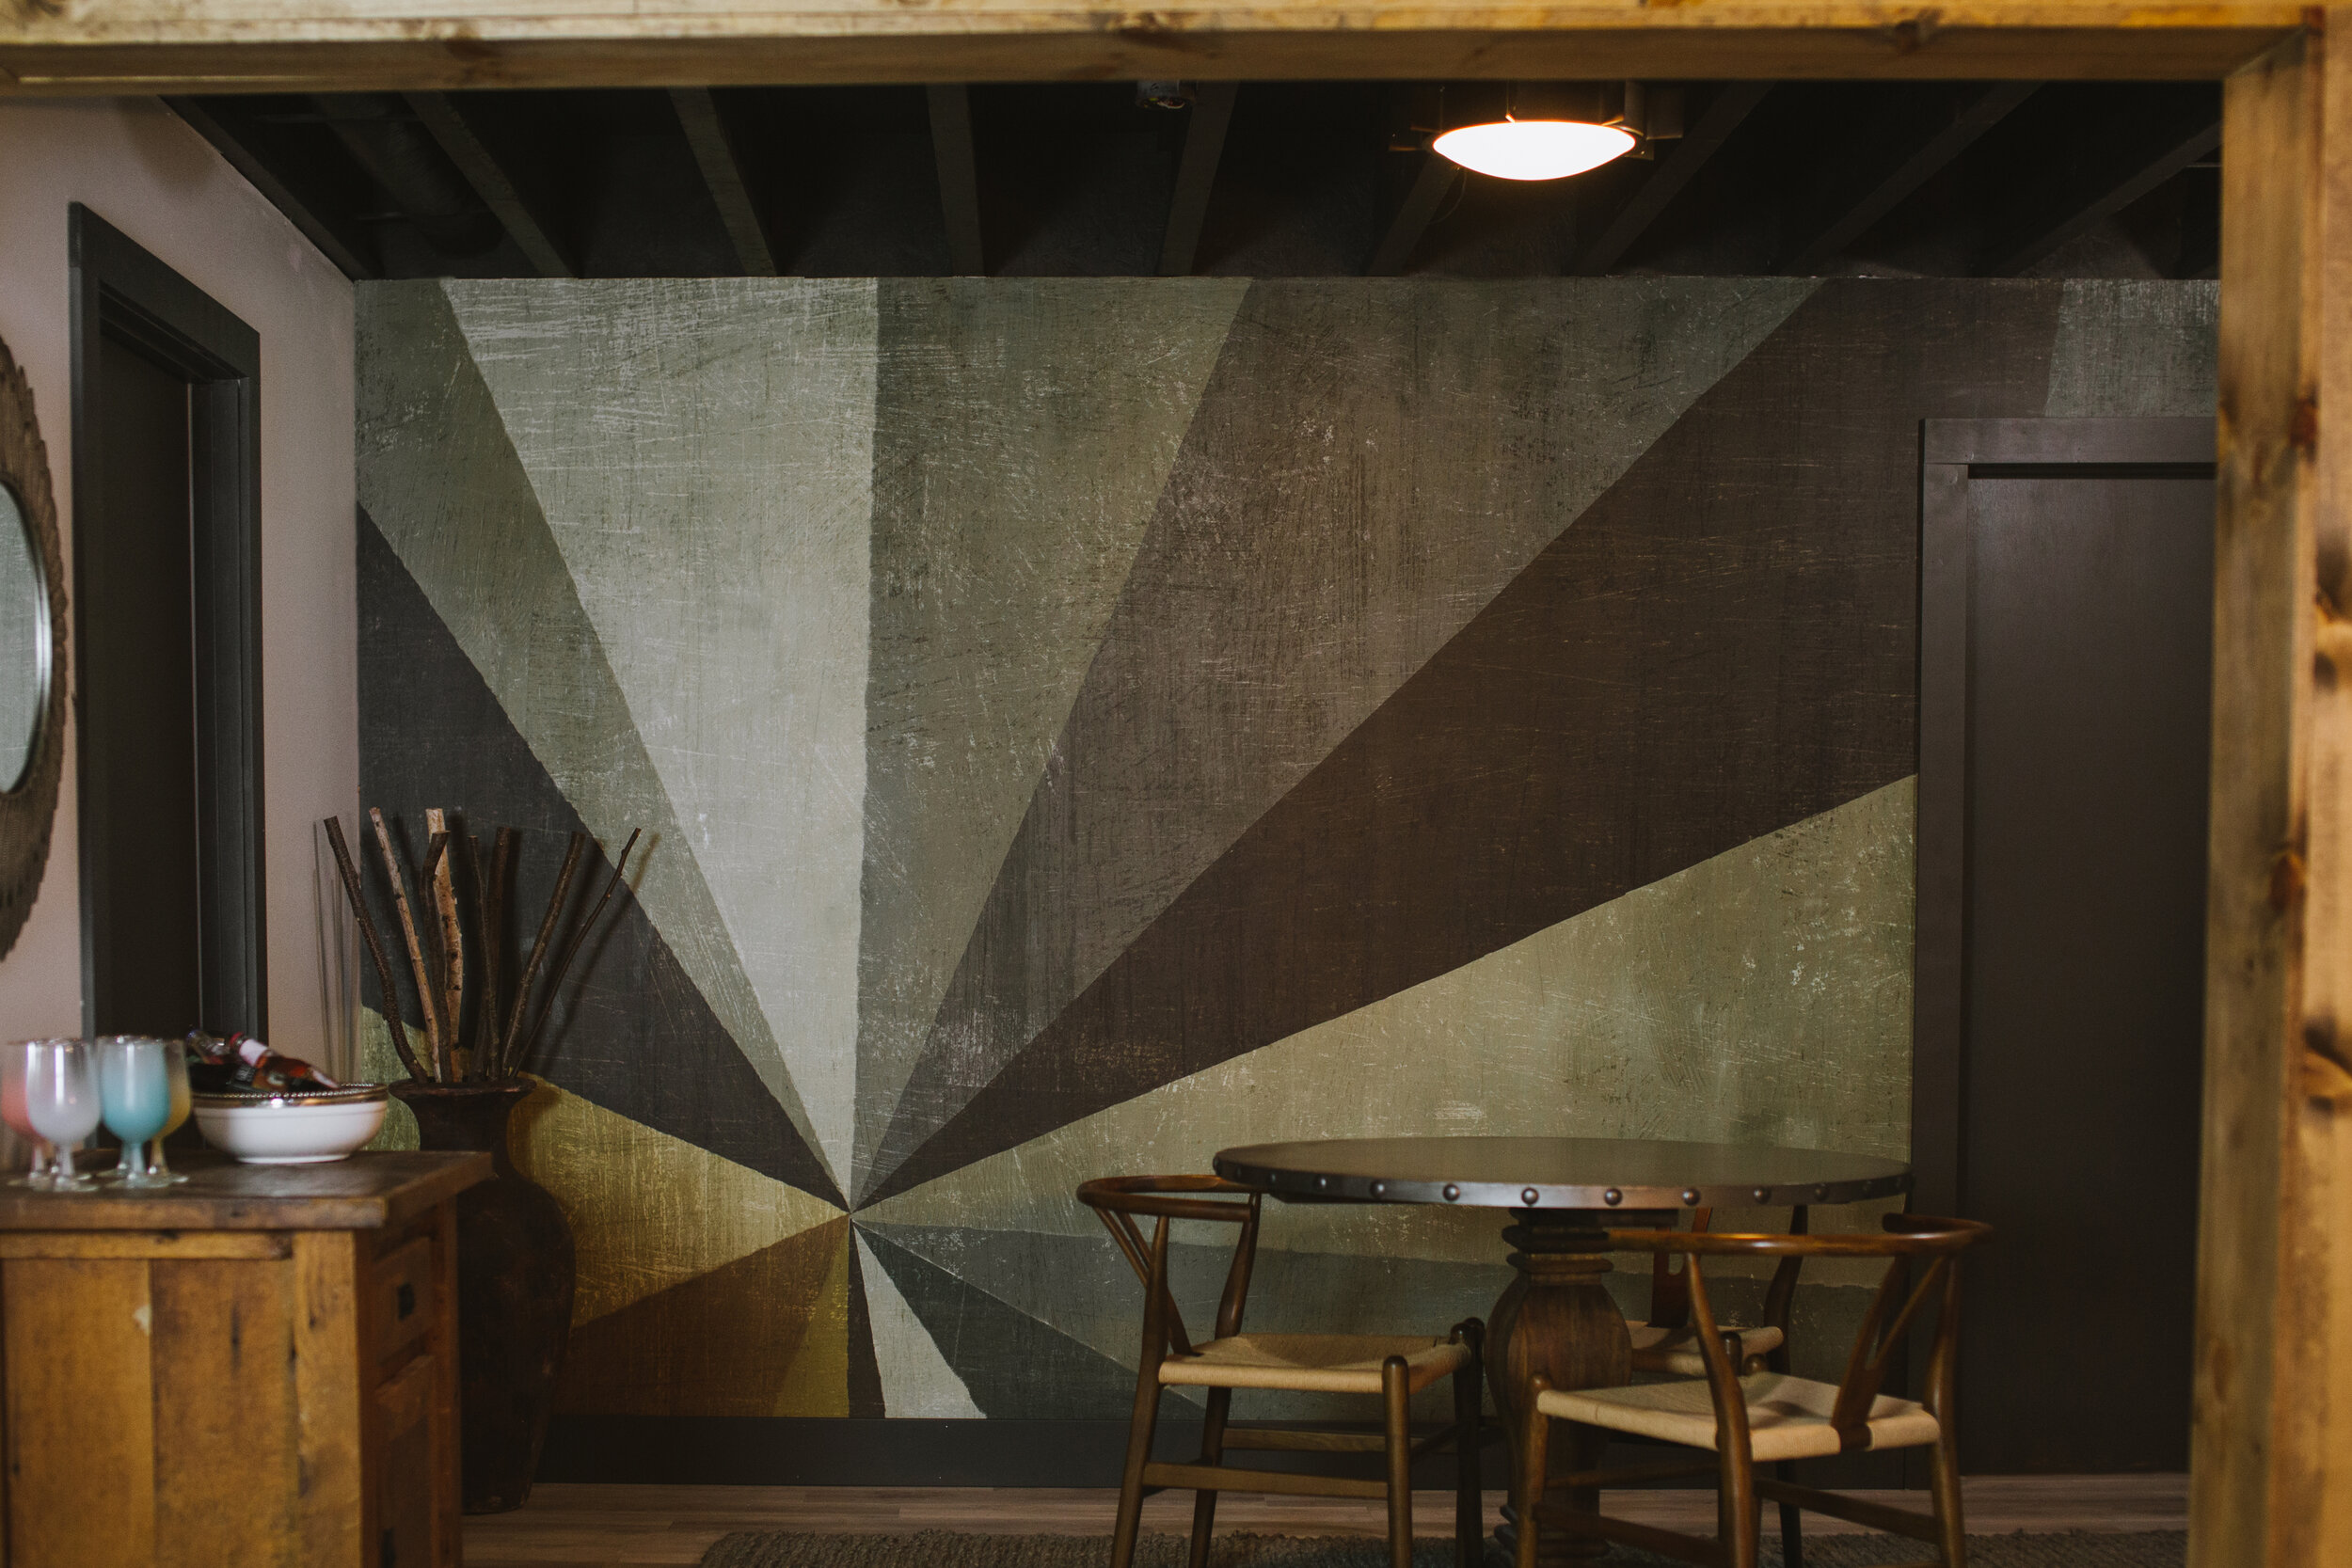
I had a blast selecting my wallpaper. Photowall has a vast inventory of designs, and you can even tweak your choice further if you want, which I love because it makes it the final design uniquely yours alone. My wallpaper selection is actually considered a mural (you can see it here).
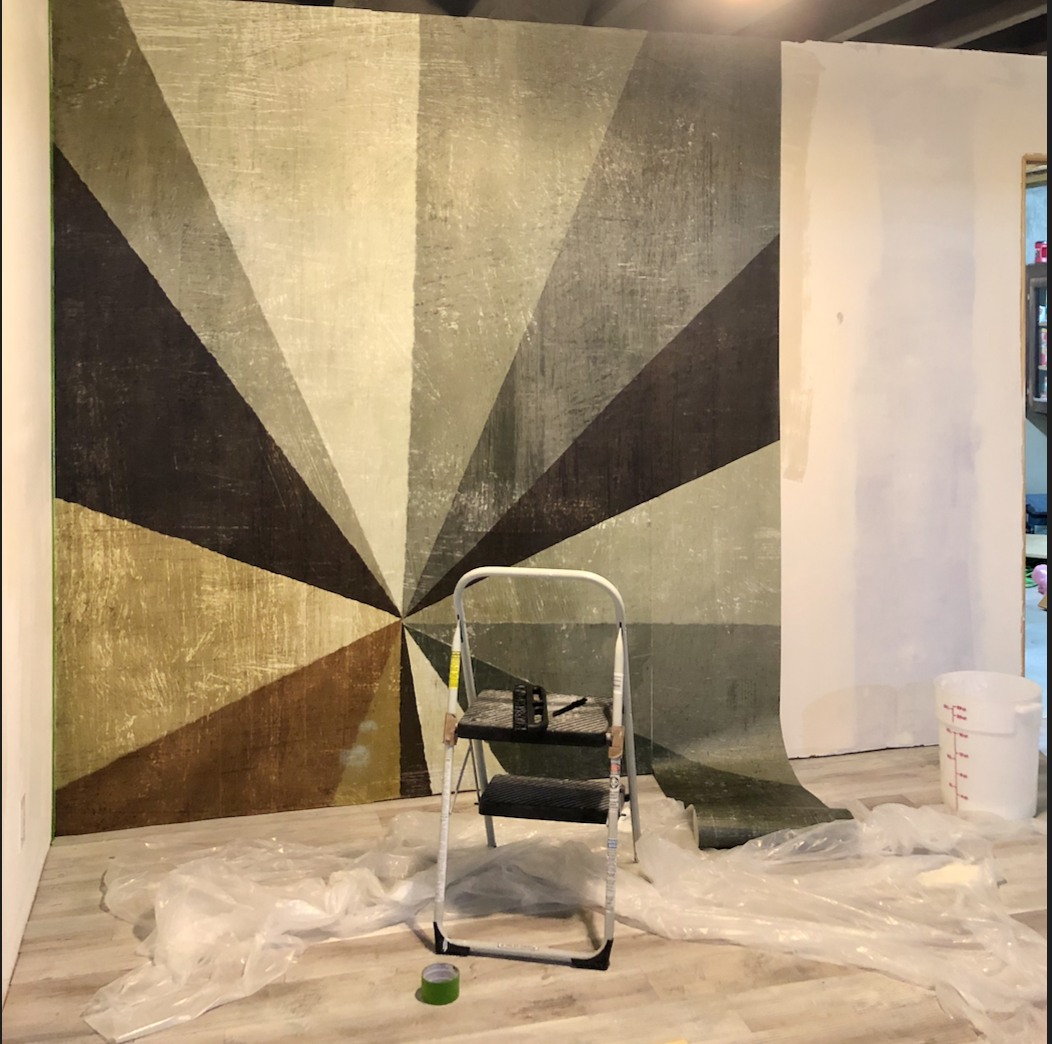
The wallpaper was delivered in two rolls of panels that were numbered for ease of installation. I then trimmed each panel and laid them out in order. This also helped flatten the rolled wallpaper. I taped a photo of the mural to the wall just to double-check my pattern as I went along.
My first tip for you is to tape off any walls you will be painting after your wallpaper. The glue does seep out, and if you don’t get it wiped off thoroughly, it can later show through the fresh paint.
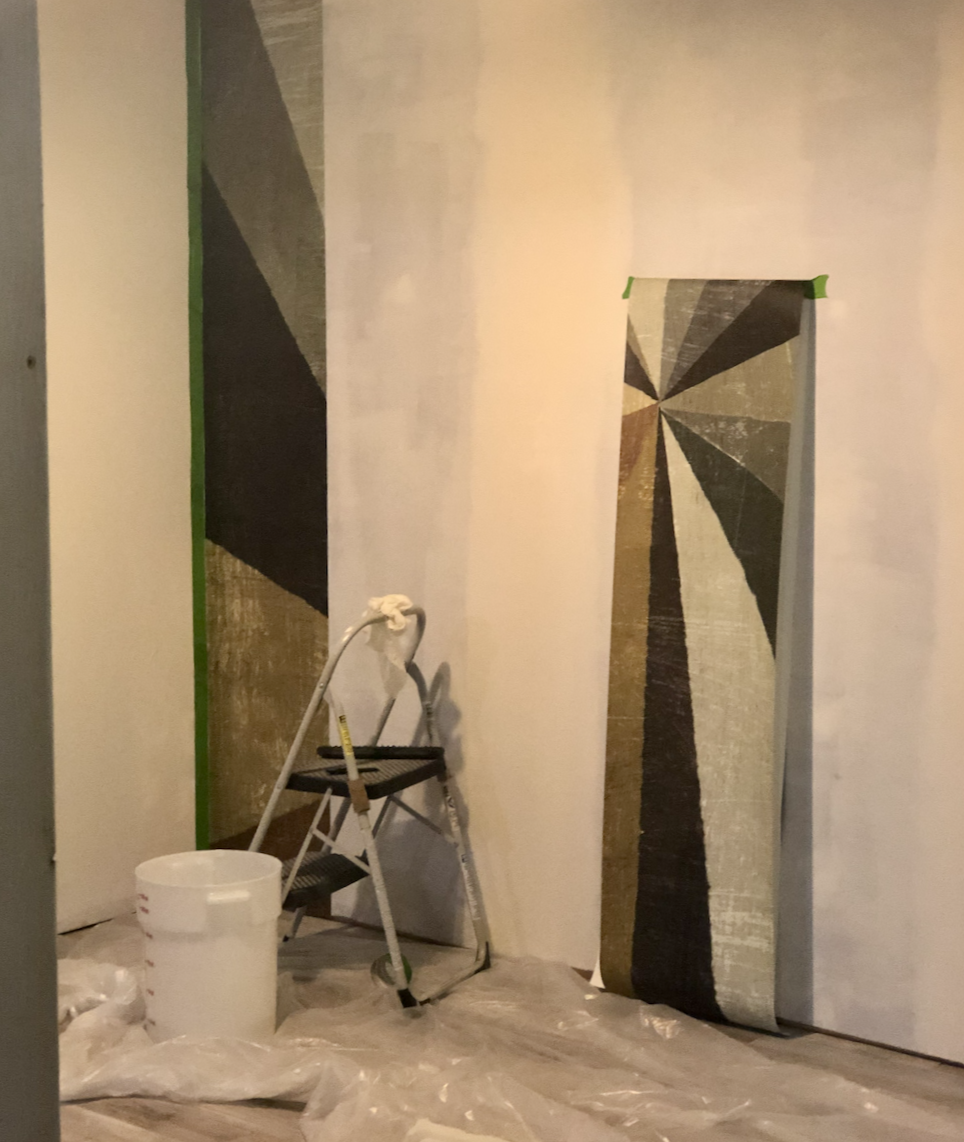
The second piece of wallpaper is taped to the wall as a reference for color.
WALLPAPERING STEPS
-
Start by finding a level spot on your wall and draw a light level line
-
Brush wallpaper glue onto the section of the wall where you be applying the first panel
-
Cut off excess material on top and/or bottom of the wall with an Exacto knife
-
Brush wallpaper glue onto the next section of the wall and hang the second panel
-
Match wallpaper panels side by side; mine required no overlapping
-
Make sure to push out any air bubbles, if there are any
-
Use a clean, damp sponge to wipe off any excess glue, if needed
-
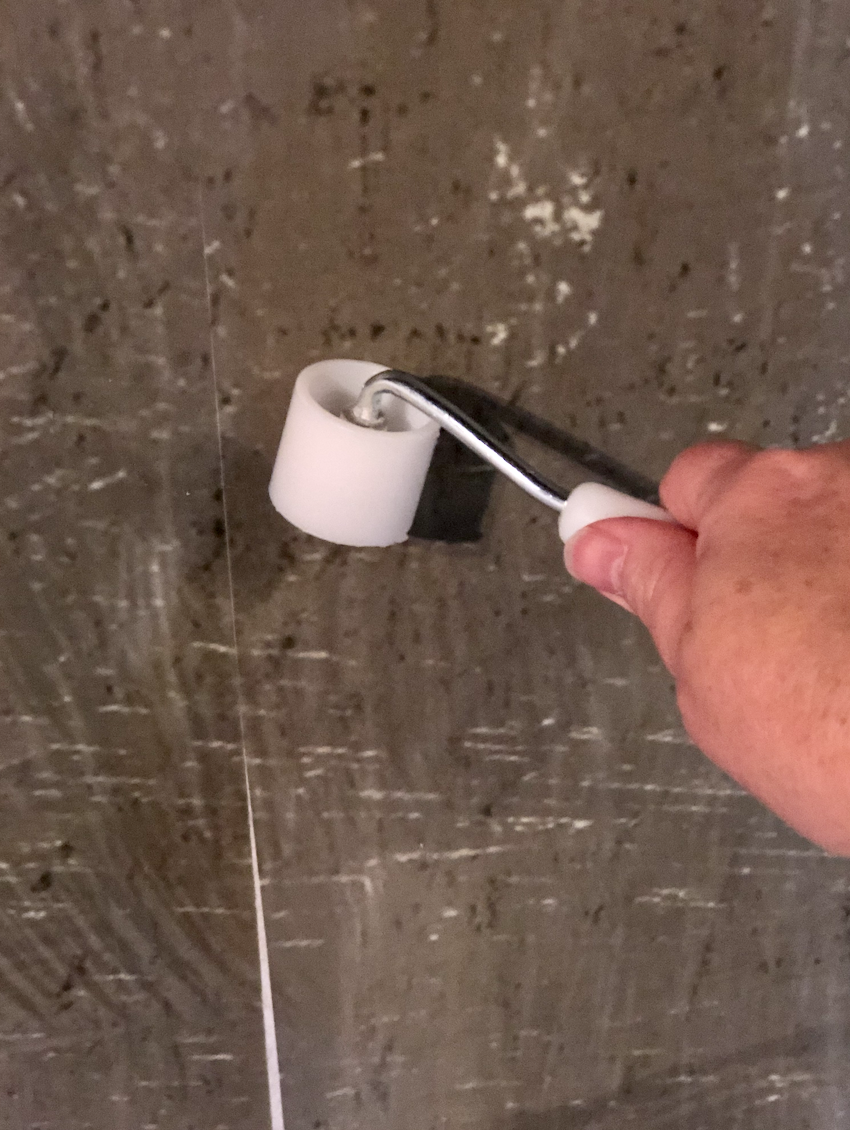
Roll the seams together with a seam roller
-
Celebrate your gorgeous new wall!
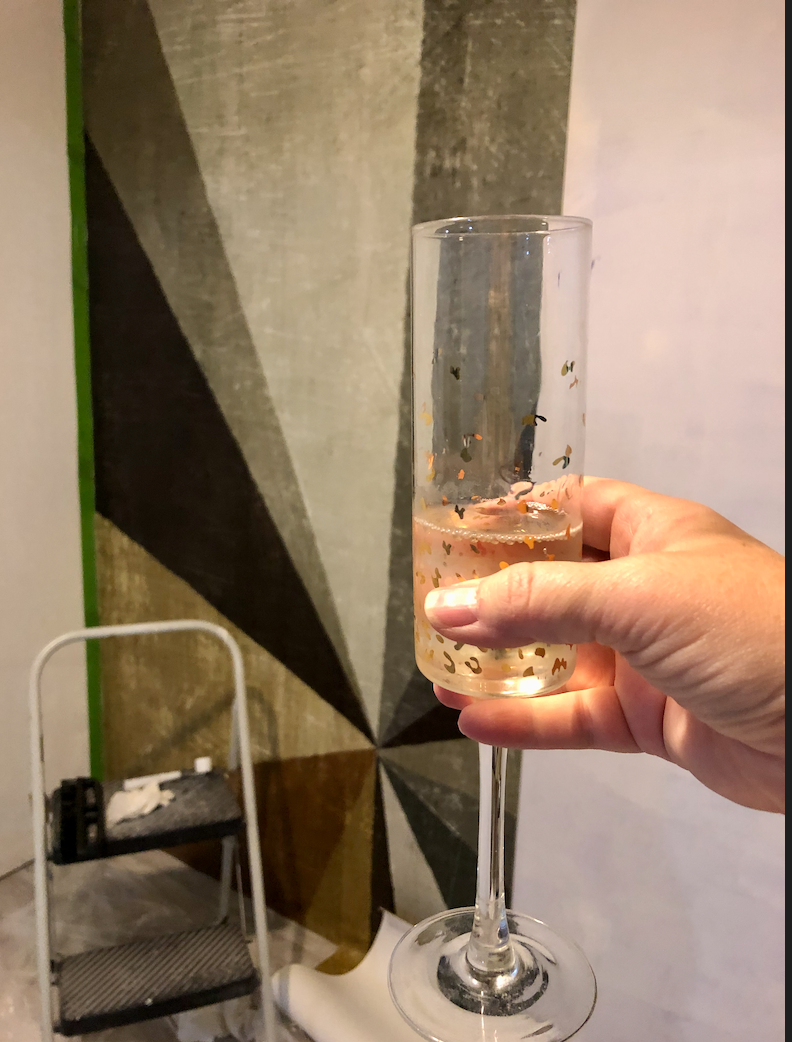
Celebrating the small things! My wallpaper seems are matching!!!!
Tip number two-don’t skip the level. It’s important to get the first piece of wallpaper straight. If you use the ceiling as a guide, you may end up crooked, and no one wants that!
I applied the paste with a brush (you could roll it on also). I brushed one row at a time in case I got distracted. You don’t want the paste to dry on the wall without the paper! Once you have applied paste and the paper, you can gently guide the paper where you want it.
Wall Mural for Game Room
Tip number three- Use that seem roller! It matched my seems up like a champ! It also helps the seems to lie flat against the wall and not pop up while drying.
Tip number four- Cover your floors. I used this clear plastic sheeting. I did manage to slop a bit of the paste around. It wasn’t as messy as I had anticipated, but covering was easier than mopping!

Tip number five- Use a sharp blade to trim your wallpaper. Once it is wet with the paste, a dull blade is going to give you a headache. 🙂
Once completed, stand back and admire!!! Soooooo easy!
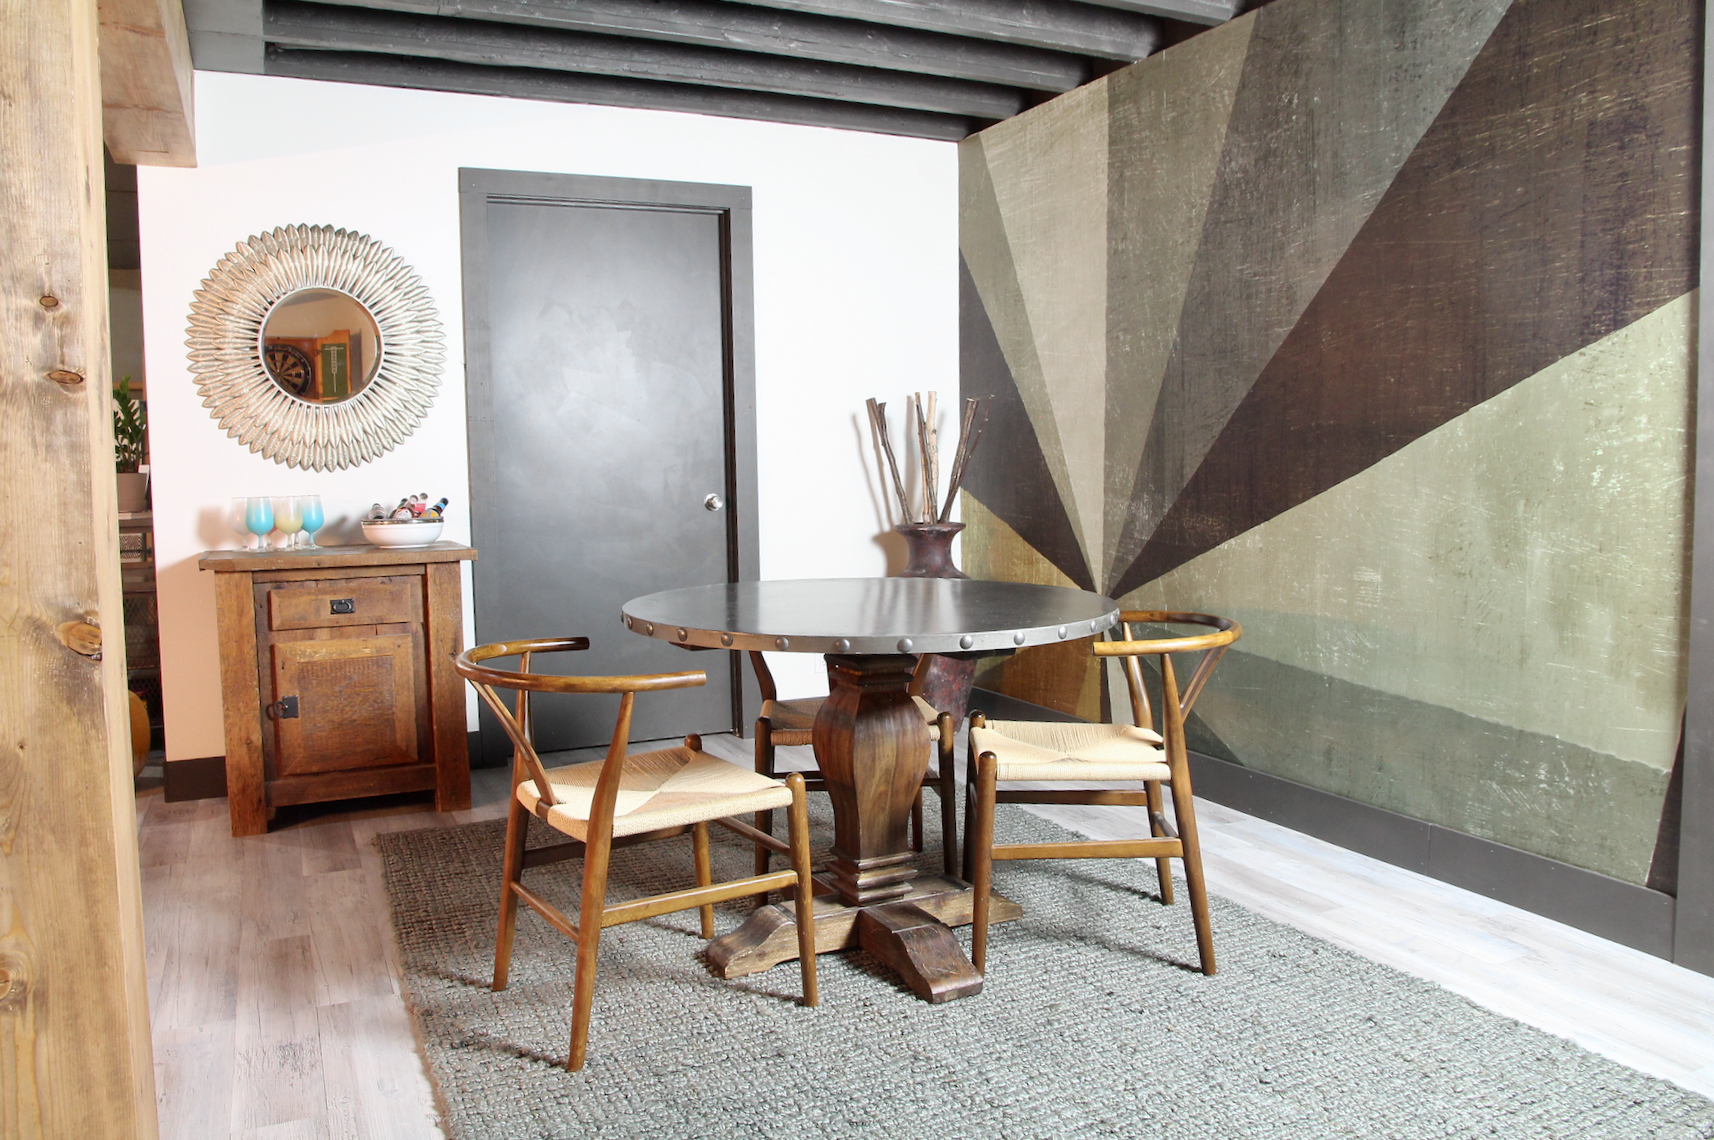
Wallpaper Mural completed.
It ended up taking about four hours to hang the wallpaper mural, and I am so pleased with how it looks. Even a beginning DIY’er would be able to install with a little patience.
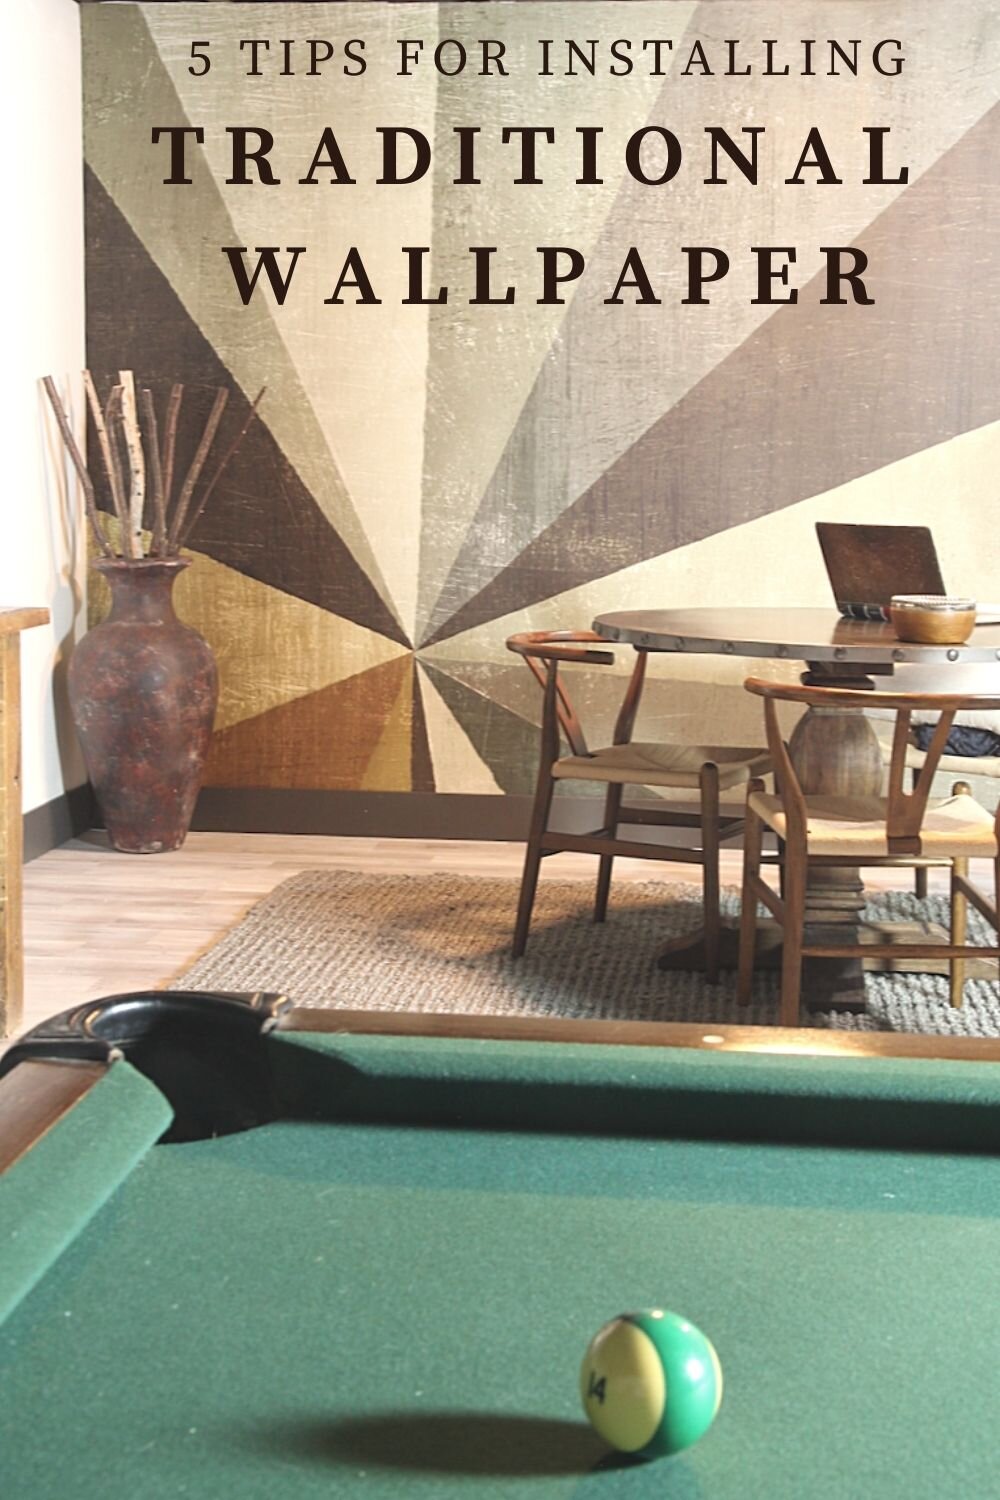
Wallpaper Mural in basement renovation
RELATED POSTS:
That’s all I have for you today.
Until next time,
-Libbie

That wallpaper is really unique and stunning. Thanks for sharing all your tips. And this gorgeous table defiantly needs a mention. It will be the inspiration for one I will be given a makeover.
Thank you, Anita! The table is an old World Market pick up that has so many lives! We just keep moving it around. 🙂
Wow, is this stunning!!! I love it! It turned out amazing!!!! Thanks for sharing at Charming Homes & Gardens!
Thank you, Kristin! Your party is so much fun! I pinned so many great ideas!
Wow, that’s gorgeous and quite a feature. I love the sheer scale of it. I’ve never wallpapered before, but definitely want to check Photowall out! Hope they ship to Canada 🙂
As usual, your blog post is beautiful and informative. Thanks so much for sharing. I have been seriously considering wallpaper in my cottage apartment. You make kit look so much easier than I thought.
Thank you.
Meegan,
You are so sweet! Thank you. 🙂
When we first bought our home years ago it was filled with the strangest wallpaper that was a nightmare to remove! I’m so tempted now to do an accent wall…thank you for this info!
Wall paper scares me but your tutorial is so good! Thank you for all the helpful tips!
Blown. Away!!!!!!!!! Wallpaper scares me too, but WOW, to have a focus wall (is that the right word?) like yours and reading your tips makes me want to rush out and start shopping around. I adore how your basement looks.