

Hey there! I am so excited to be sharing today’s project with you! If you’re a regular here (and I hope you are!), we started a project eight weeks ago that I thought would take us maybe three weeks tops. You can see my mood board for the project here. We did the project in conjunction with the Spring One Room Challenge specifically because they added small projects this season. I was over here waving my arm, “I’m in, I’m in! This will be easy!” Pfttttpft. Life said… “Hmm, not so fast.” Well, although we ran into several bumps along the way, I am happy to announce our stylish mini refresh for our entryway/mudroom is COMPLETE!
So for reference, this is where we started when we bought the house last fall. It wasn’t horrible, but I just felt it could be better. This will be a part-time vacation rental and we will live in it during the off-season to be closer to our grandkids.

Mudroom Refresh: Choosing Porcelain Floor Tile.
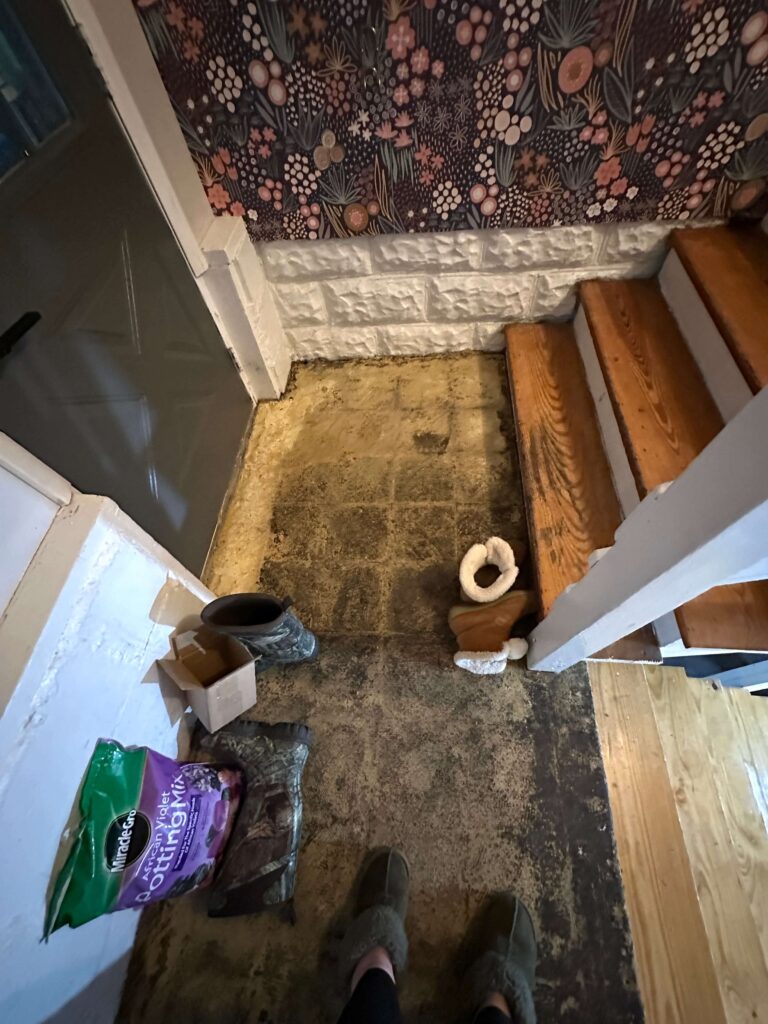
The entire project started with the stinky indoor outdoor carpet in the entryway. It was at least 30 years old and smelled like a wet dog. So that is where we started. We were making quick work on the Entryway/Mudroom refresh at this point.
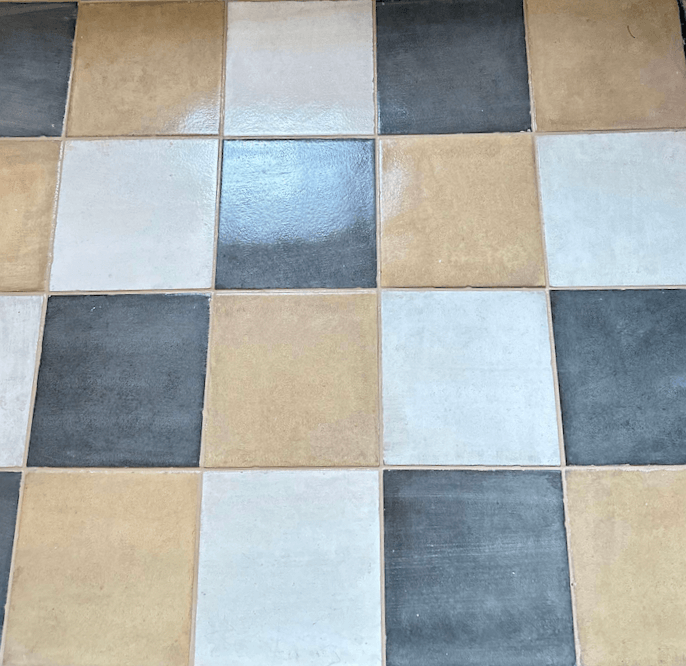
So, with tile in mind, I started stalking Pinterest. I totally fell in love with a tile pattern I found, but it was pricey. My obsession then became hunting down a lower-cost option. And guess what? I did! It was the perfect solution. Porcelain for the win! It’s incredibly durable for high-traffic areas, the pattern turned out absolutely fabulous, it’s an easy DIY project, and I even found it at a reasonable price! From Wayfair of all places!
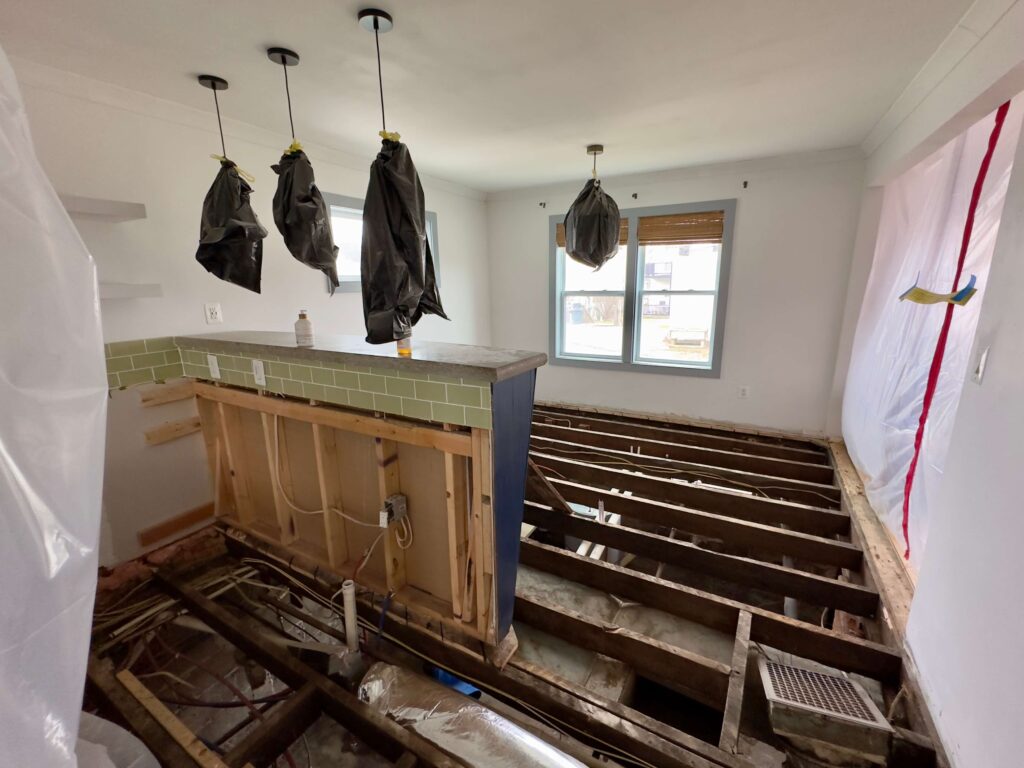
At this point in the “small project renovation,” we went home to the lakehouse for a weekend to hang out and to check on our rental properties and it’s a good thing we did. We walked into one of our vacation rentals and found we’d had a sewage leak that ruined the floors of our kitchen and dining area. Ugh. This set us back a few weeks while we sorted out the cleanup.
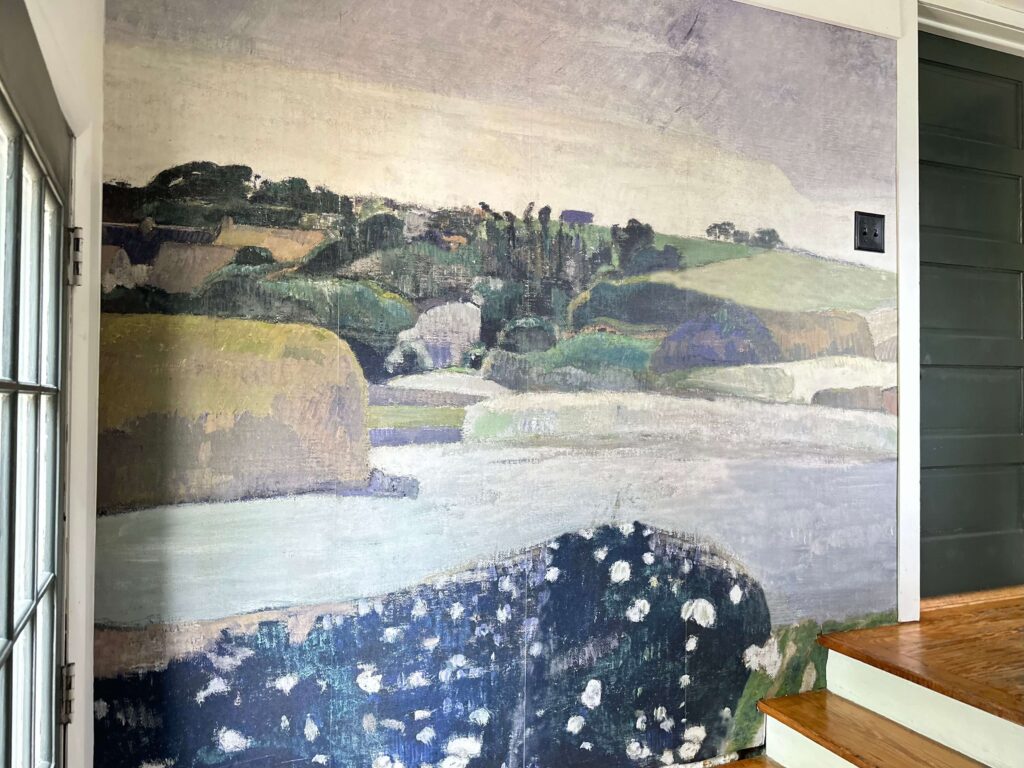
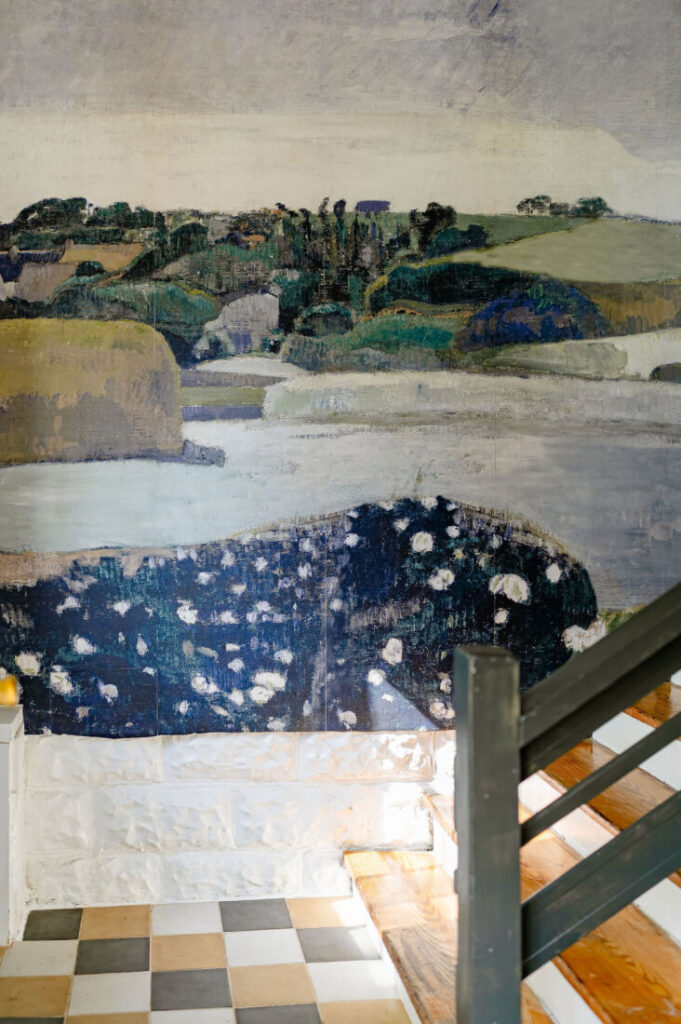
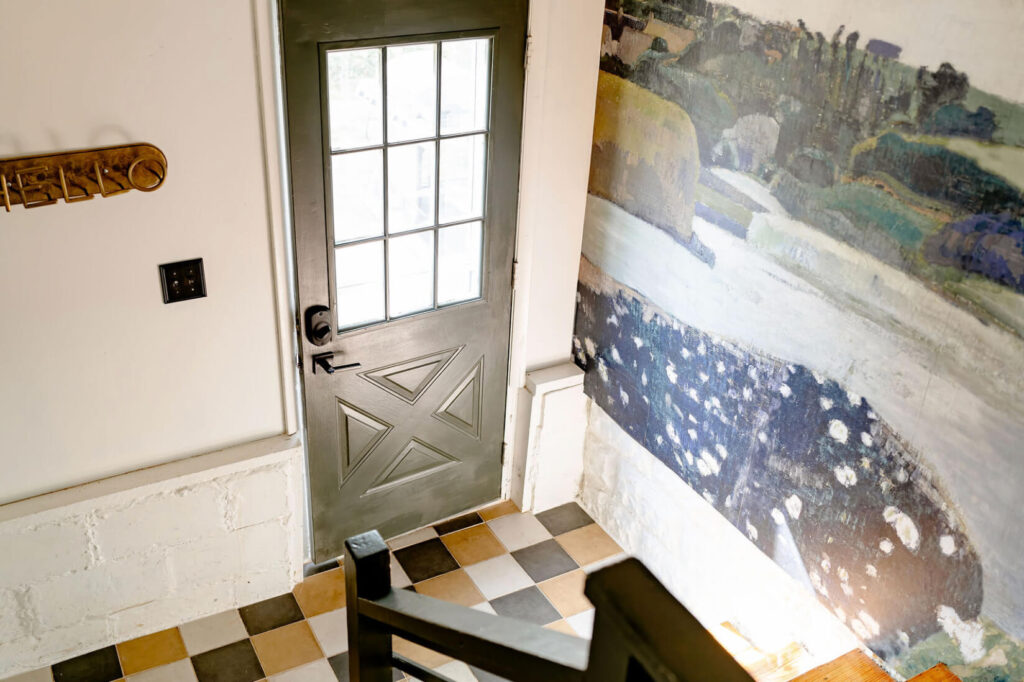
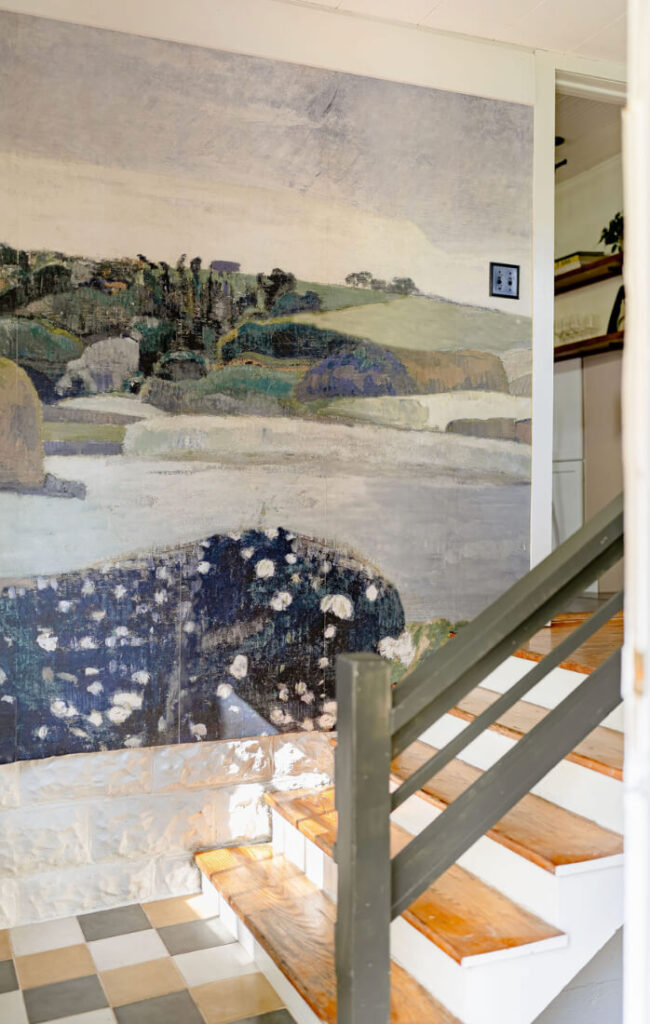
Rebel Walls Mural: Our Entryway’s New Feature Wall
Next up was replacing the peel-and-stick wallpaper on the wall. It was a floral print that was starting to peel and, honestly, just wasn’t my style. Lately, I’ve become a huge fan of Rebel Walls, so that’s where I started looking. When I came across this wall mural, it was love at first sight! I bought the traditional wallpaper that you paste (which I actually prefer), and it should have been an easy DIY. However, I was tired (working on too many projects at once) and made a huge mistake during installation, and omg! 🤦♀️ You can see all the messy details and how I fixed it here. Despite that little hiccup, I absolutely love the colors and quality of this mural!
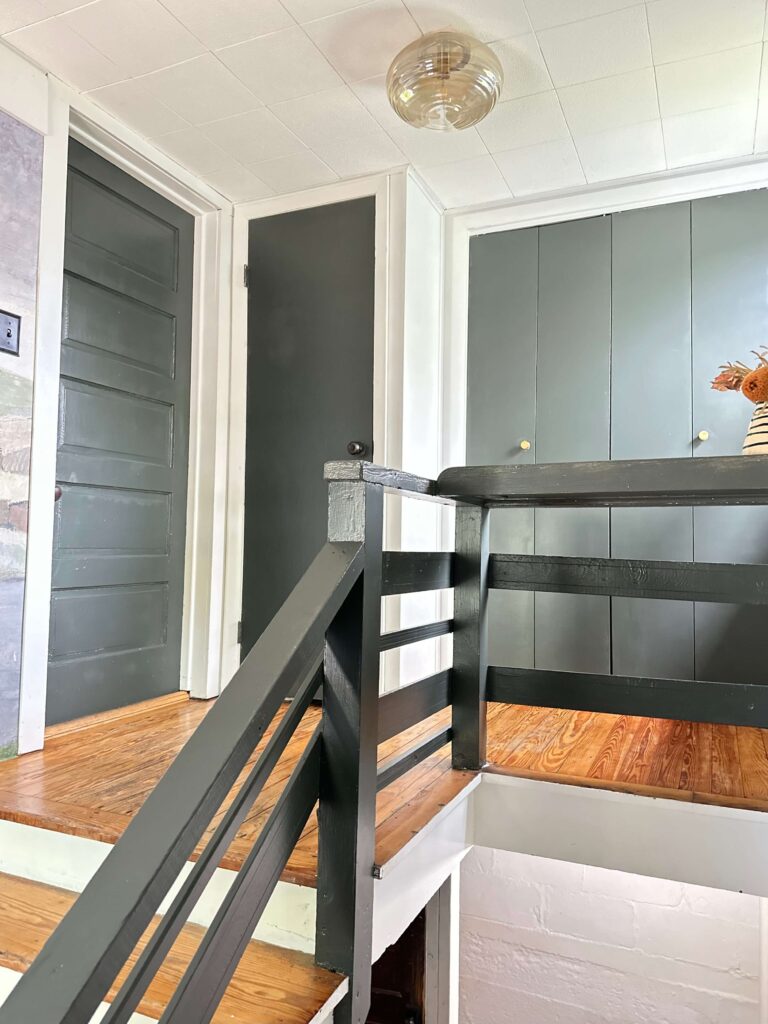
Dramatic Impact: Painting Doors & Stair Rails SW Rock Bottom
We used their Door and Trim paint for durability, and the finish was absolute perfection. There’s a great deal of natural light in the space, and between all that luscious light and the semi-gloss on the doors (I loved it so much I painted the chair rails too!), the light still beautifully fills the space.
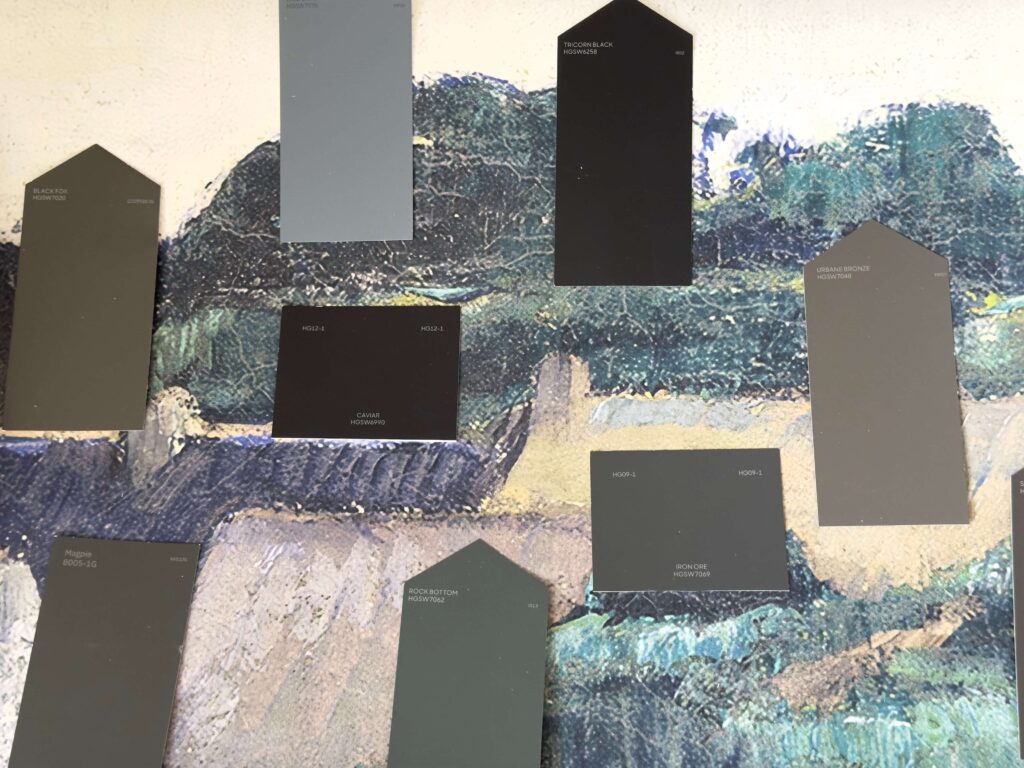
Once the mural was chosen, I knew I wanted to paint the doors dark – I do love a dark door! I really wanted the entire Entryway/Mudroom mini refresh to feel warm and moody. I waffled a bit since I’m a huge fan of SW Iron Ore, but ultimately went with the gorgeous gray-green of Sherwin-Williams Rock Bottom (SW7062).
Entryway & Mudroom Refresh: The Finishing Touches
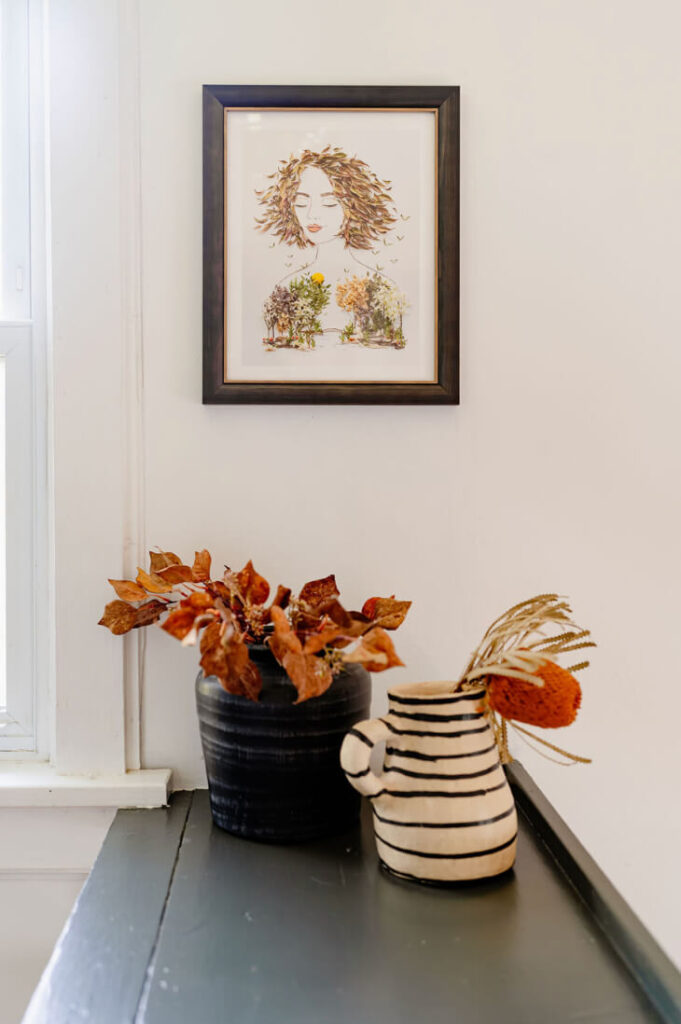
I added some favorite art from Sisters Golden and a coatrack, and I’m still on the hunt for new doorknobs and hardware for the closet doors, but we are so happy with how it turned out!
I truly want to thank the One Room Challenge, as we might have just quit with all the setbacks and returned to this in the Fall. But having it completed feels so good! We have the house rented for the summer, and it’s time to return to the lakehouse for some REST!
Until next time,
-Libbie
You may also like:
