
It’s week six of the One Room Challenge, which means it’s time for the big REVEAL! We have renovated our basement from the exposed ceiling to the floors!! And I have just to put it out there: I am really proud of this space. This was our SIXTH ORC, and this is hands down my favorite. We worked very hard to take a large, damp storage space and turn it into a comfortable lower-level living area. Did you see what I did there?!?…no longer a basement but a lower-level living space! Wait until you see! The flooring, the painted exposed ceiling, and those accent walls, woo-hoo! So exciting. So, let’s take a look at our DIY basement renovation reveal!
As I mentioned, this is my sixth ORC. So, before we get to the reveal, let’s take a quick trip down memory lane through my past One Room Challenges.
FALL 2017 / FALL 2018 / SPRING 2019 /FALL 2019 / SPRING 2020
A note: Thank you to all the sponsors that gifted products to make this makeover possible. I’ve listed them at the end of the post.
Are you ready to see? Here we go!

DIY Basement Renovation:
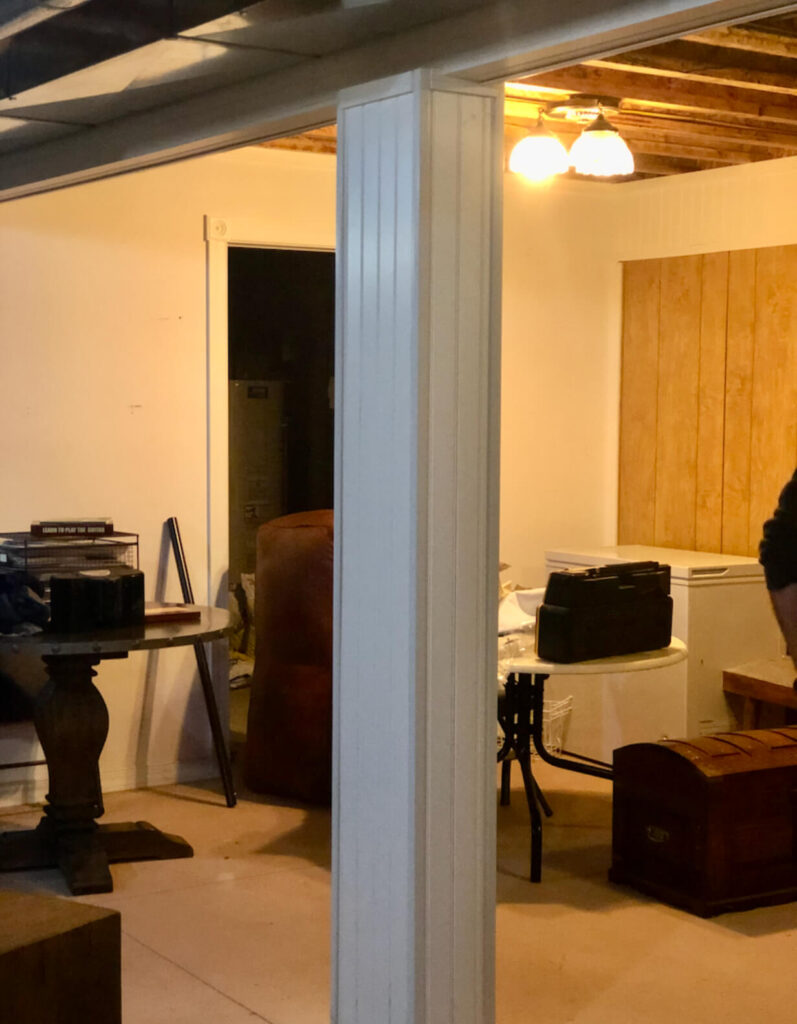
And you can’t have a good reveal without before pics…here’s where we started:
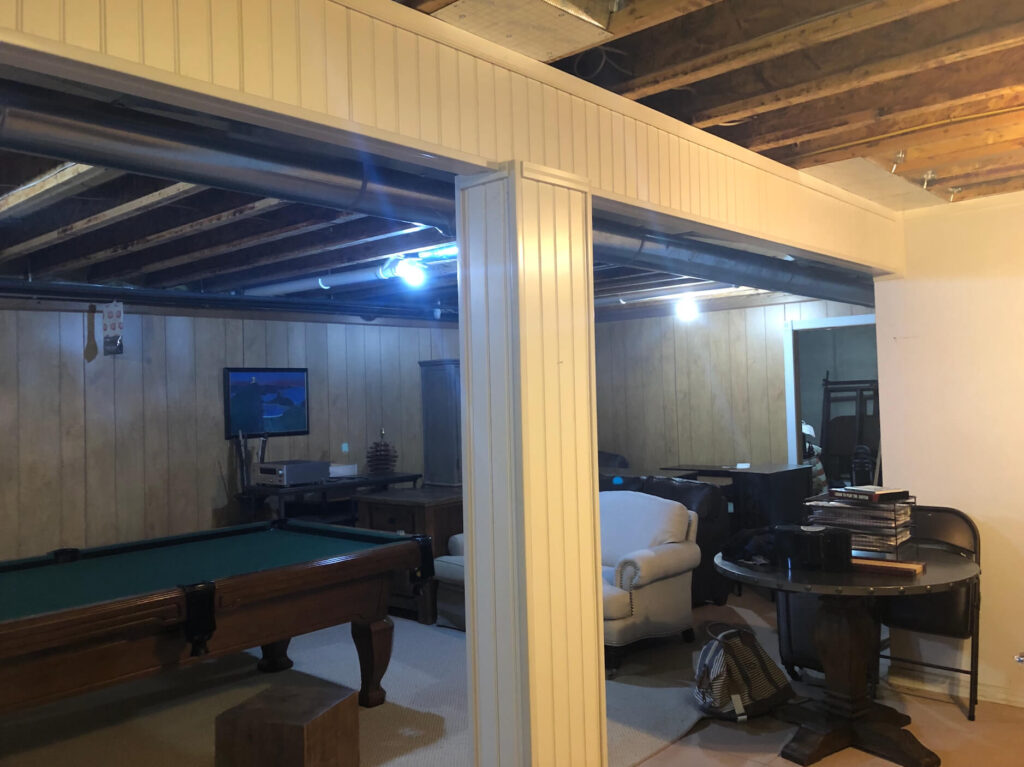
We were using this basement space mostly for storage.
You can find the mood board and design plan for the basement remodel in this blog post.
Let me walk you through the most significant changes. First, we ditched the existing mismatched wall treatments and had the walls drywalled.
Painting the Ceilings Black (or almost black):
Once that was completed, we painted the entire exposed beam ceiling with Sherwin Williams’ 2021 Urbane Bronze (SW7028). It made a huge impact on the space and allowed us to keep the ceiling height. The paint color is not exactly black but more of a very dark grey, and I absolutely love it!
After the ceilings, we moved on and painted the walls with the oh-so-beautiful SW Alabaster (SW7008). I love the warm glow the walls have now, especially with the lack of natural light.
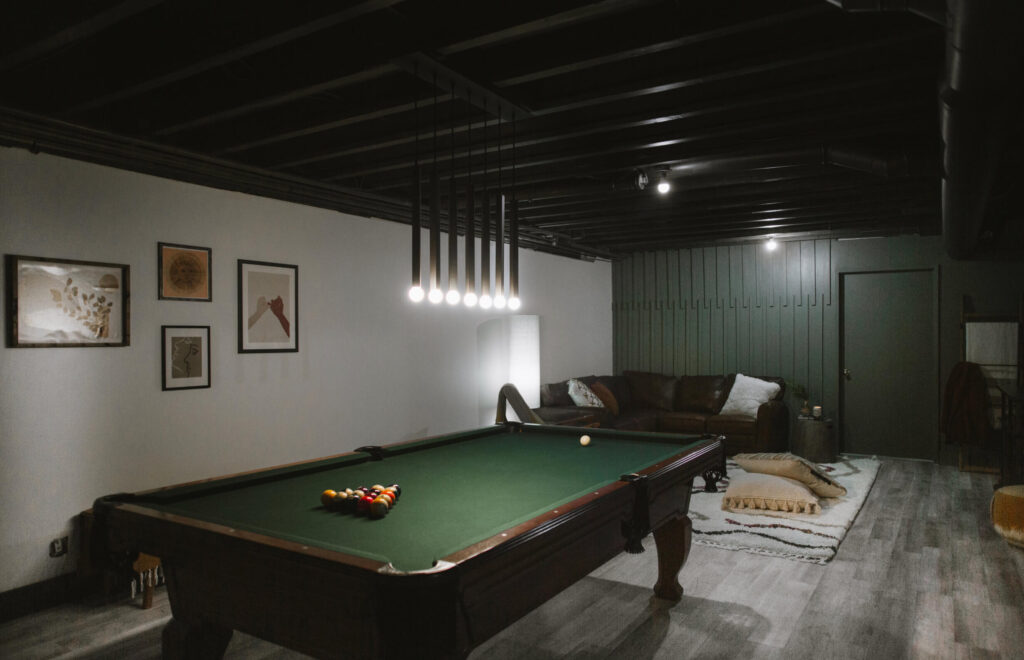
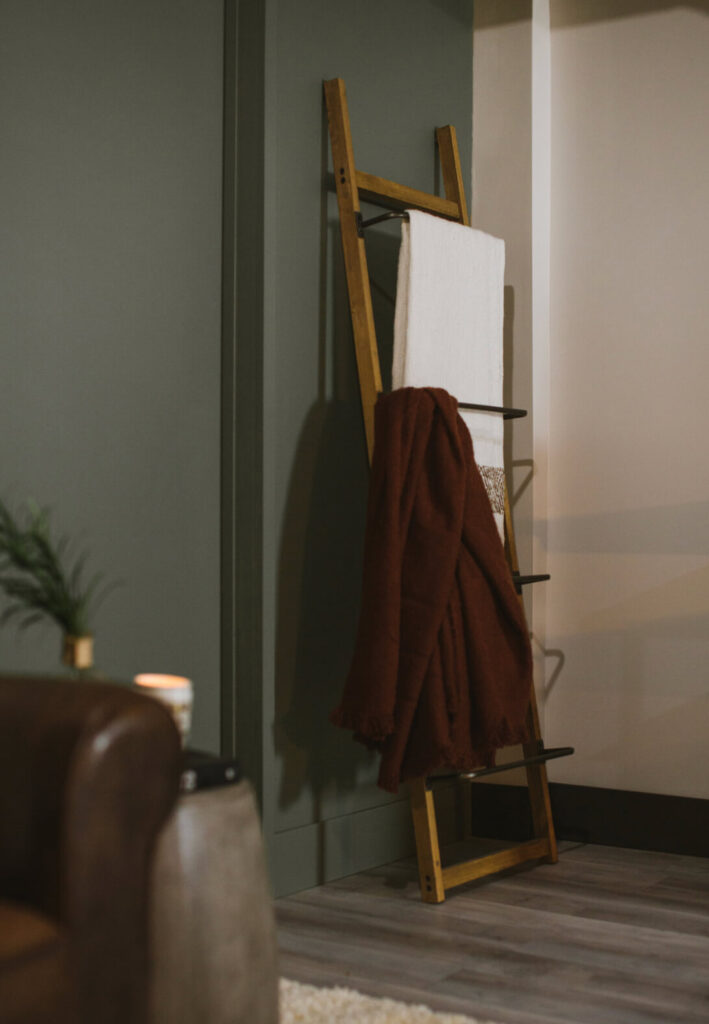
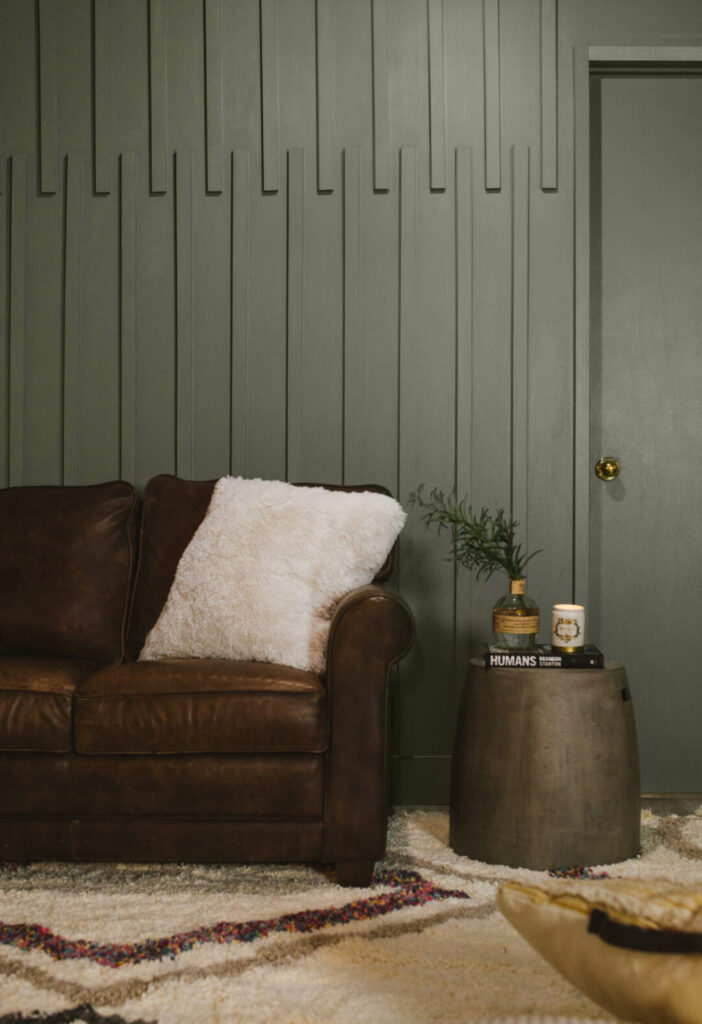
Added a Green Wood Accent Wall:
The back wall was feeling a bit blah in the far corner of the basement. I wanted something to draw you into the room while still remaining neutral and warm, so we added a bit of wood for texture and painted the entire wall and trim Retreat by Sherwin-Williams (SW 6207)—a shout-out to Wagner, who gifted us a paint sprayer. Without spraying the ceiling, I have no doubt we would still be down there working on it. ;-
Just beyond the green door is a room the perfect size for a guest bedroom or home office. We need to work on adding a new egress window before we get started, but I am already imagining it!
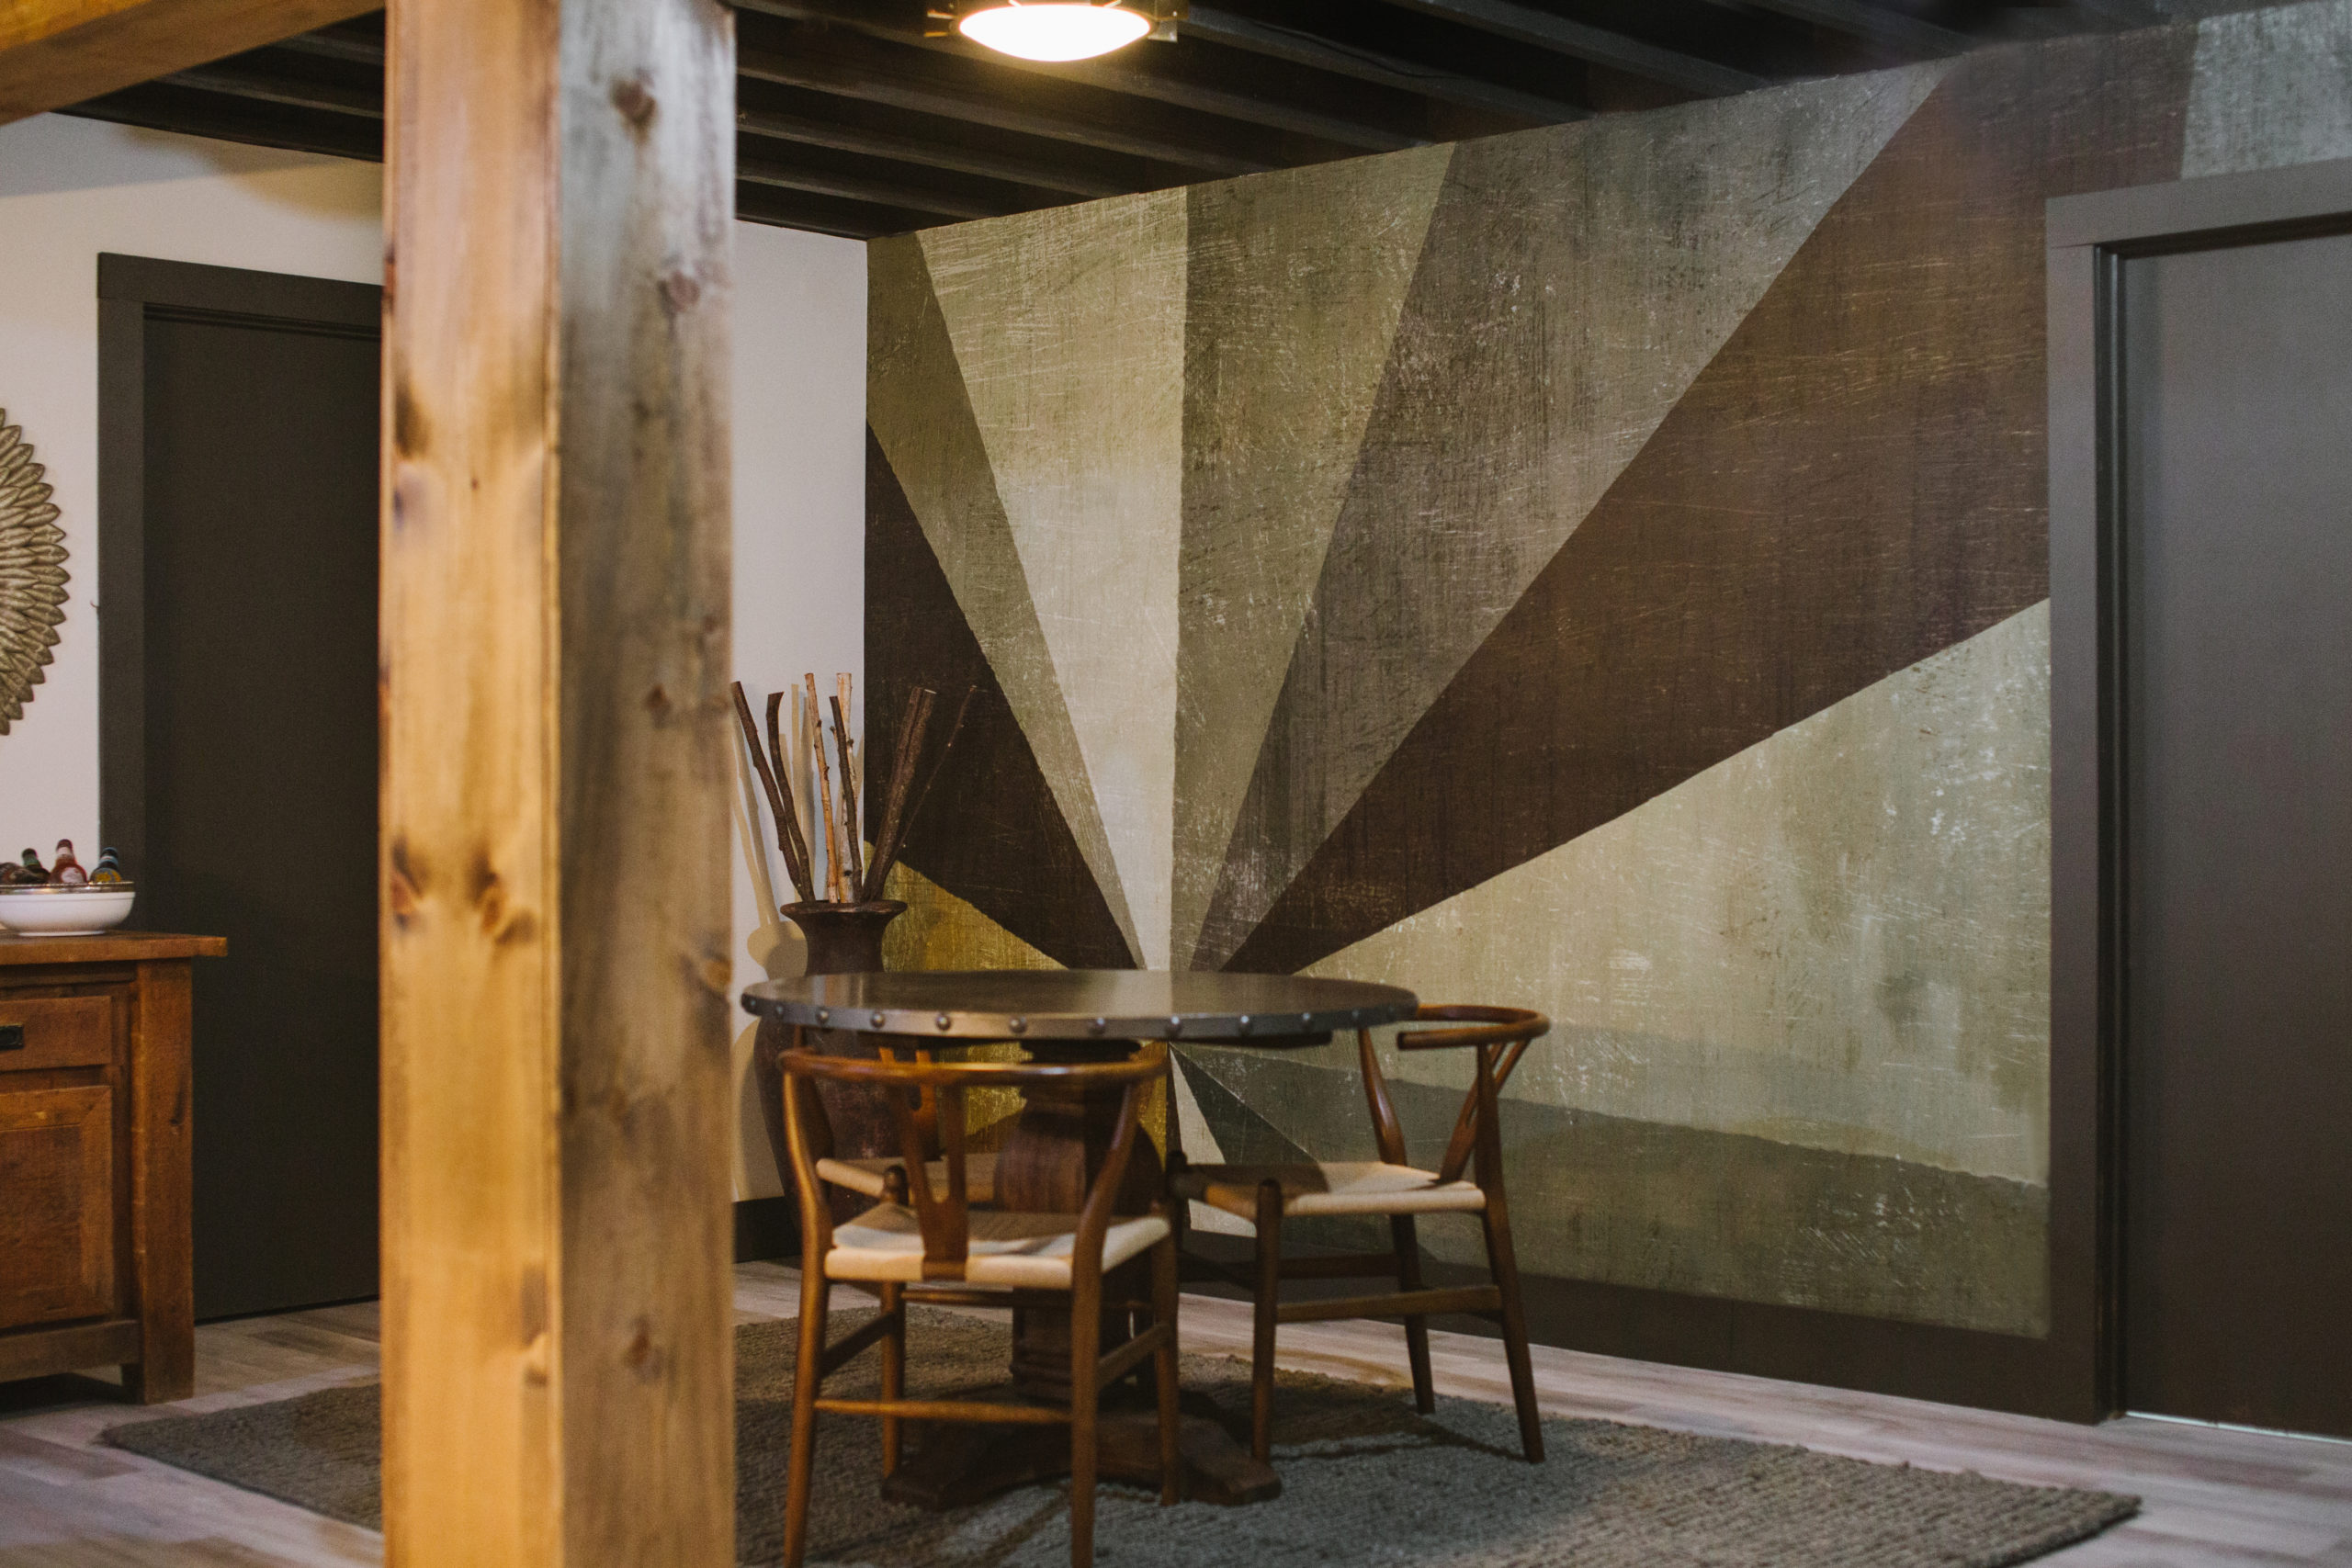
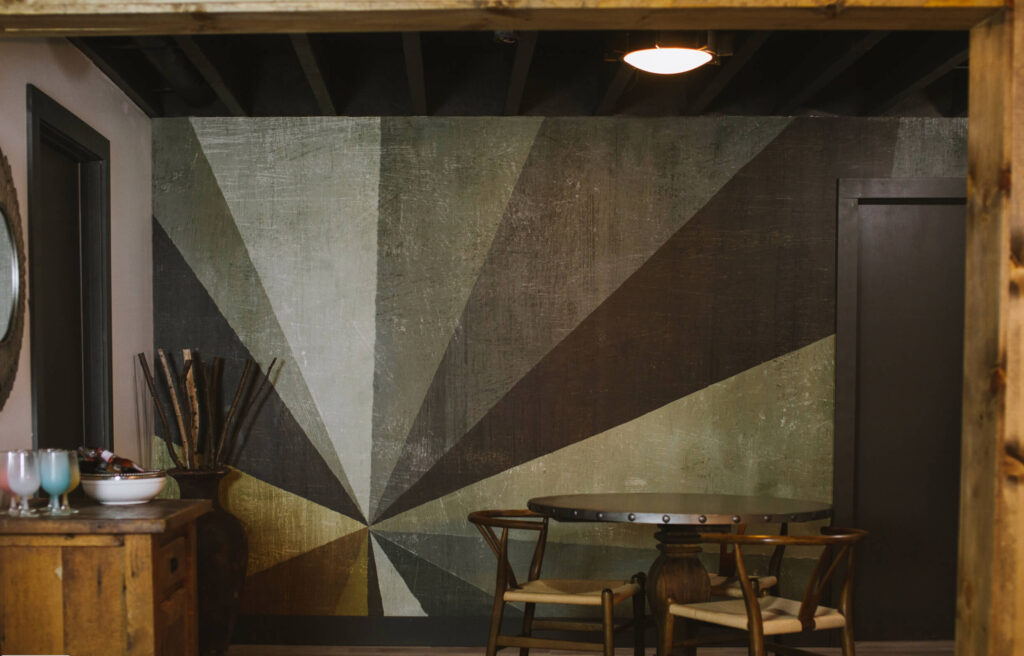
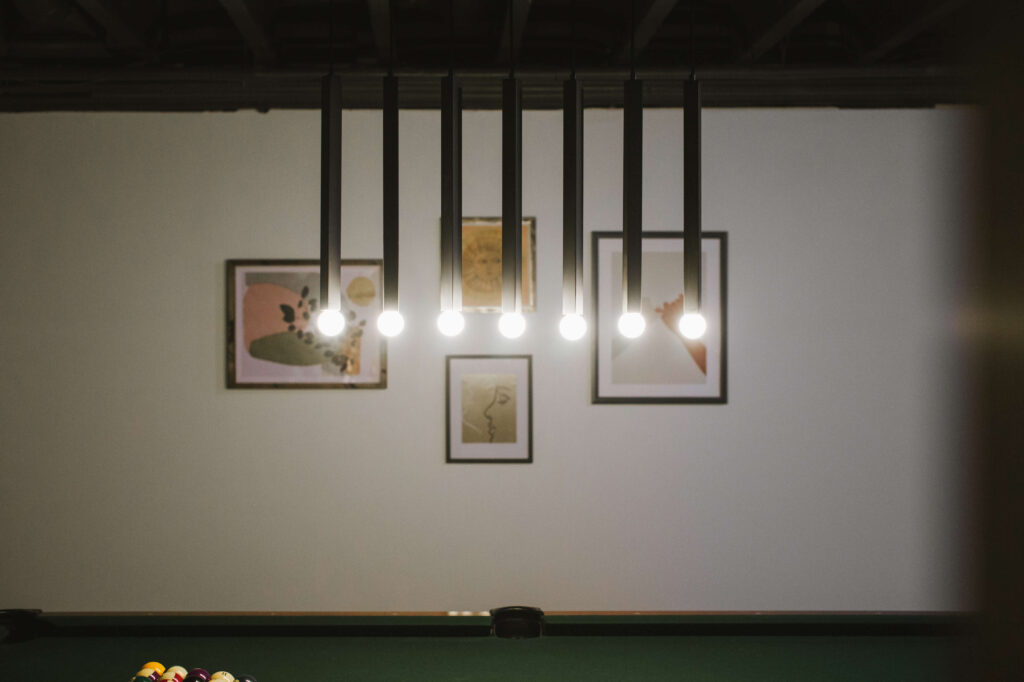
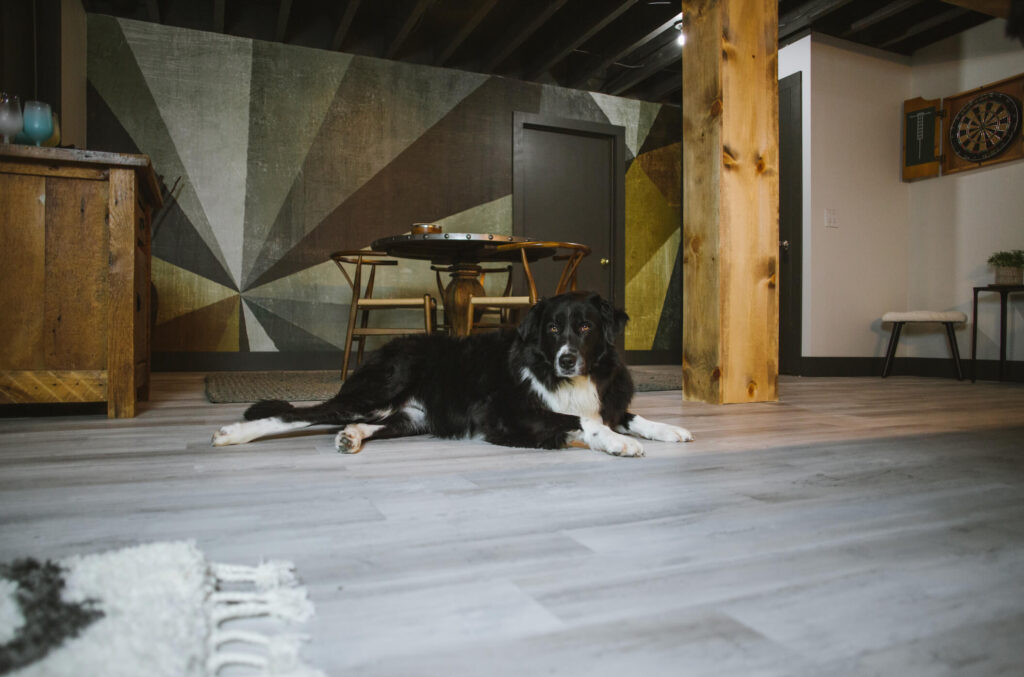
Installed a Wall Mural:
We then added the Wall Mural from Photowall. I chose this for its bold graphic design, as the mood I was going for was a cool downtown bar vibe. It was easy to install, and I love the graphic print.
DuraDecor Peel and Stick Floors:
Our next project was something I like to call flooring gate. I originally wanted to paint the floor and call it good. At most, spend some time with a stencil for a bit of color. Dave was a hard no on that idea. He really wanted new flooring. My reasoning was simple. We live on a lake—a place with lots of water. We could not put down an expensive floor that might someday be ruined. I’ve lived through two major basement floods. But then DuraDecor reached out with the perfect solution. Peel and stick luxury vinyl tile. We could DIY it ourselves, saving the cost of installation. I will be posting all about it next week, but for now, let me show you how pretty it looks.
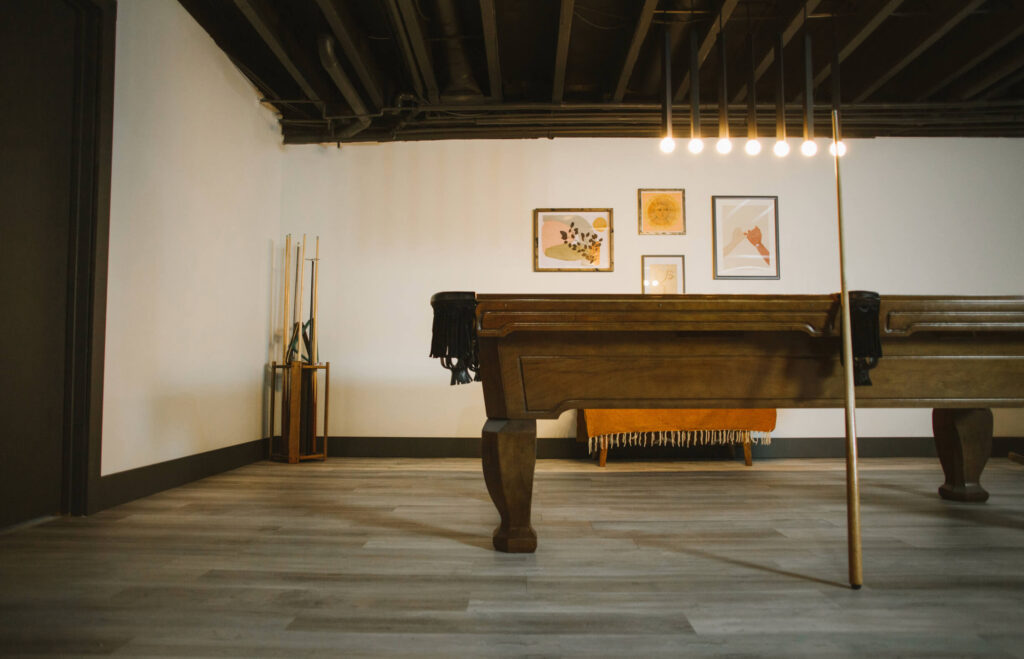
Sexy Lighting:
I believe that small things make a room, and lighting is a perfect example. This was a last-minute addition and one of my favorite details in the basement renovation.
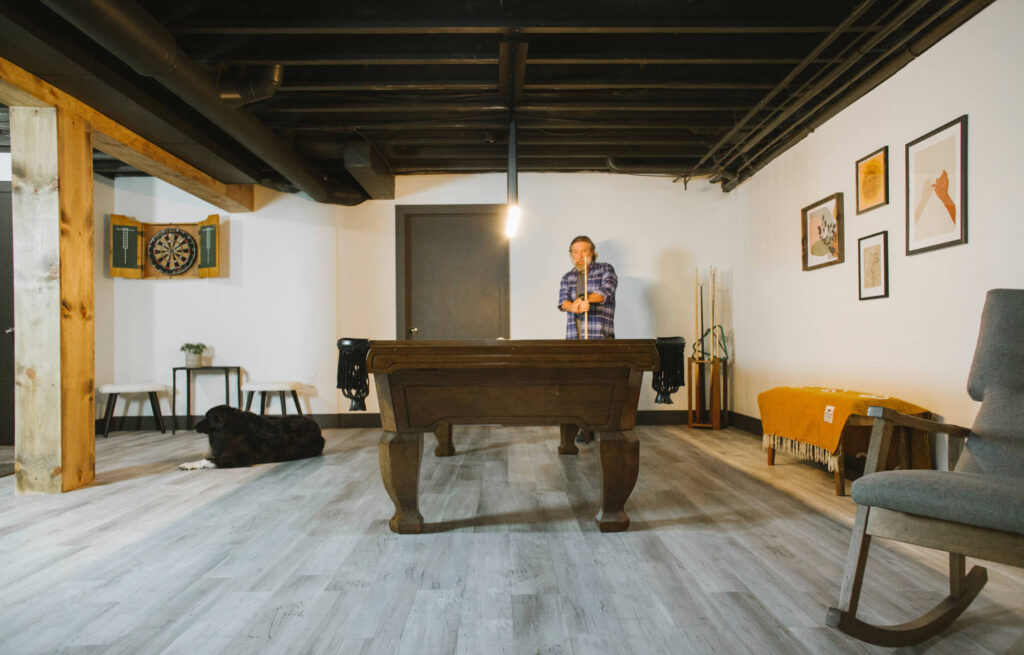
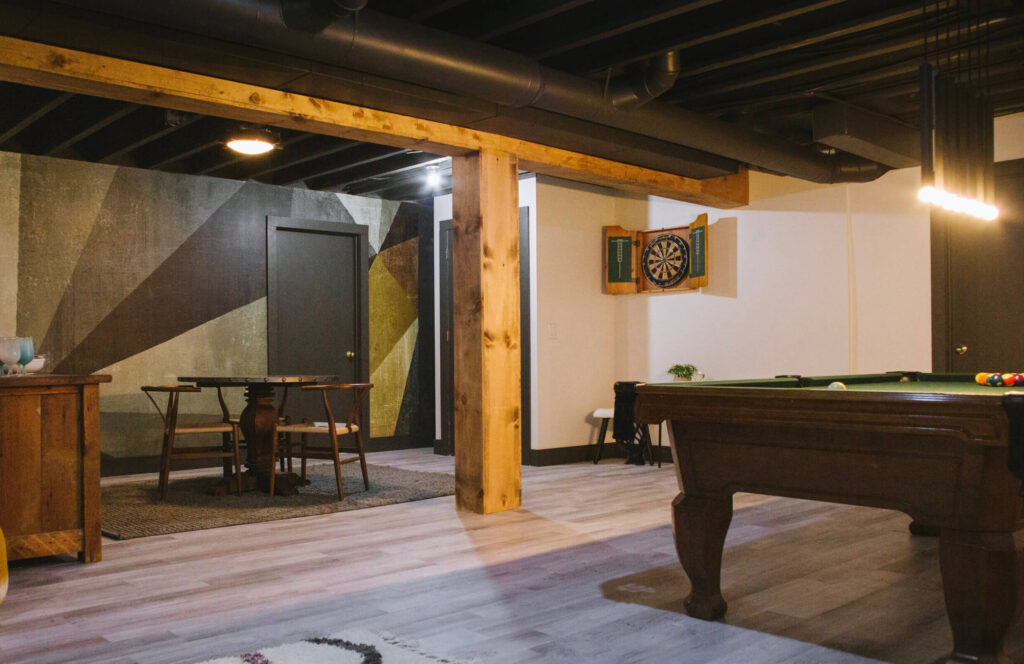
Wood Wrapped Poles:
Our final DIY project in the basement remodel was wrapping the support posts in wood plank and then staining them in a medium brown. It added warmth and so much character! We are so pleased. This side of the space is the Game Room. It has ample room for darts and playing pool, and the table is perfect for game nights! We are big board game fans as well as playing Euchre (a midwestern card game). Most visits with our adult kids end with games of some sort.
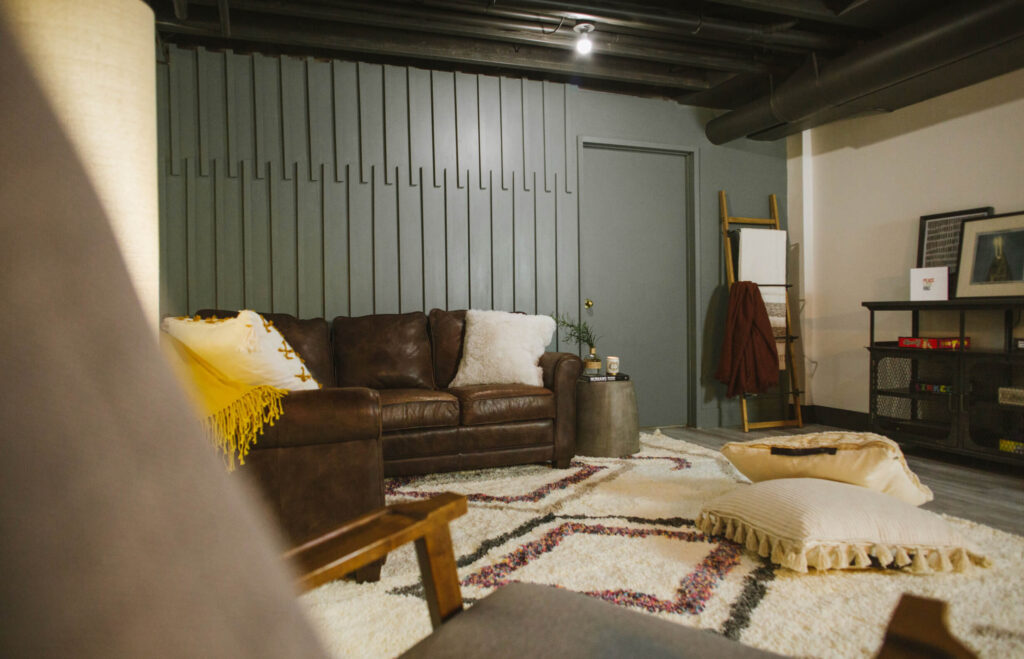
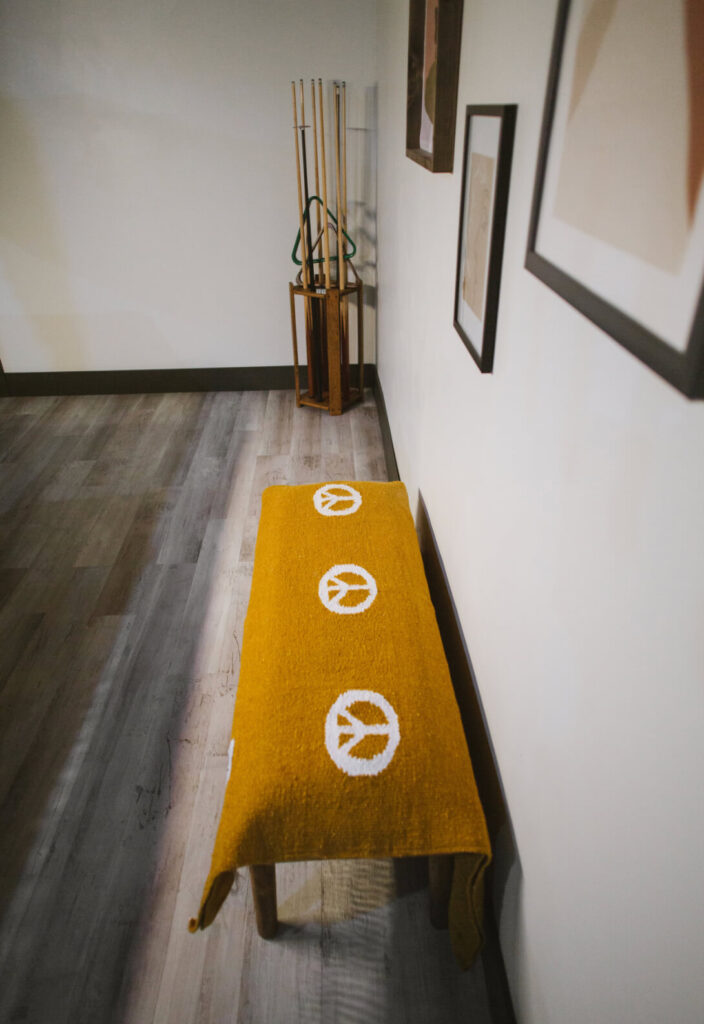
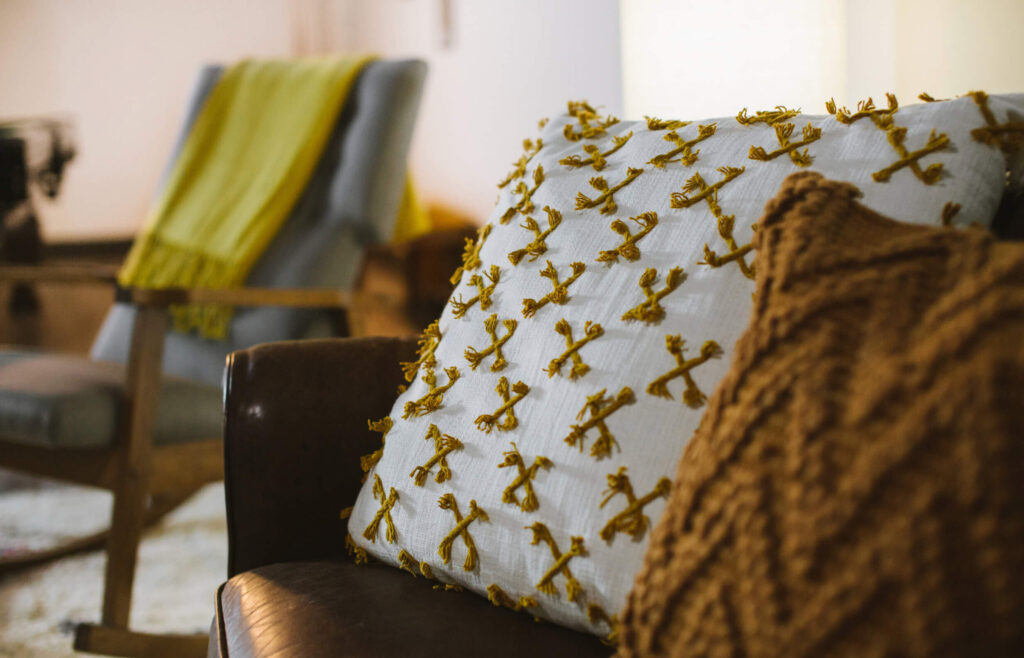
Cozy Textiles:
Finally, I added lots of soft textural throws and pillows for cuddling. You can’t have a great hang-out space without cozy comfort! The rug below was gifted from Well Woven. I mixed old furniture and some new items together, and the end result was perfect for family movie night.
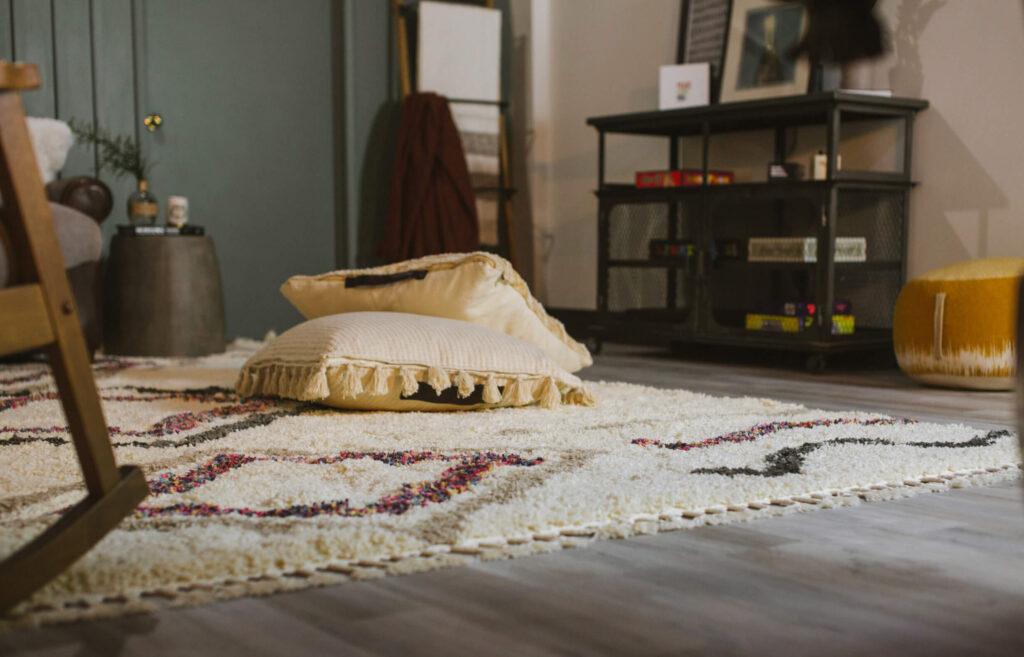
To the left of Lily is a small dry bar with a small beverage fridge. The only thing we didn’t finish is some open storage shelves (a perfect place for extra board games) next to the brown door which is our laundry room.
That is it for our DIY basement renovation reveal! I could keep showing pics (I told you I love this space), but perhaps I’ll call this One Room Challenge a wrap. But before I go.
A huge THANK YOU to Linda and her team from the One Room Challenge and Better Homes & Gardens for creating this platform for us to share our ideas, our processes, and DIYs, to give us a place to form friendships, and, of course, to celebrate our newly transformed rooms. It is a beautiful platform you have created. Thank you.
The featured designers share their finished virtual dream rooms, and the guest participants show off their gorgeous new spaces.
A big, huge shout out and THANK YOU to the following sponsors, who made this renovation possible. They gifted products, offered support, and generally cheered me on over the last six weeks.

CRYSTORAMA / DURADECOR / PHOTOWALL / WELL WOVEN
SHERWIN-WILLIAMS /WAGNER /WOVENBYRD
I cannot rave enough about the brilliant Helen Gardner for the photography! She makes my work shine. If you are in Michigan or Indiana, give her a call.
That’s it for now!
Until next time,
-Libbie
You May Also Enjoy:

Wow this looks incredible!! Such a great use of a basement space. I’m sure you’ll be hosting a lot of family members here, absolutely love the painted ceiling and accent walls. So much inspo!
Thank you!!!!
You and Dave have completed another amazing renovation! I love all that you have done to create a warm, welcoming space for your growing family.
I can’t wait until you can come see it my friend! I miss you!!!
Wow I luv the colors and what an amazing room🙋🏼♀️
Thank you, Ann! My husband is brushing up on his Pool skills as I type!
This turned out so good Libbie! The wall mural was such an incredible choice and that ceiling is giving me ideas for our basement. Well done!
Lisa,
We are so pleased with how it all came together. I love the One Room Challenge because it forces me to push through and get the space done! 🙂
Wow!!! What a great spot to hang out! The mural wall and wood accent wall look amazing.
I can’t believe how much I like that graphic print! Out of the box for me for sure but I am so happy I went with it.
This is totally amazing! The wall mural is stunning, and I love your use of color and texture! Beautiful job!
Thank you! We can’t wait to be able to host a game night!!
The perfect basement 😍
Abbie, we are enjoying it so much. We can’t wait to actually host our family here!
Libbie,
This is amazing. So happy we are featuring this on Wednesday for Charming Homes & Gardens Link Party.
Rachel
I am honored. Thank you so much!
I love how this turned out Libbie! This is such an amazing space. Thank you for sharing with Charming Homes and Gardens. So excited to be featuring you.
Thank you, Kim!
Wow Libbie! You really nailed this renovation! What a cool place to hang out. I really love that mural! Thanks for sharing it at Celebrate Your Story! Link Party. You’ve been featured this week 🙂
Thank you, Rebecca! You’ve made my day!!
Lovely! I am crazy about the green accent wall — and everything else. Bravo!
Thank you, Angela! A little outside my usual style and I am so happy with the results!
What an amazing transformation. I love it all, and especially that mural. Great work!
It turned out fantastic, Libbie! The wood beams are perfect, and I’ve never seen a wood slat accent wall quite like that. Super creative! So many great design choices and it all came together beautifully.
Do you remember the title of the wall graphic? Love it but couldn’t find it on their website.
Hello Betty,
This is the link to the wall mural.
https://www.photowall.com/us/triangulawesome-wallpaper. I have a code that will offer a discount if you decide to order. alifeunfoldingpw25
Let me know if you have any questions.
Libbie
Thank you for stopping by.