
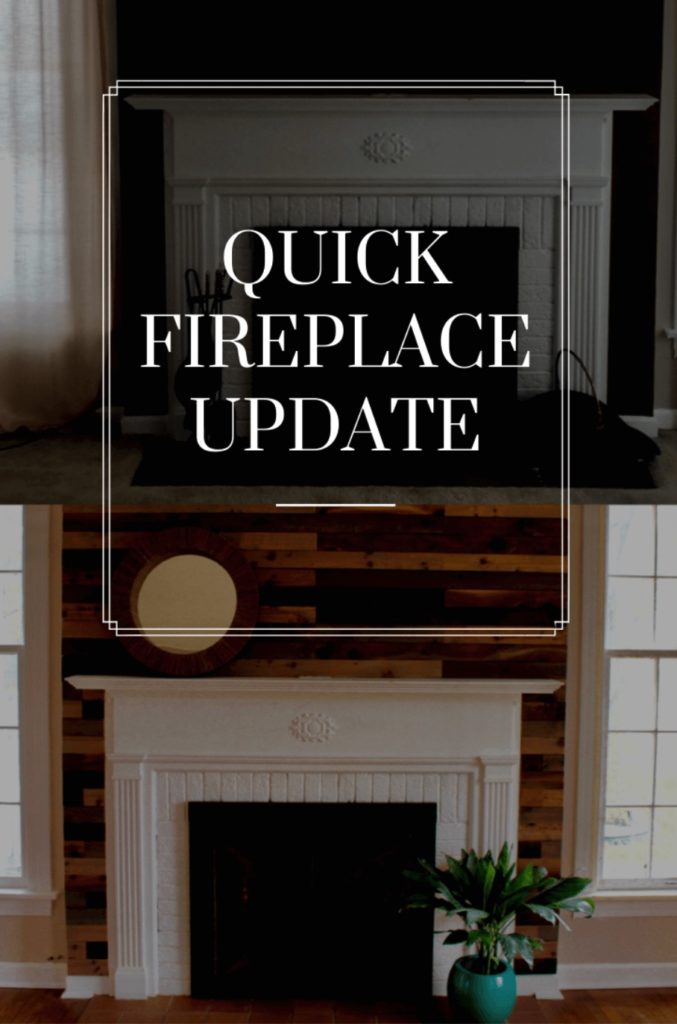
Today, I am sharing our quick and easy DIY fireplace update.
We recently bought a house that we are using as a rental property (yay, land Barons)! It’s a cute 1950’s house that needed A LOT of TLC and elbow grease (so much for being a Baroness). We wanted something quick and easy but that would help our rental stand out in a competitive market. We already have a pallet wall in the kitchen at our house here that we love so we decided to give this fireplace a wood treatment.
Quick and easy fireplace update:

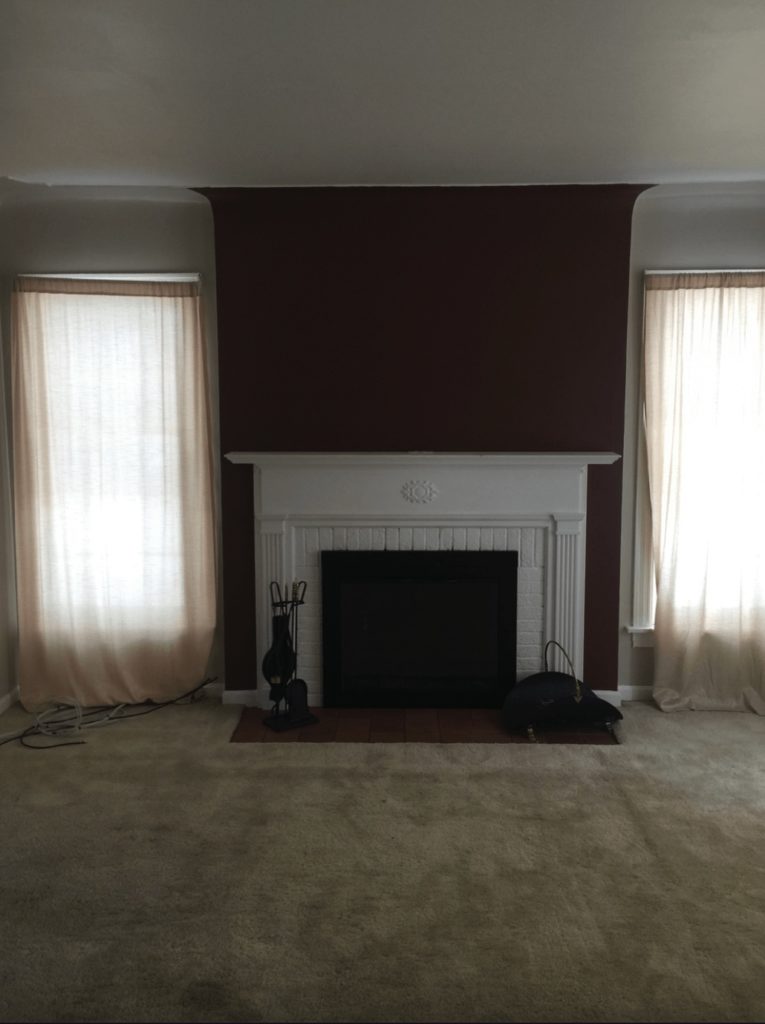
The before. Not horrible. But not great. Definitely in need of some love.
Wood Slat Fireplace Wall
Supplies:
- Stain- We used 3 colors by Min Wax –Weathered Oak, Dark Walnut and Expresso. I like the oil based wood stain.
- Sponge paint brushes (I like these for stain).
- Saw
- Pneumatic Nailer– We own this one.
- Pencil
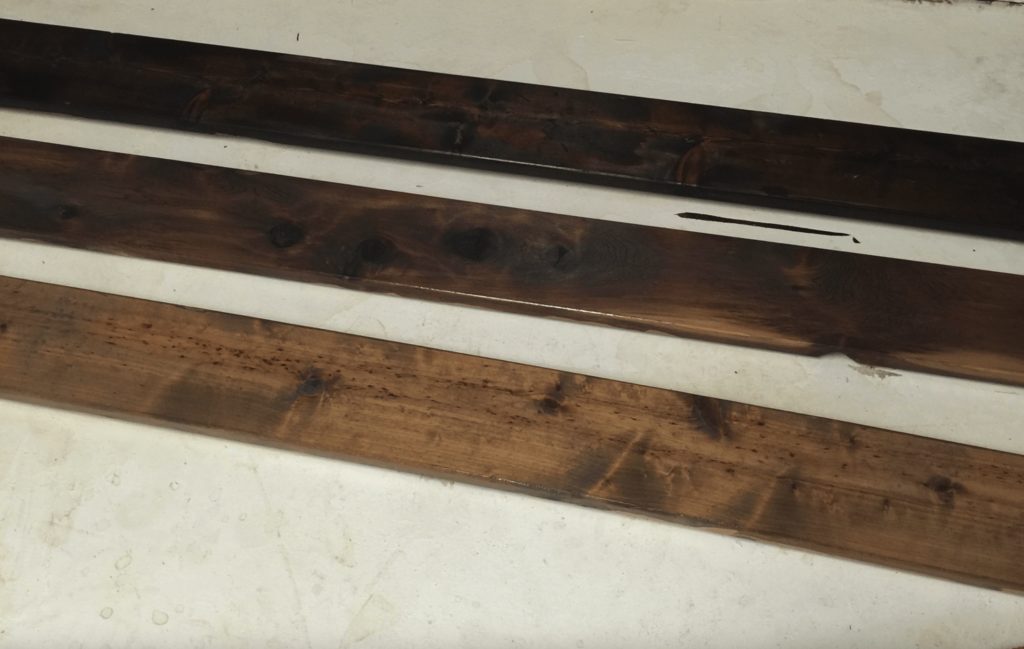
I started by staining with Minimax stain. The top board is Expresso, the middle board is Dark Walnut and the bottom Weathered Oak. I stained the sides so if the boards were uneven you would not see unstained wood, using new pine boards from Home Depot (our weekend date night hangout).
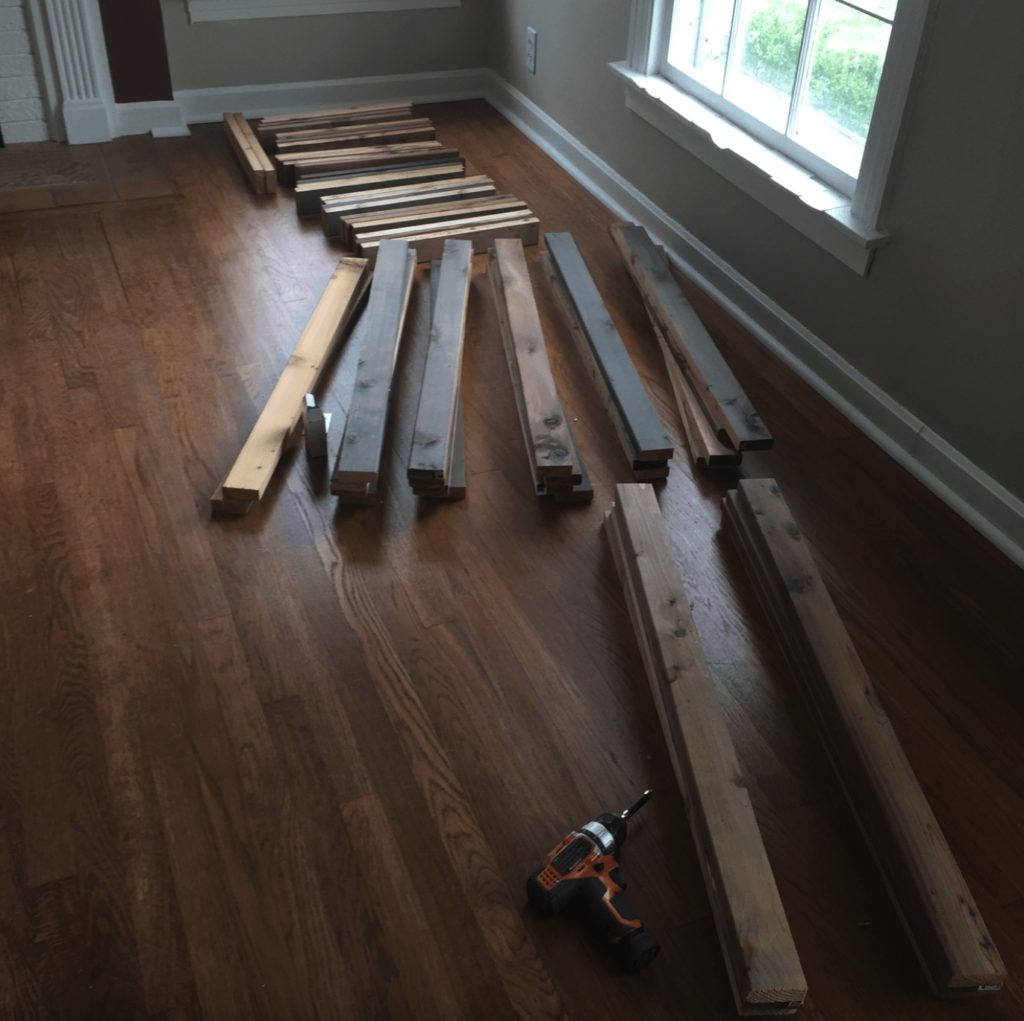
We (meaning hubby) cutting the boards into 6ft, 4ft and 2 ft sections.

On the bottom, hubby measured and cut as he went. The walls are terribly uneven, and it was just easier to hold the board up mark it with a pencil and cut. He nailed the boards to the wall using the pneumatic nailer.
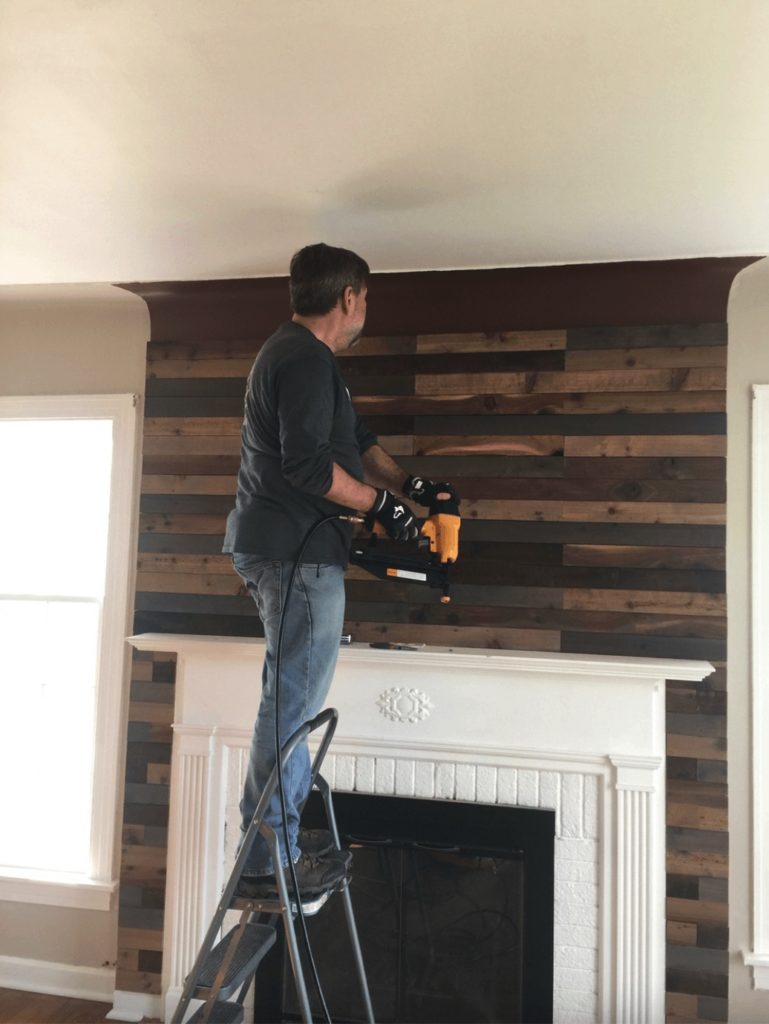
As hubby worked his way up to the ceiling, the wall curves a bit. Cutting the boards in half lengthwise helped the boards fit better.
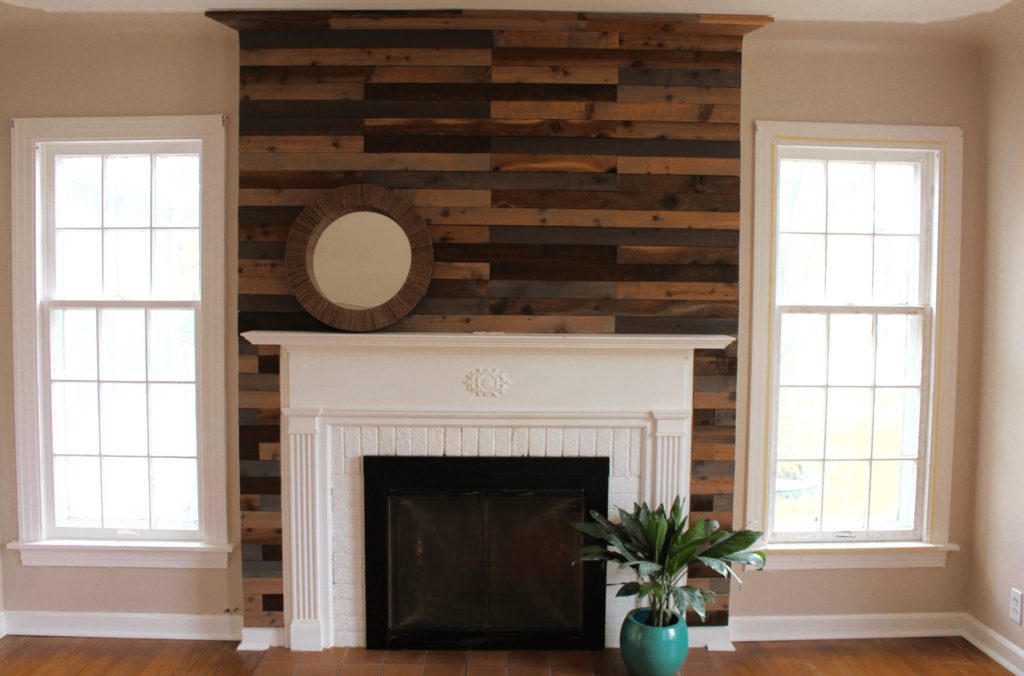
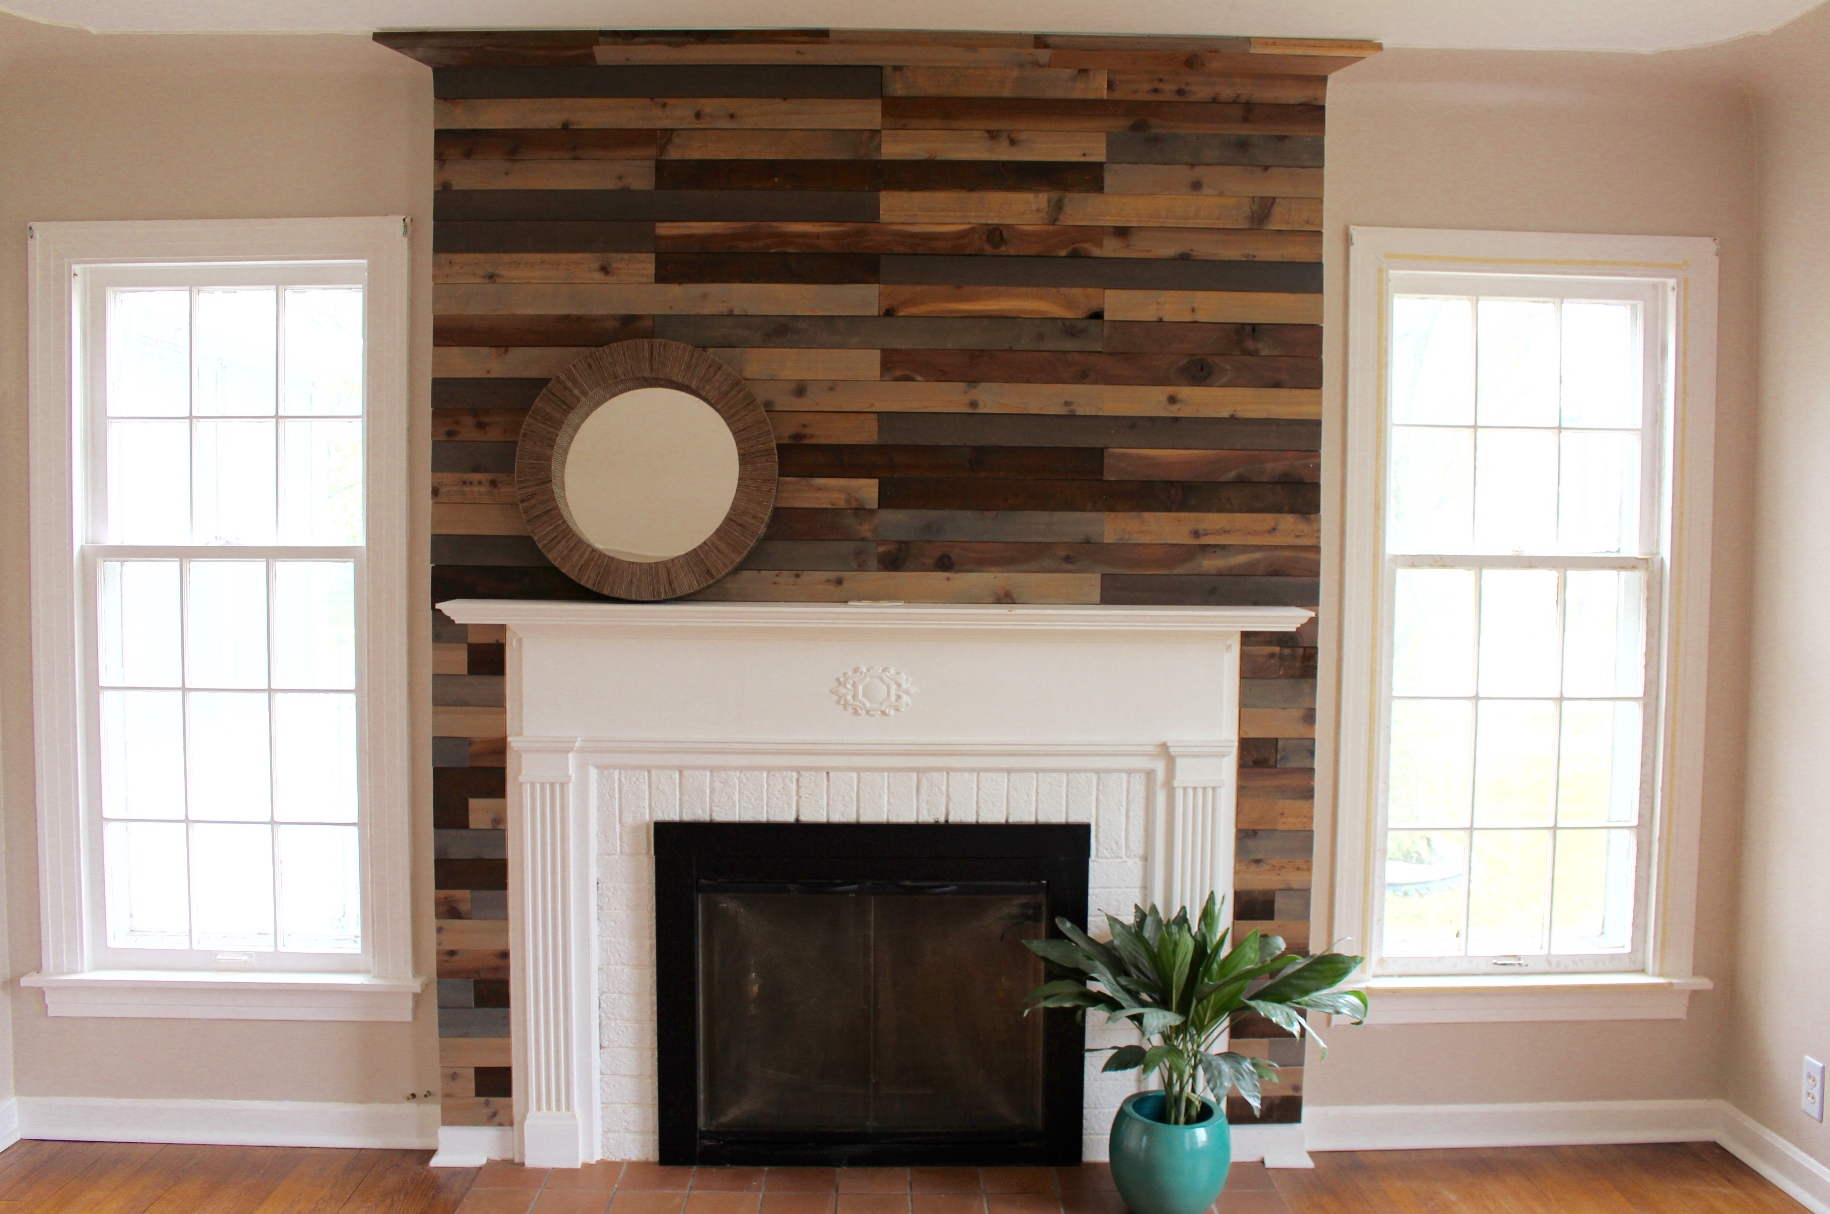
Finished! For about $65.00 and an afternoon of labor, this makes a great impact on how the house shows. Everyone that walked through the house commented on the wall. It was a great update to help this house stand out in the rental market.
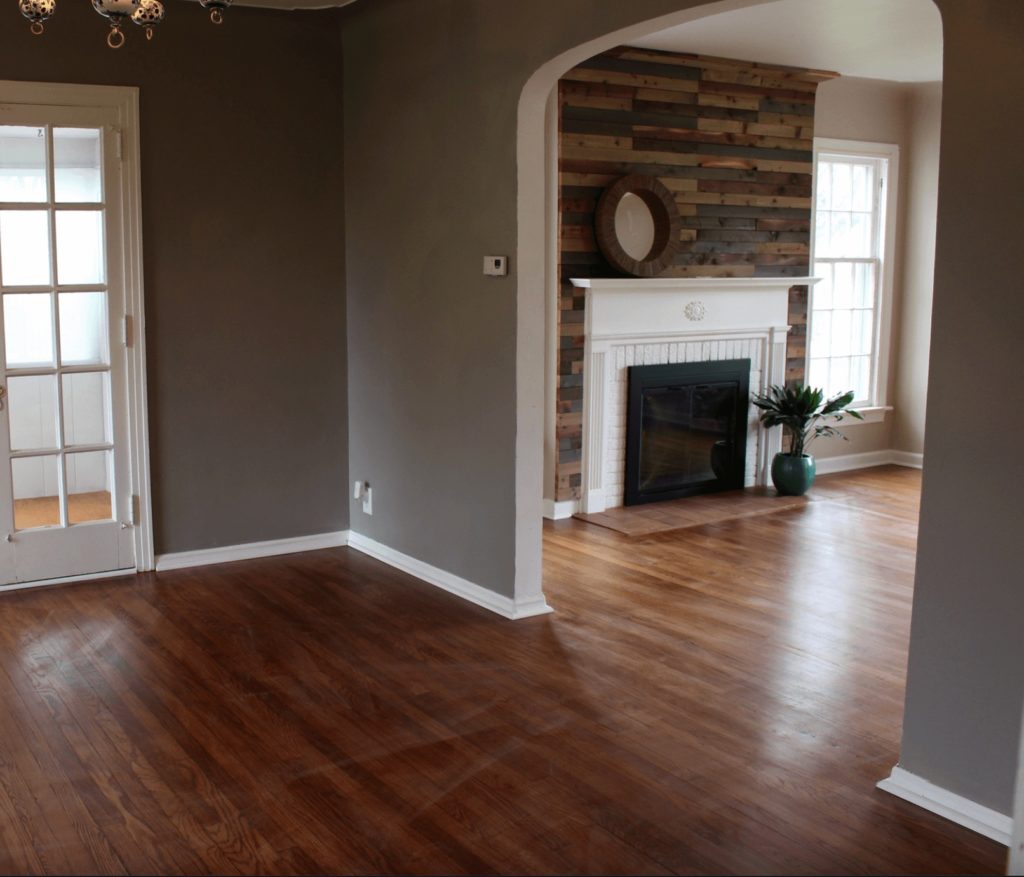
A slightly better photo showing the color. Ignore the floors, I did mop them after I took these shots!
See- quick and easy! The fireplace is actually not a working fireplace. I think that just makes us nervous when it’s a rental property. If later we decide to turn it into a working fireplace we would be sure to have a proper fireplace inspection first.
Take a look at a few of the other DIY’s we’ve done:
Until next time,
-Libbie

The fireplace looks amazing. What color is on the walls in the dining room or whatever room is in the last photo? It looks like a brown/gray color? Thanks
Hello Rachel,
This is a brown/grey called BALBOA MIST 1549. I can’t remember if it’s Benjamin Moore or Sherwin Williams.
Your fireplace looks amazing! I’d love to try this! Did you need to nail the boards into studs?
Lauren,
We tried to hit a stud as often as possible. But the boards that were not nailed into studs are holding up just fine also! We used a pneumatic nailer and it seemed to do the trick!
-Libbie
So very pretty! What a great idea.
Thank you, Sharon!
Thanks for linking up at the #UnlimitedMonthlyLinkParty 2! Shared ♥
Thank you, Dee!
And thank you for hosting!
Wow, what a transformation. I’ll be Pinning your post to my DIY board.
Thank you, Rhonda!
Congrats Libbie! Your post is FEATURED at the #UnlimitedMonthlyLinkParty 3! Party open now!
Thank you, Dee!!! How exciting. xx
[…] a través de A Life Unfolding […]