

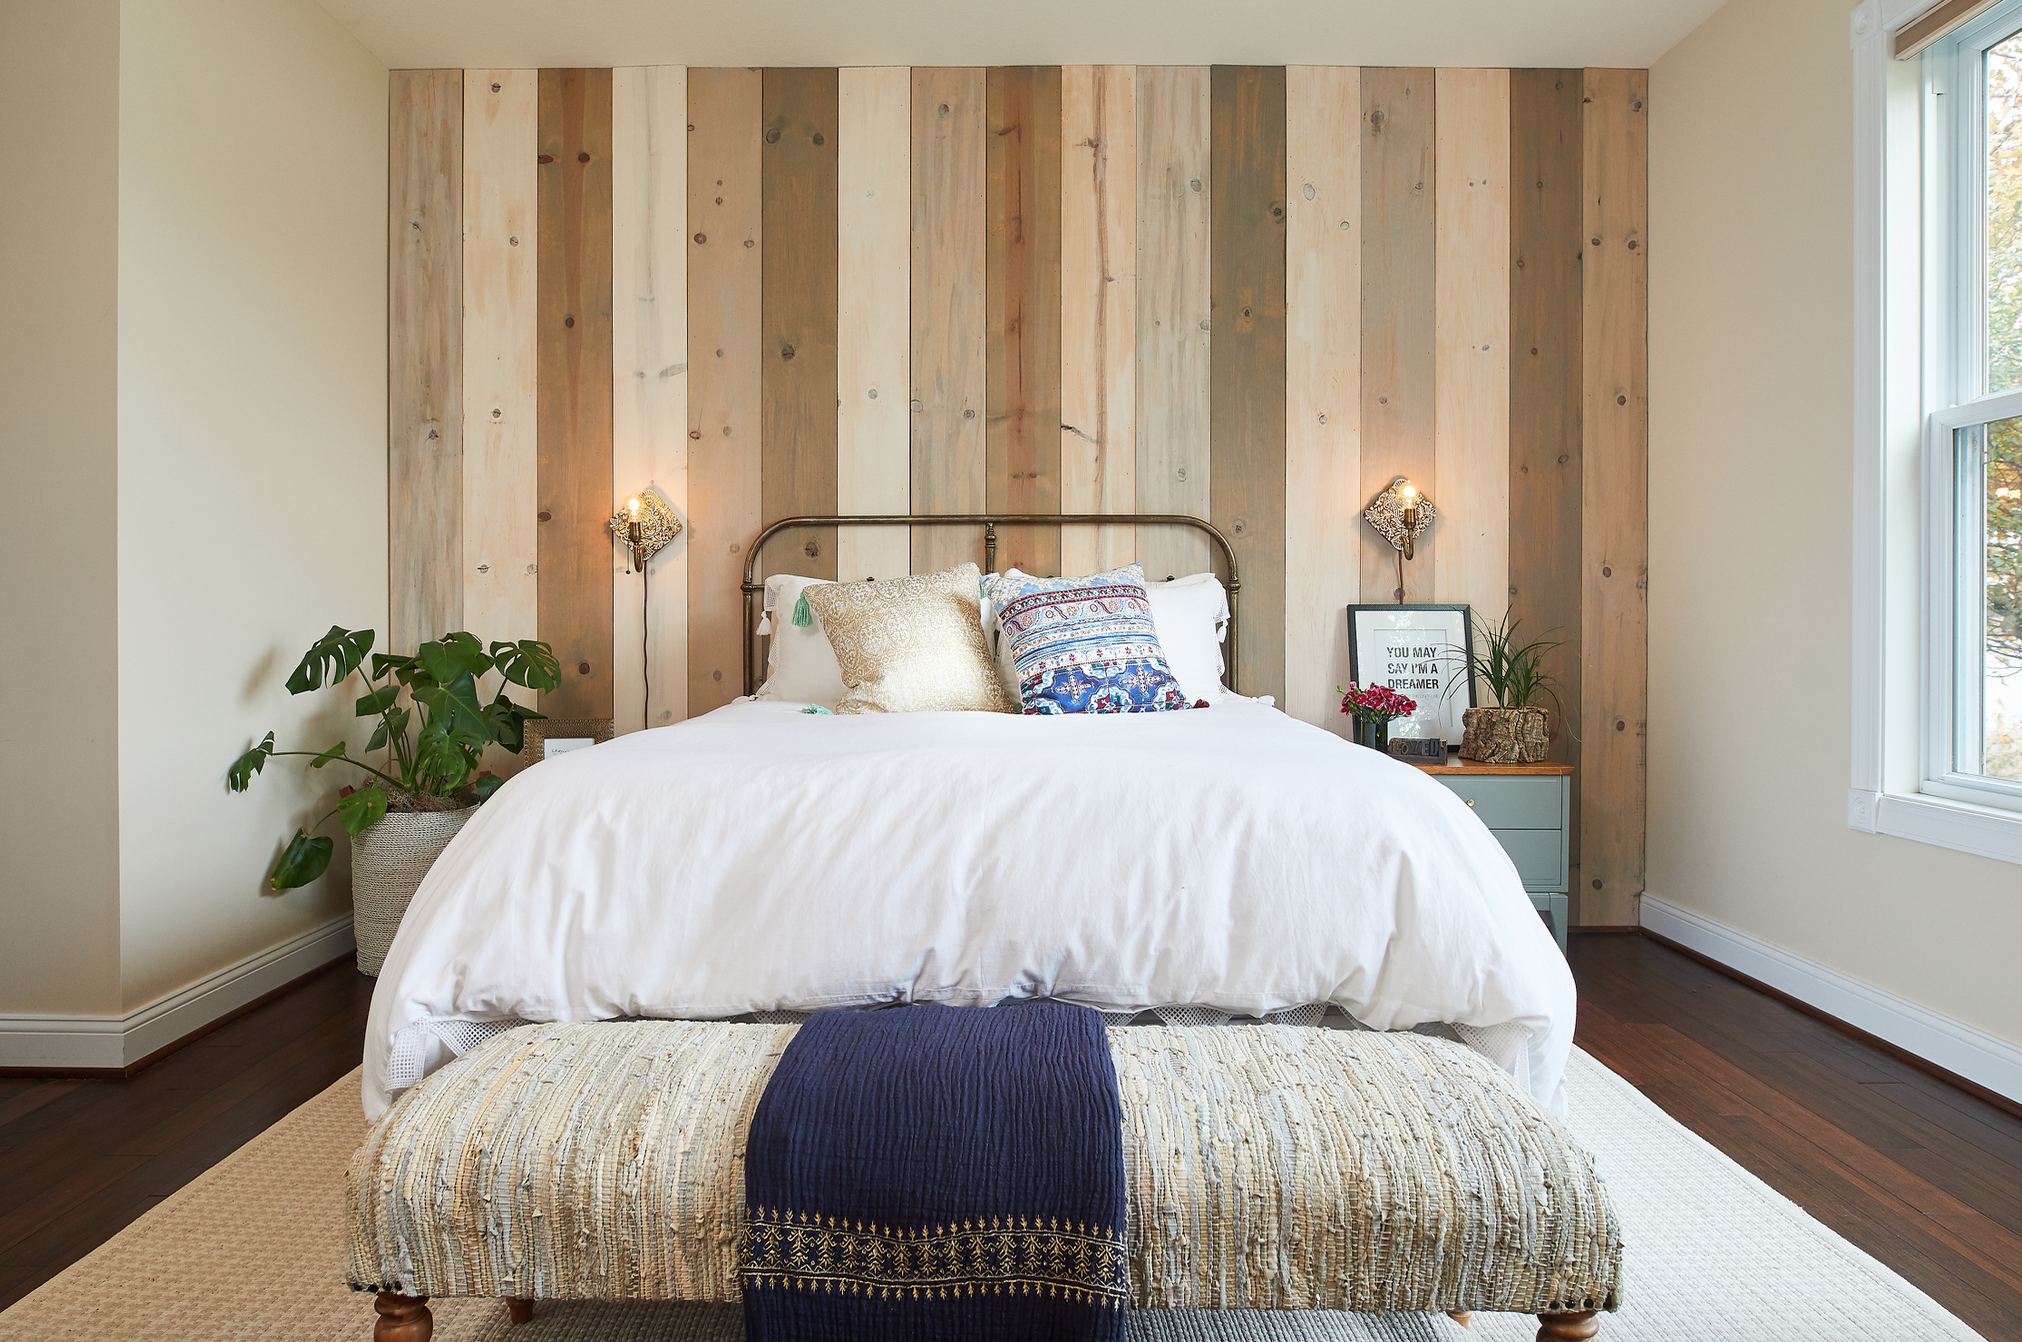
Today I am sharing ANOTHER DIY accent wall! This one is in our Master bedroom. I swear I am official the queen of the wood wall. I promised I was done with wood on walls, but here we go again!
A soft, coastal, rustic vibe is what I am going for in our Master Bedroom at the Lake House. Coastal translates different ways to each person, but when I think coastal, I think soft blues and grey mixed with lots of creams, whites, and woods with gorgeous light streaming everywhere. I find those colors soothing and peaceful.
I chose wood (once again) because I love the instant texture wood brings into a space. I also decided I needed to run the boards vertically to take advantage of the 10 ft ceilings in the bedroom.

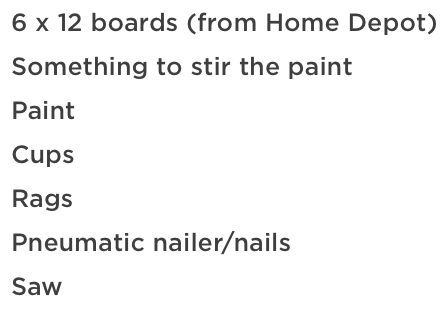
This is what we used and how we did it.
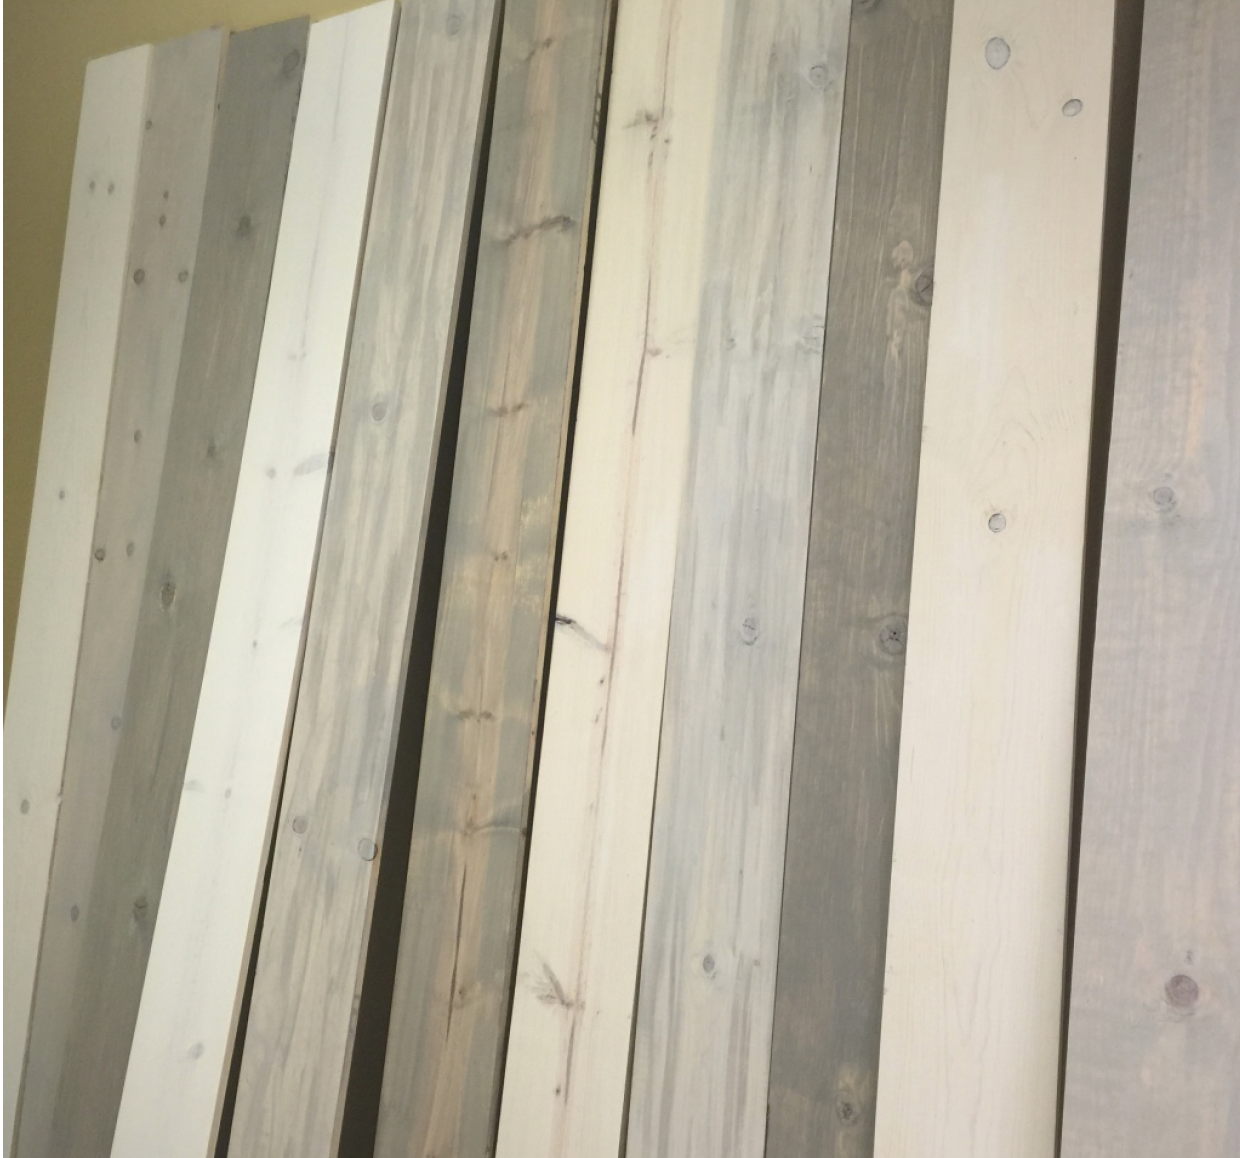
I knew I wanted a “whitewashed” shabby chic feel for the wall. I found the leftover paint samples we had from various projects, and the colors were perfect, and as a bonus, they were free! I poured small amounts of paint into cups and added water until it was the desired consistency, and simply wiped it on using a rag. I kind of eyeballed this step; keeping the grain in the wood showing is your goal. If you want solid coverage, you would paint. This idea of whitewash is more of sheer coverage. As you can see below, I use A LOT of paint samples when choosing paint! 😉
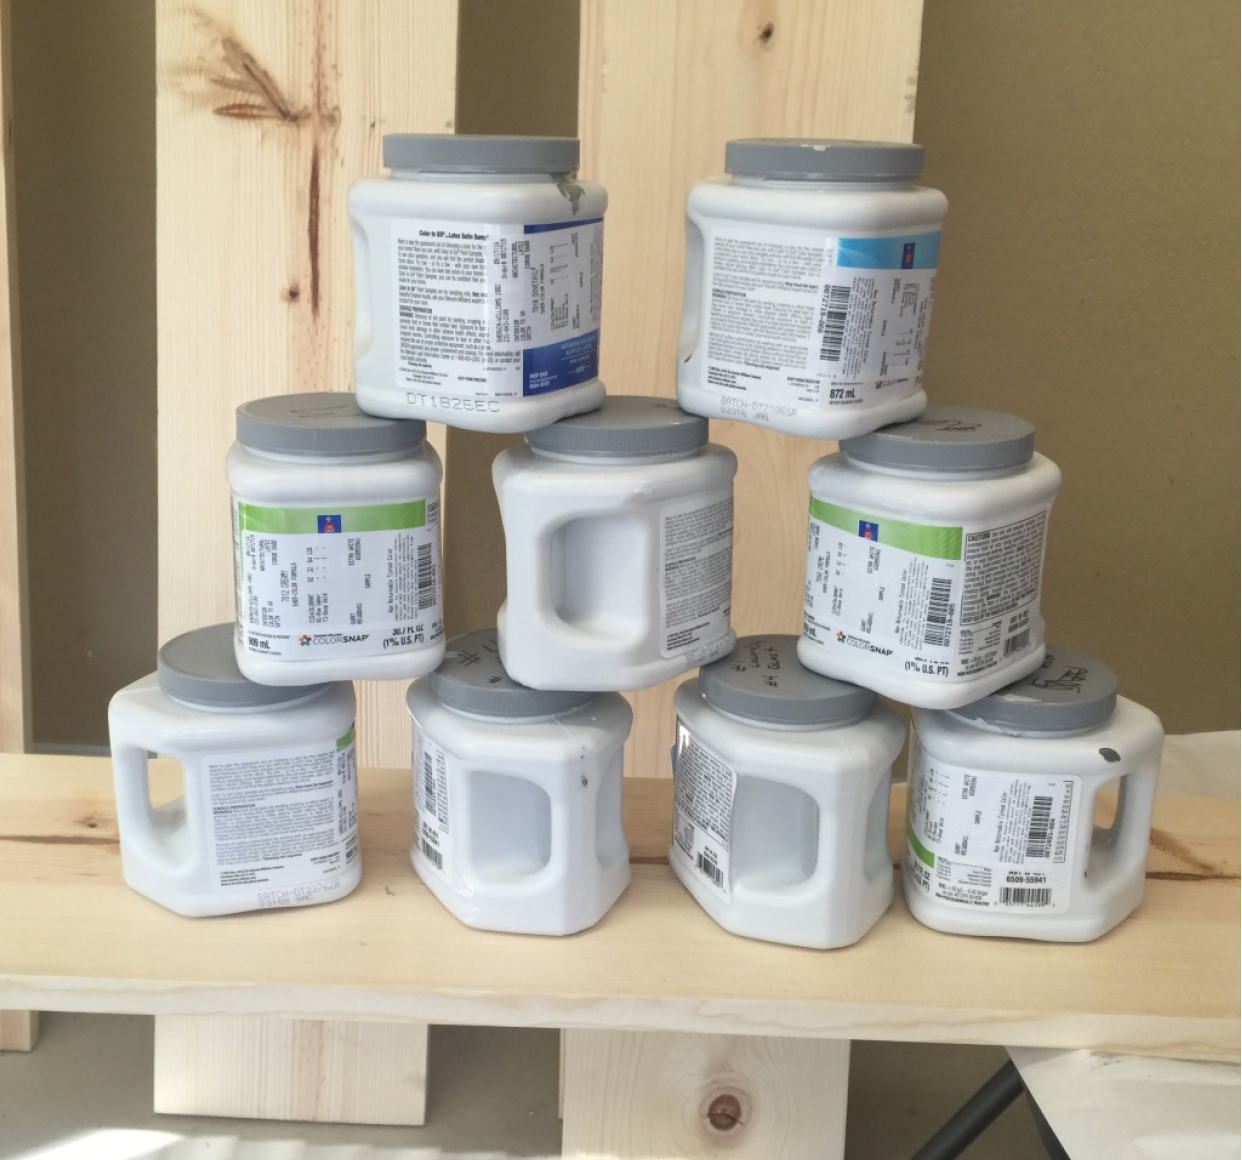
We used all the old paint samples leftover from choosing wall colors (which, as a bonus, ties the colors throughout the house).
We are using 12 ft boards for our 10 ft ceilings. We trimmed a little over an inch off the bottoms. Check before painting to see if any boards are warped. We found two that we were able to turn around and use anyway.
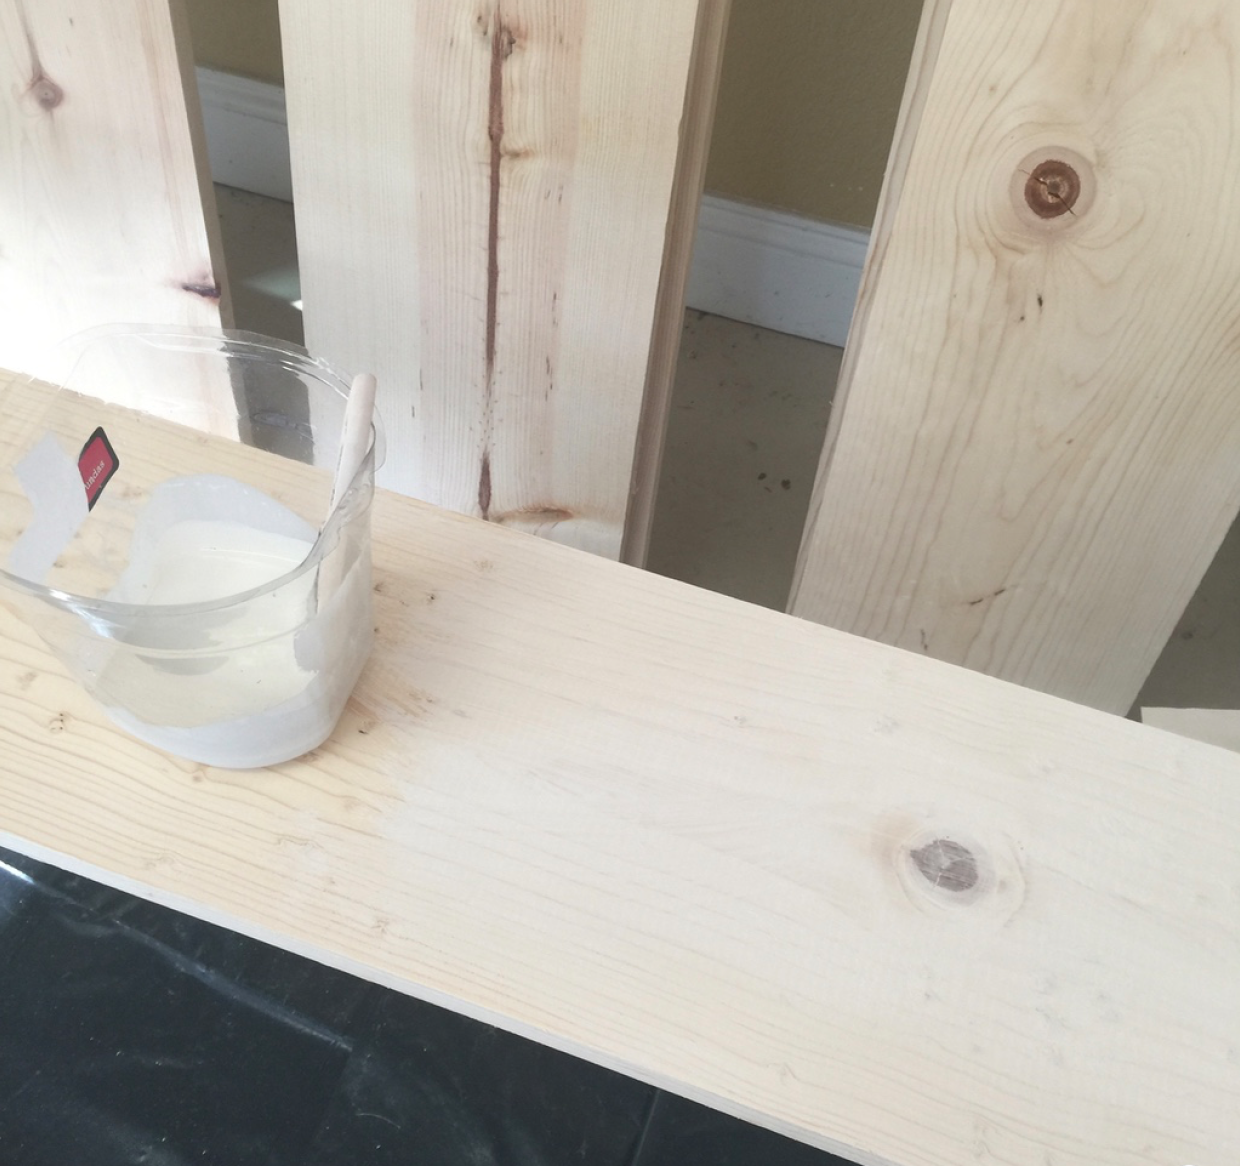
Love leaving the knots in the boards to show through the whitewash.

Lightly coating the boards with paint.
Once the boards were painted, I left them to dry the garage. Once dry, I lined them up against the garage wall the way I wanted them on the bedroom wall. It made it so much easier when we installed them and allowed me to play around with color and texture a bit before we installed them.
We used a pneumatic nailer to attach the boards directly to the wall. This is my 5th or 6th accent wall, so we actually purchased this pneumatic nailer last year. You can also rent them from your local Home Depot. I wanted to run the boards vertically to draw attention to the 11 ft ceilings.
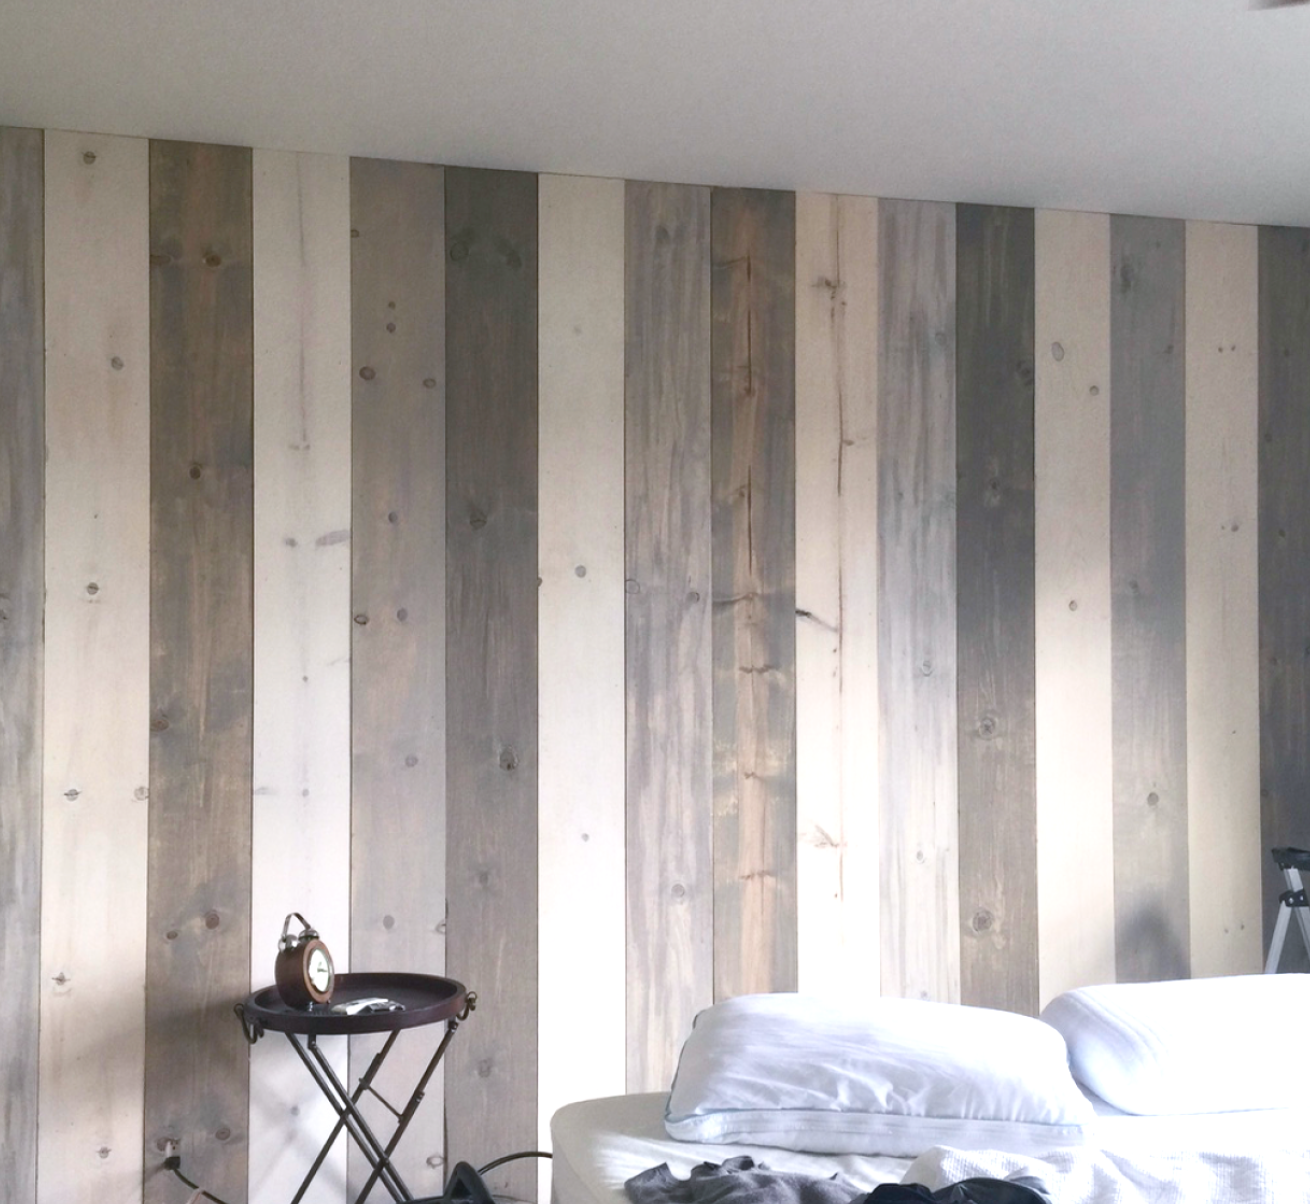
Sorry about the poor lighting it was getting late.
The very last board needed to put cut smaller to fit. Other than that, due to some careful planning by my Engineer husband, the wall required very few cuts.
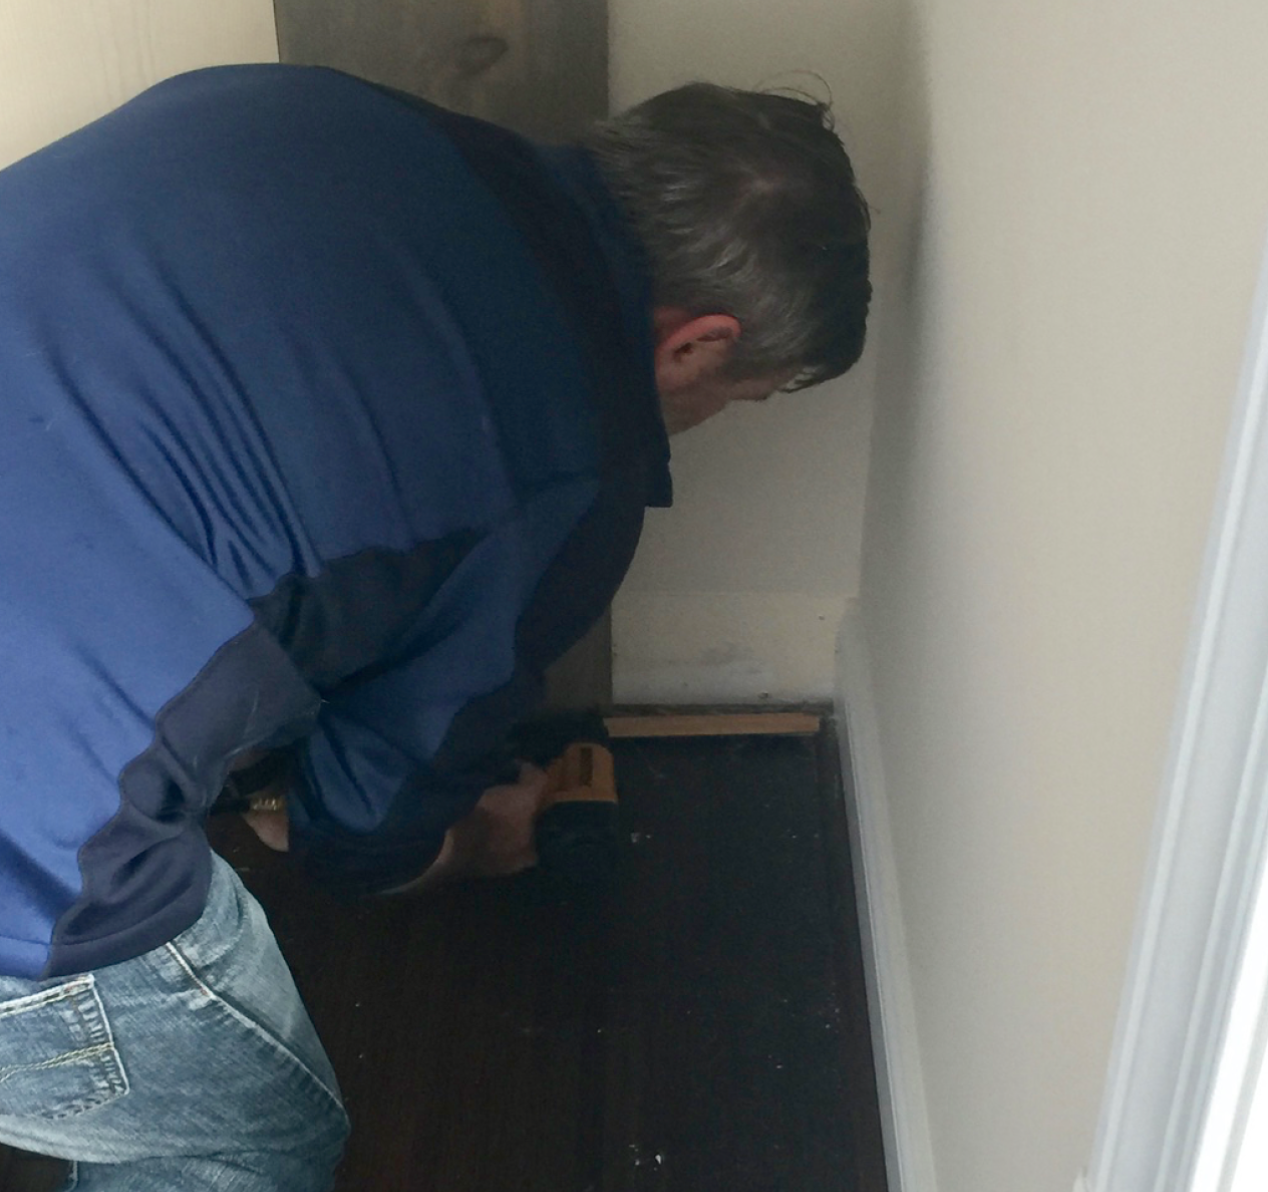
The last board needed to be cut to fit the space.
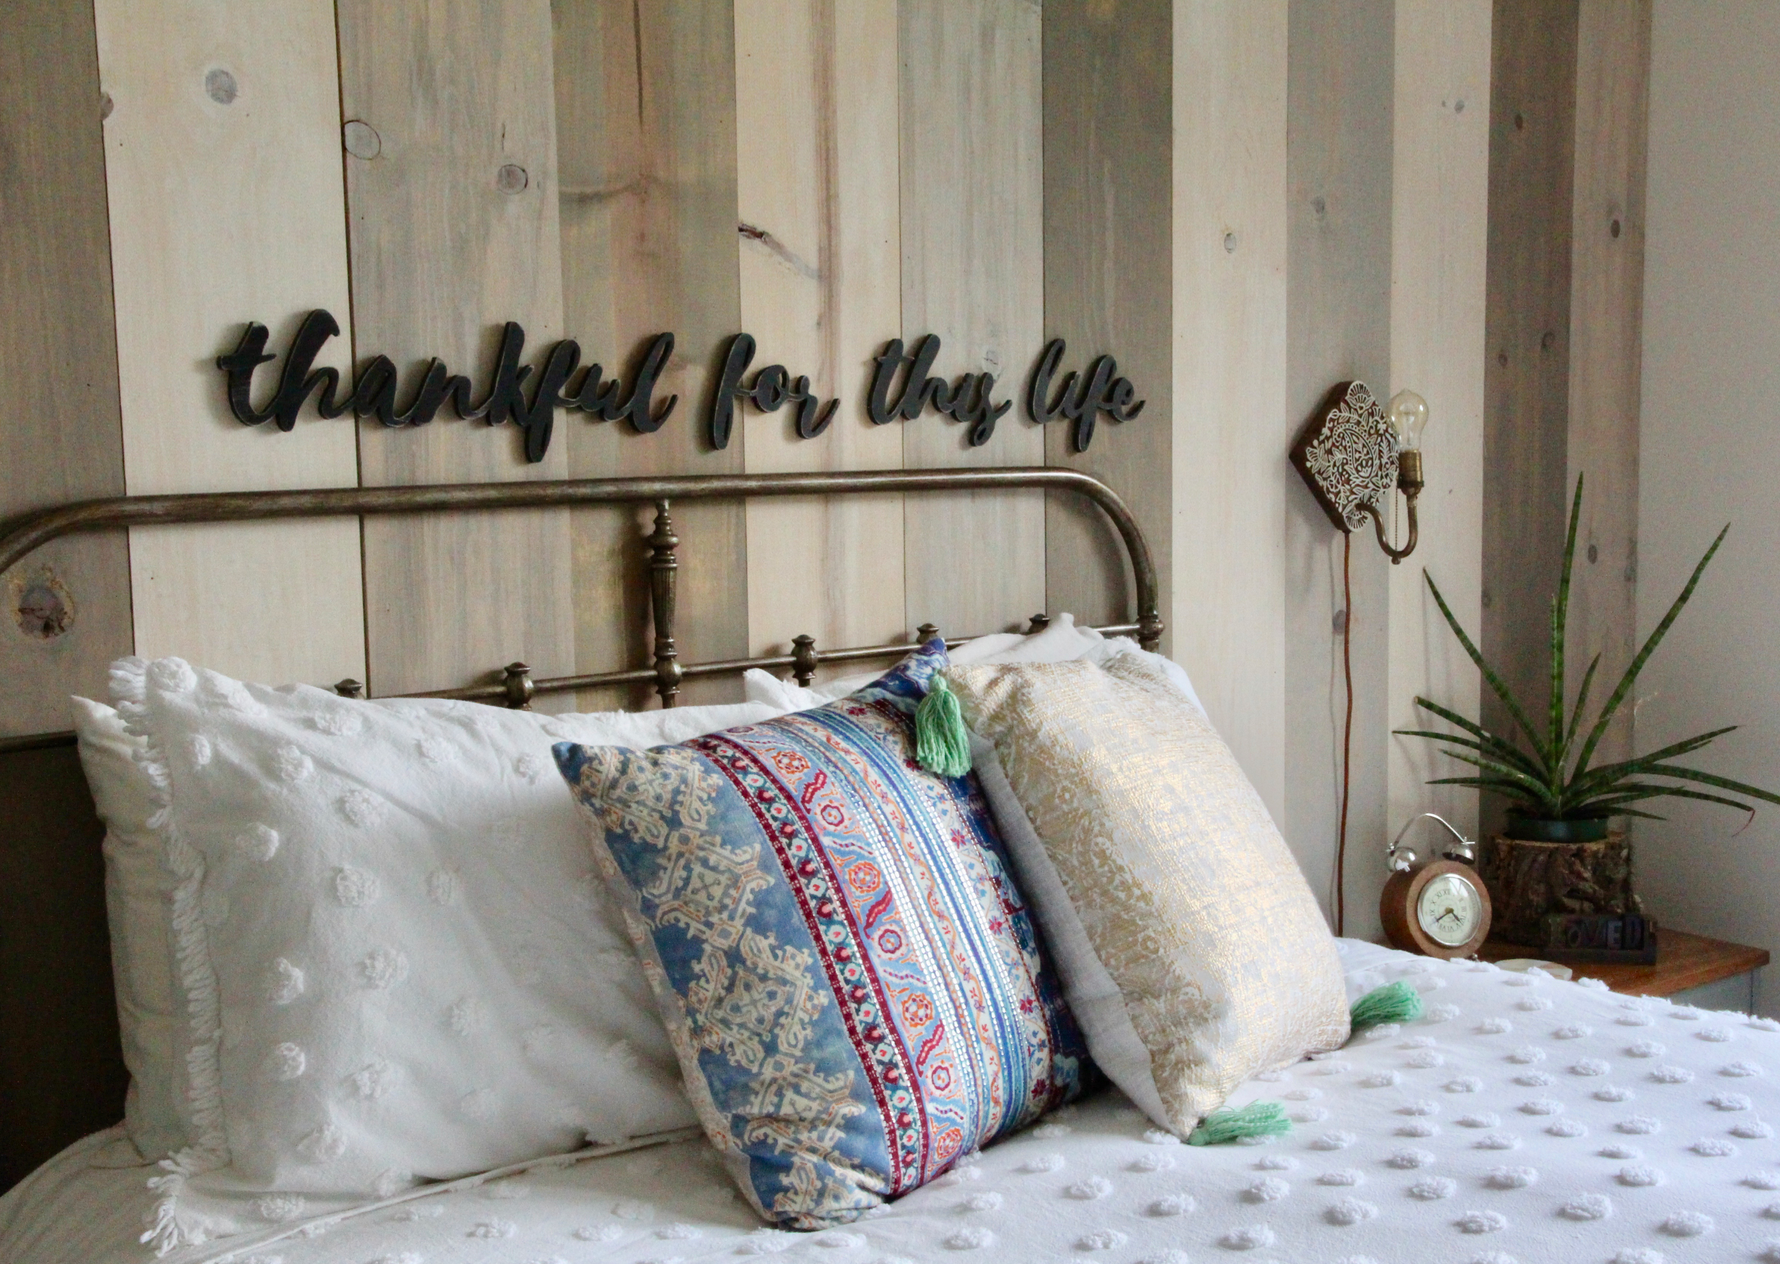
Here is the final result! We love the texture and warmth it gives to the space. I love the board’s vertical, and the whitewash color lets the beautiful grain show through.


See a few of our other DIY Walls:
Mid-Century Modern Accent Wall
That’s it for now!
See you next time,
-Libbie

It’s beyond gorgeous Libbie and the fact that put the pieces of wood up vertically instead of horizontally makes it even more "WOW" . It looks stunning and I love the way they’ve all been stained differently too
Oops sorry about the typo, but I was just so excited when I saw what you guys did 😀
Thank you, Michelle!
Wow, I don’t think I could ever get tired of pretty wood walls! Love the idea of going vertical on them like you did. Super idea pulling your home colors into the room with washing the wood. Pinned 🙂
Thank you for the kind words and the Pin! 🙂
Your bedroom is gorgeous and the wood looks really great in those natural tones.
Thank you, Mary!
This is so pretty! I never thought of putting those boards vertical like that! It looks great!
We really wanted to draw attention to the nice ceiling height, so it worked out well. Thank you for stopping by! 🙂
This turned out lovely, I’m be featuring it on my blog! Thanks for sharing with us at the To Grandma’s House we go link party!
I am soooo excited! Thank you so very much!!!!
Instant update with that beautiful wall. Thank you so much for sharing, Kippi
Thank you, Kippi! We love the fresh rustic vibe. 🙂
gorgeous! i think I might use this as a faux headboard in my spare room. thanks for the inspiration!
Angela,
I think it would lend itself well as a headboard. If you decide to make one send me a pic!
Good Luck!
Libbie
How did you anchor your boards in between top and bottom as your stud also run vertically
Hello Julie,
We simply nailed them with the Pneumatic nail gun hitting a stud whenever possible. We had one board warp slightly and replaced it after a year. Otherwise, they have held up well!
Thank you for stopping by!
Wow this is really to good about the adding coastal vibes to master bedroom thanks sharing this article
Thank you!