
Hello!
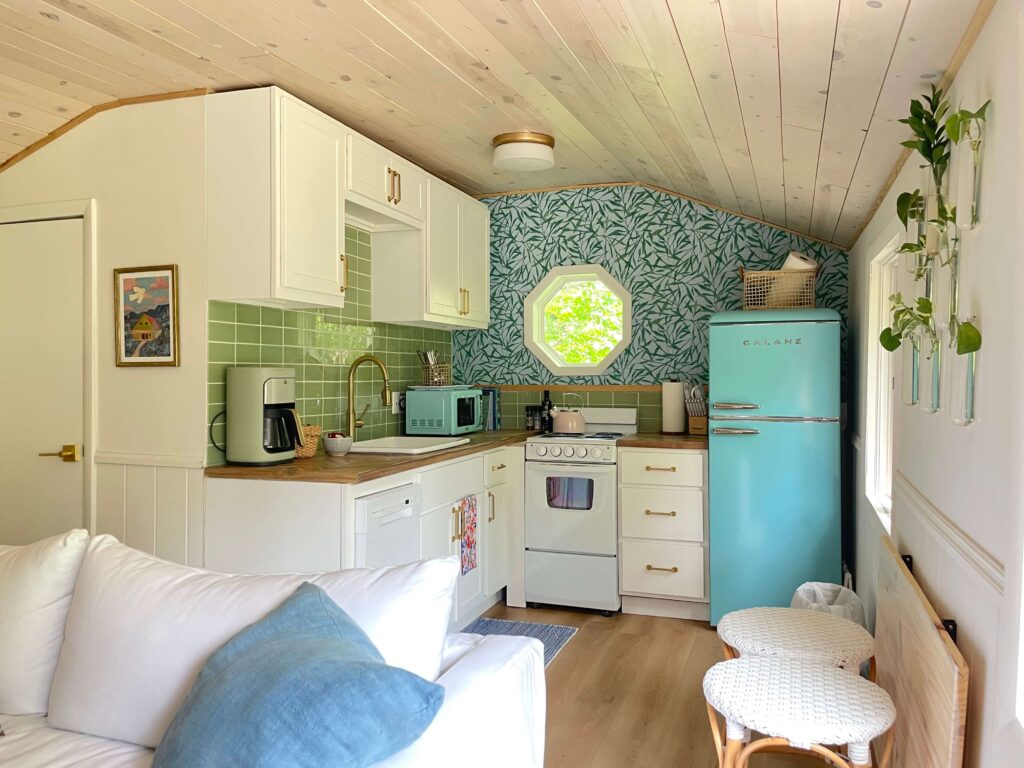
I am so excited to share this post today. We finally finished our tiny kitchen renovation, and I can’t wait to share how it turned out with you. And what is the one thing I love the most?? The backsplash.
If you have thought about adding a new tile backsplash but are worried about how hard it would be, I have the perfect solution. This post will show you how I transformed the tiny cottage kitchen with a stunning DIY glass tile backsplash using Musselbound Tile Mat.

Why I Choose a Glass Tile Backsplash?
There are several reasons why I love a glass tile backsplash.
- Glass tiles have a timeless appeal.
- They effortlessly complement most kitchen styles.
- The reflective properties of glass tile help the space feel bigger and brighter.
- Glass tiles offer various colors, patterns, and textures, allowing you to unleash your creative genius.
- Additionally, glass tiles are easy to clean and maintain, making them ideal for a busy kitchen or, in my case, a vacation rental!
Installing a glass tile backsplash
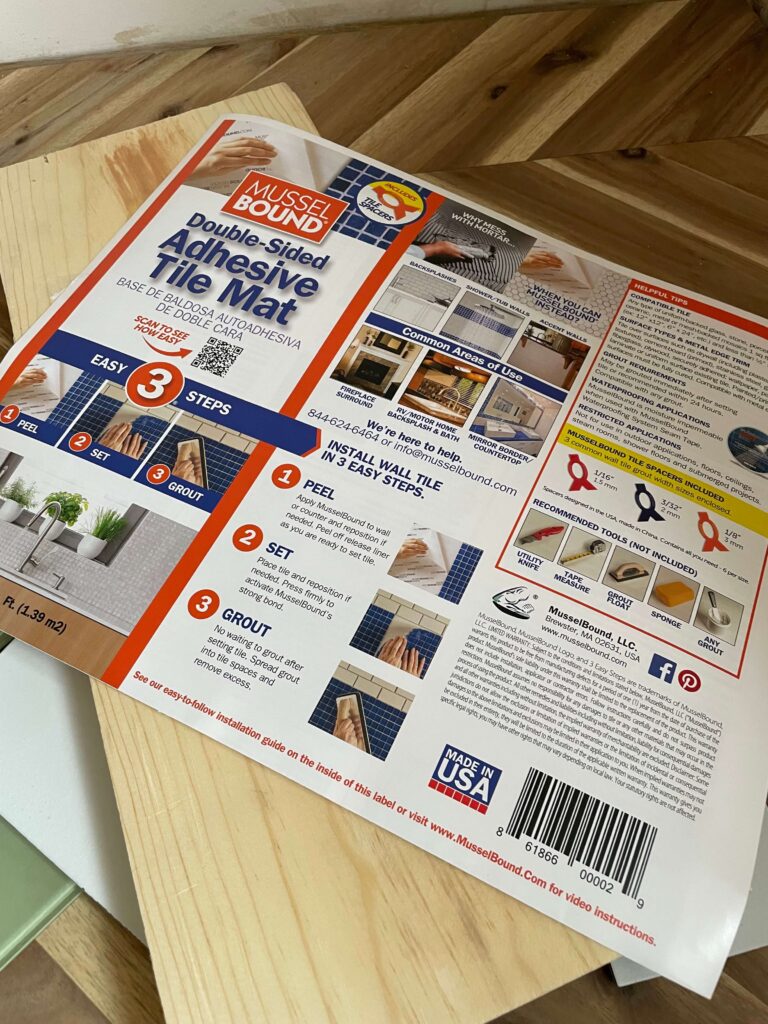
Although it may seem daunting to DIY a glass tile backsplash, I used a product called Musselbound Tile Adhesive Mat, which was a breeze.

The adhesive technology of the Musselbound Tile Mat eliminates the need for messy and time-consuming traditional mortar.
What you’ll need:
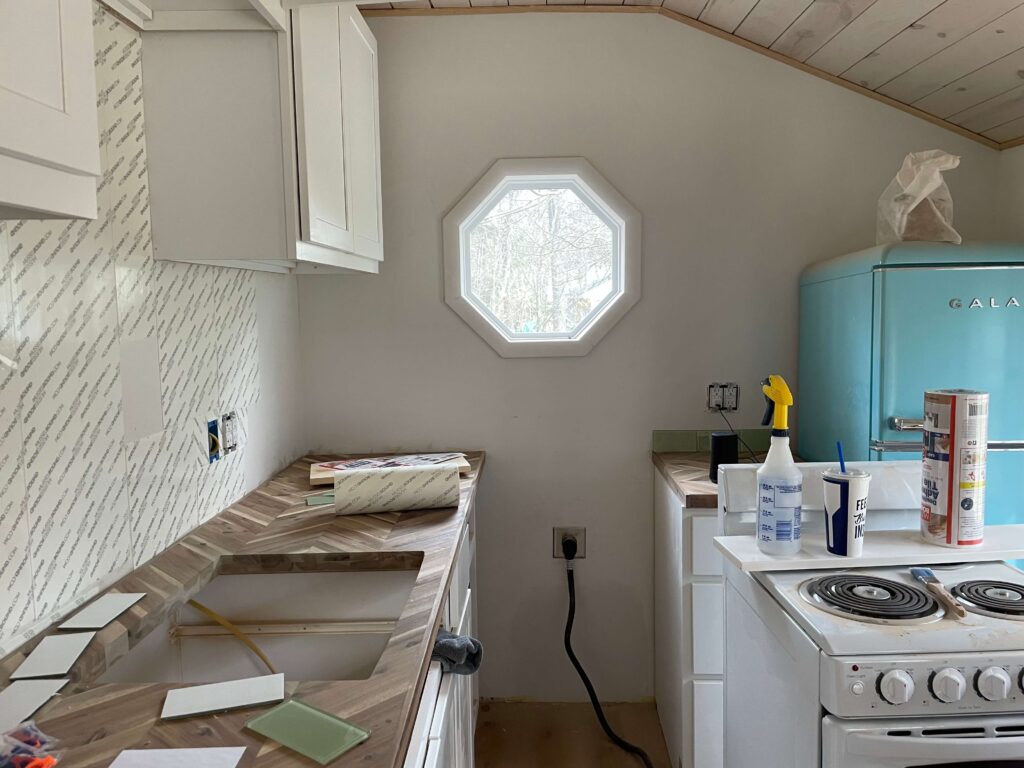
Plan your tile layout. I always choose the pattern (how the tiles will be laid) and then dry-fit to see where my cut tiles will be. Usually, I will have a couple of patterns in mind and then choose the one that requires the fewest cuts, and I also try to keep my cut tiles out of sight lines if possible.
Gather the tools you need to get started. I used:
- MusselBound Tile Mat – a roll and a half.
- Spacers- Mine were included with my mat
- Tape Measure
- Exacto knife- or utility knife
- Ruler
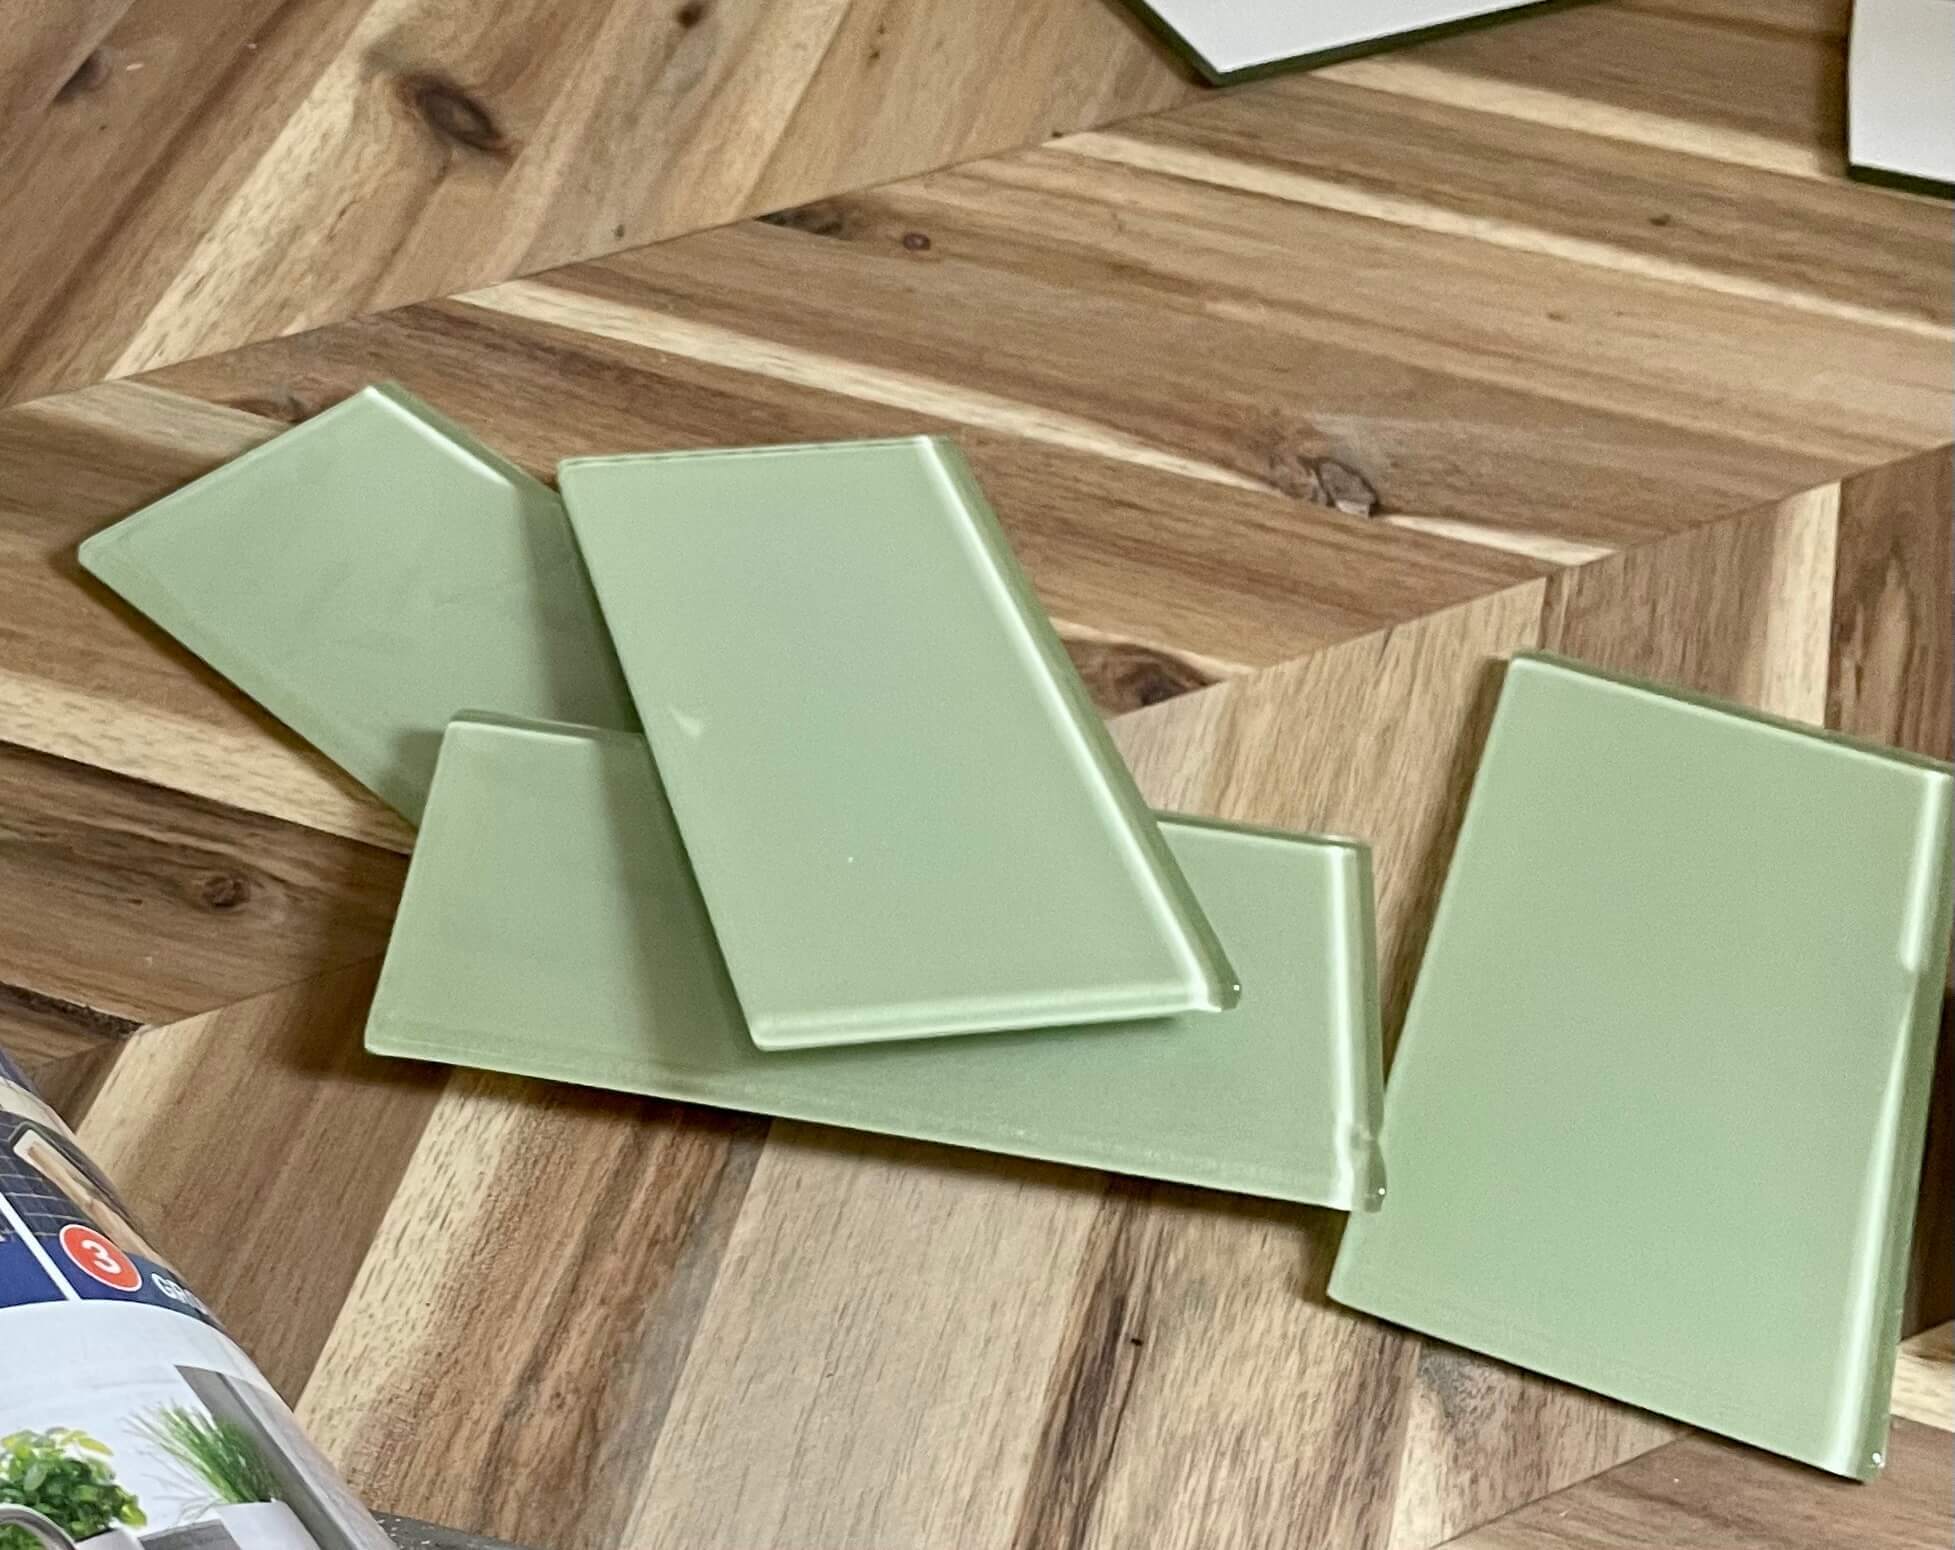
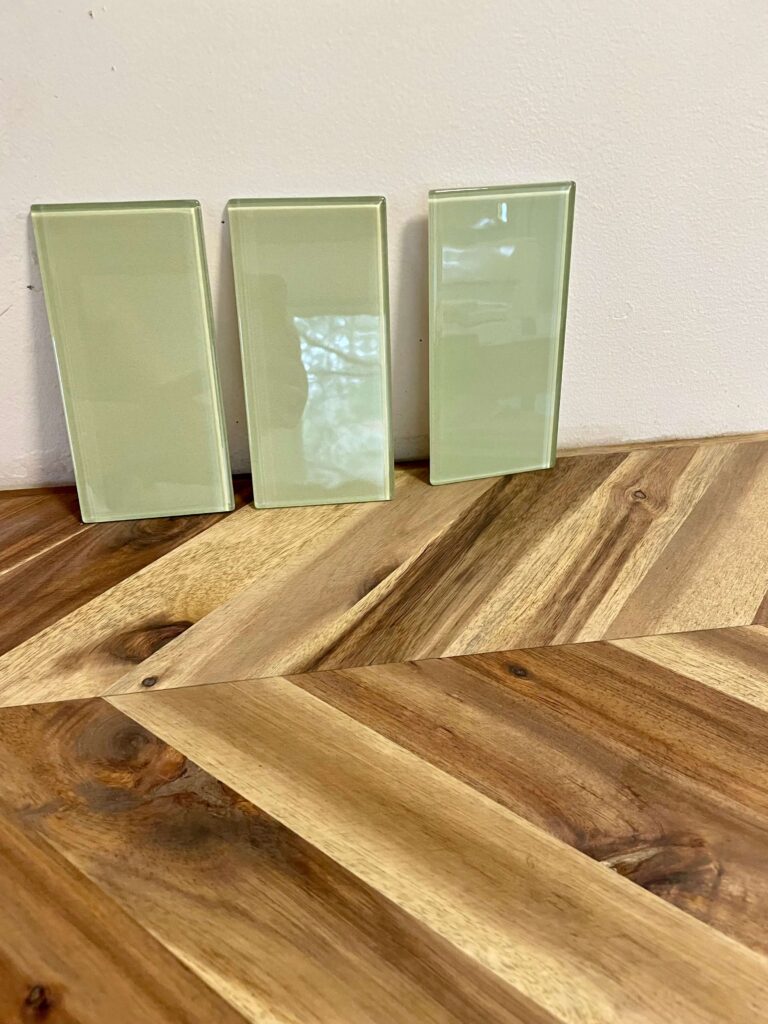
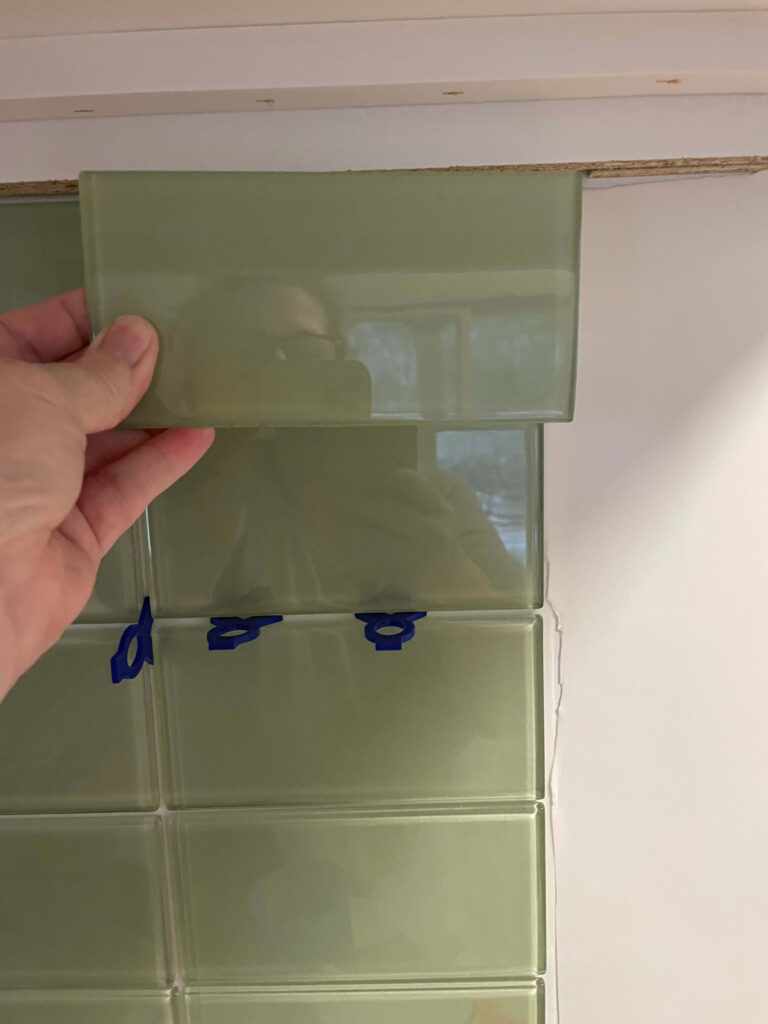
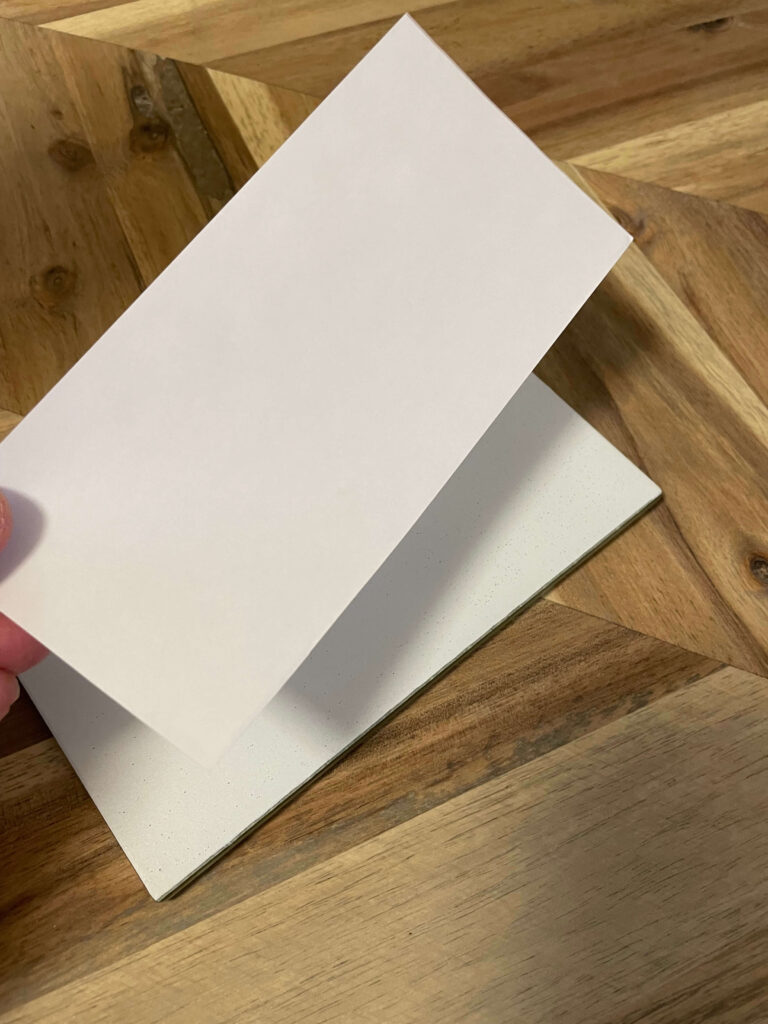
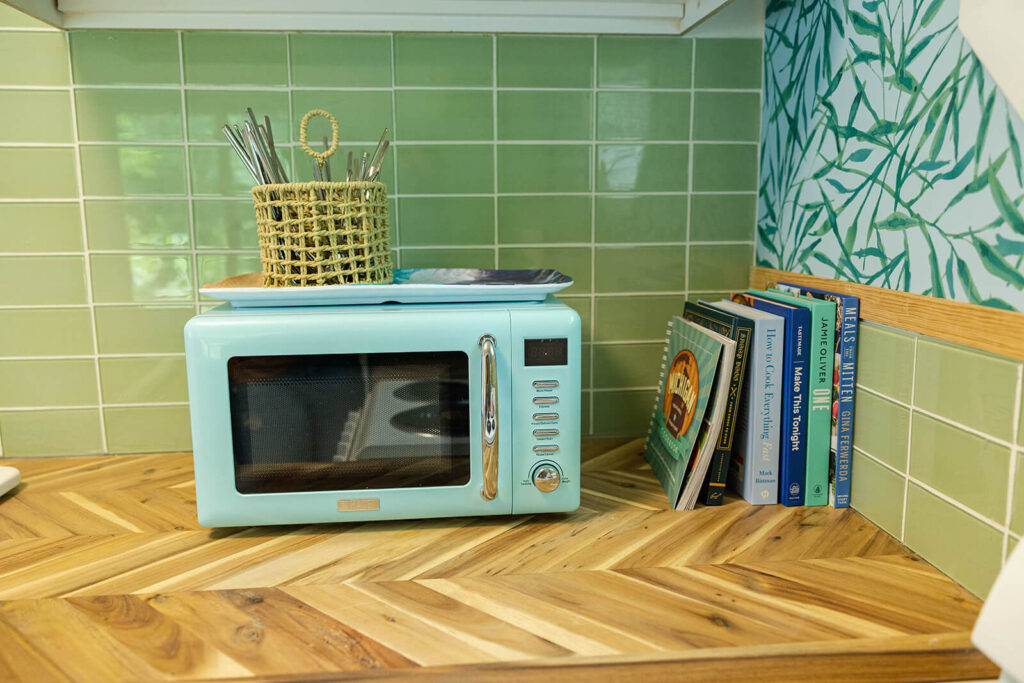
- Tile- I used this green glass tile
- Grout
- Hair Dryer
- Wet Tile Saw– This is mine and works well with glass tile
- Marker
Getting Started:
Clean your surface. I cannot emphasize this enough: thoroughly clean and let the area you will tile dry.
Decide on a pattern- dry set. This is so you can see where your cut pieces will end up. I want things easy, so I will have a couple of patterns in mind and choose the one with the fewest cuts. I have used this tile before -(did I mention how much I love glass tile) in a stack pattern (here) and a traditional subway pattern here.
Installation:
It’s time to apply the adhesive mat.
Here are a few tips:
- Cut off a small piece to become familiar with the product.
- Hanging the mat vertically makes it much easier to work with.
- I used an exacto knife to cut around the light switches.
Press the mat firmly to the wall- I used a plastic putty knife to ensure it was in contact with the wall and to eliminate bubbles.
Slowly peel off the backing.

You are now ready for your tile.
Tips:
Place your tile gently onto the mat. Once you have decided it is straight, firmly push the tile to activate the adhesive. The tile is moveable until you press to activate. Once the bond is activated, it will be really difficult to remove.
My glass tiles came with a white paper backing to protect them. The back of the tile is also white. So, I missed removing one of the pieces of paper, and the tile did not stick. I had to cut out the piece of mat and add a fresh piece to get the tile to adhere correctly.
Continue placing the tile in a selected pattern using your spacers.
A note here: Whenever we cut a wet tile, I used a hair dryer to dry it before placing it on the mat.
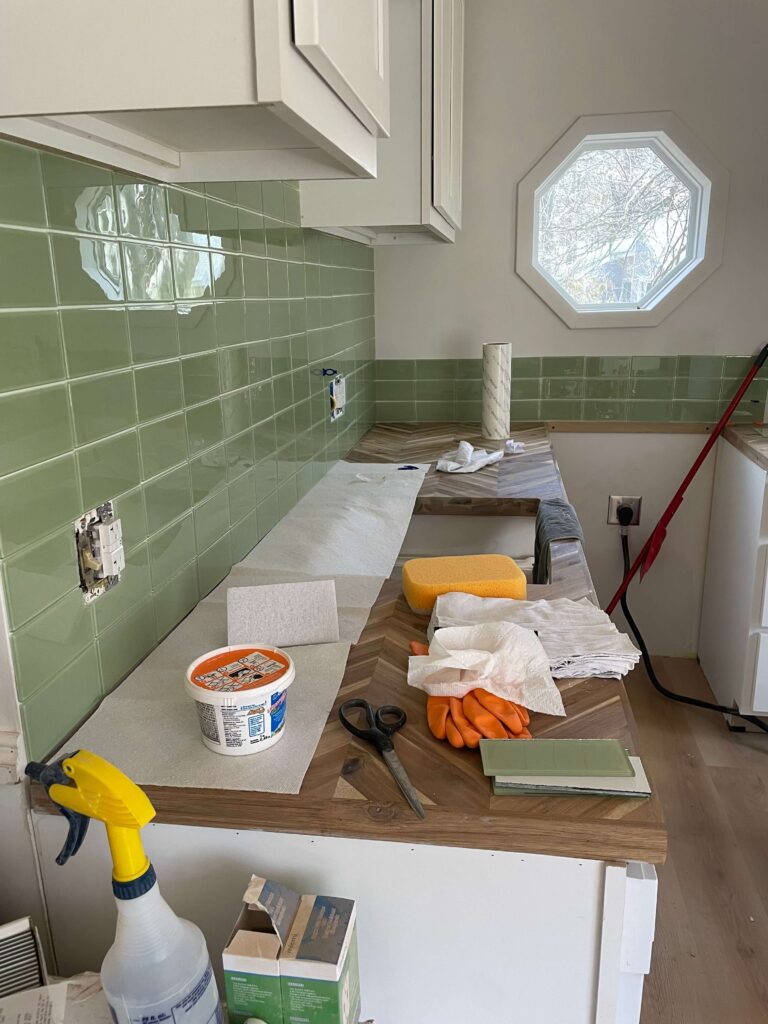
Laying the tile took me about 2 hours. Now for the very best part: You are ready to grout!!! Woot, Woot.
Grouting
Grout as usual.
- Mix the Grout. Follow the manufacturer’s instructions for mixing the grout….
- Apply the grout using a grout float.
- Remove Excess Grout.
- Clean up the Tile Surface.
- Remove the Haze.
- Apply Grout Sealer.
- Caulk the Corners.
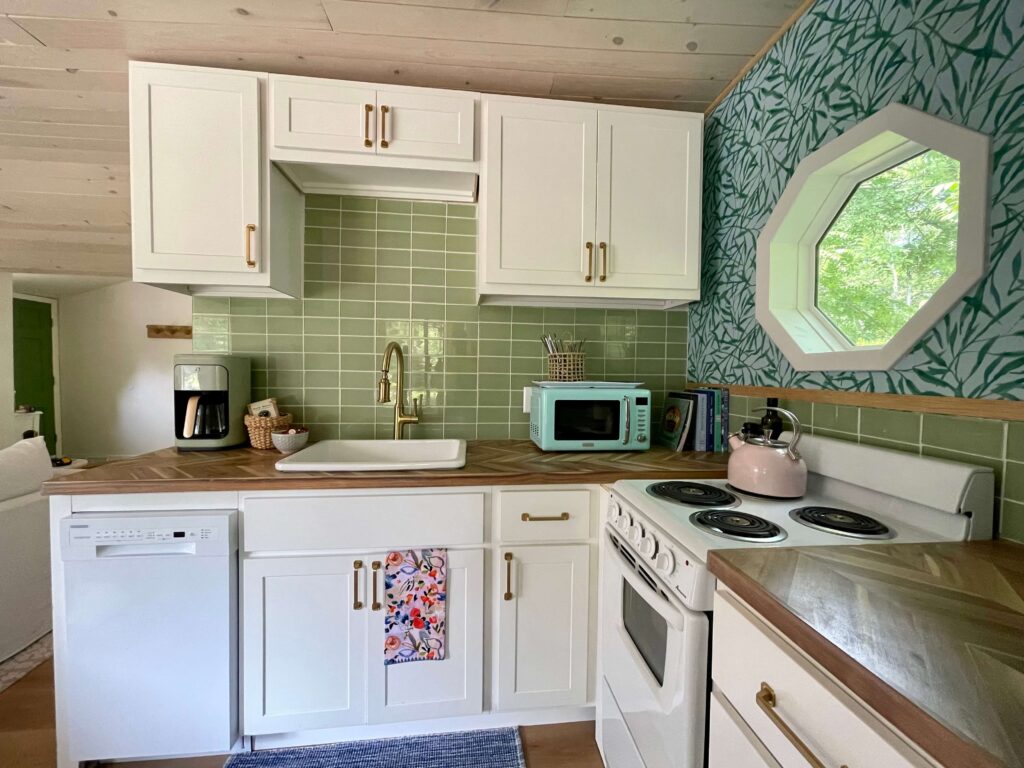
This is how it turned out!
If you would like to shop our cozy cottage, you can here at My Amazon Storefront.
If you are looking for the chevron butcher-block countertops, you can find them at my Lowe’s Storefront.
A glass backsplash will also add value to the cottage if we decide to sell! Win-Win! If you are looking for additional ideas on renovation ideas that pay off, check this article from Porch.com out
That’s it for today,
Until next time,
Libbie
You may also enjoy:
Shop this post:


What a great and fantastic job – well done. It’s so beautifully done
I visited you via Alittlebitofeverything Wed. Link Up Party 273
I linked up this week with = 21+22. This is a friendly reminder and invitation to come and join us at SeniorSalonPitStop. You will find the linkup information under BLOGGING.
Very nice. That backsplash looks amazing.
Thank you for sharing some great tips on installing a tile backsplash. This tiny little kitchen is absolutely adorable! I will be featuring this post this week. #HomeMattersParty
Donna, your Cottage Kitchen Glow up looks fabulous!
Visiting today from #AnyThingGoes Linky #63&64
Absolutely love ❤️ it .
Thank you!