
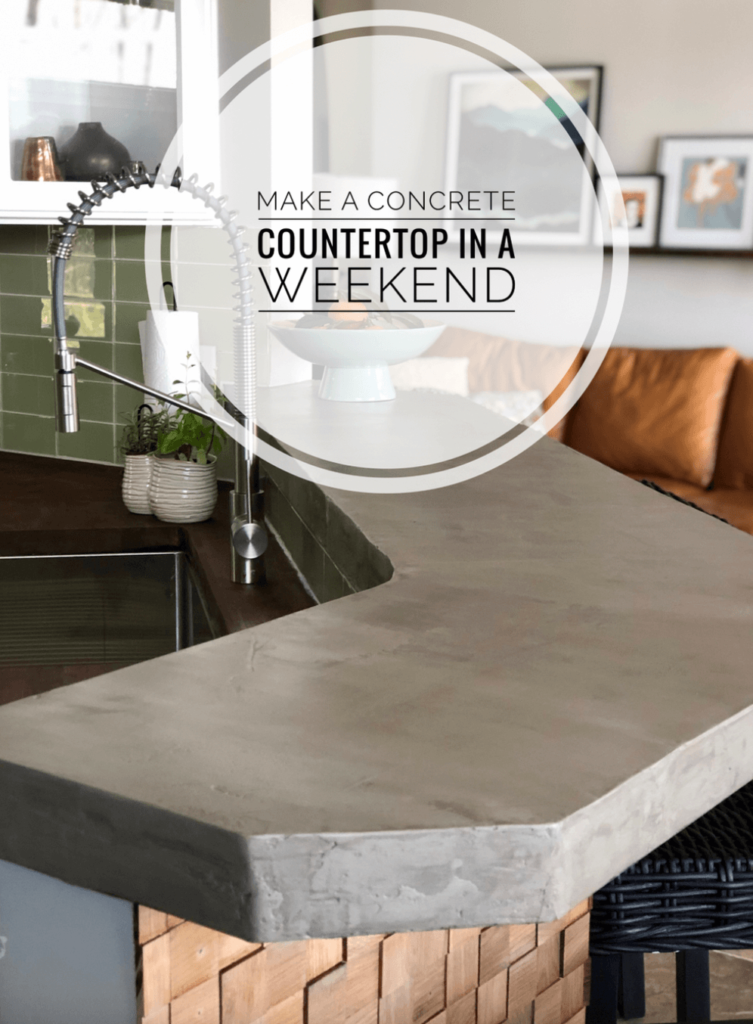
DIY Concrete Countertops with Feather Finish
Create the concrete bar top look without pouring heavy concrete. This DIY Ardex Feather Finish countertop offers beautiful cement countertops with minimal effort. An easy way to give your kitchen a refresh in a weekend!
* This post contains affiliate links.
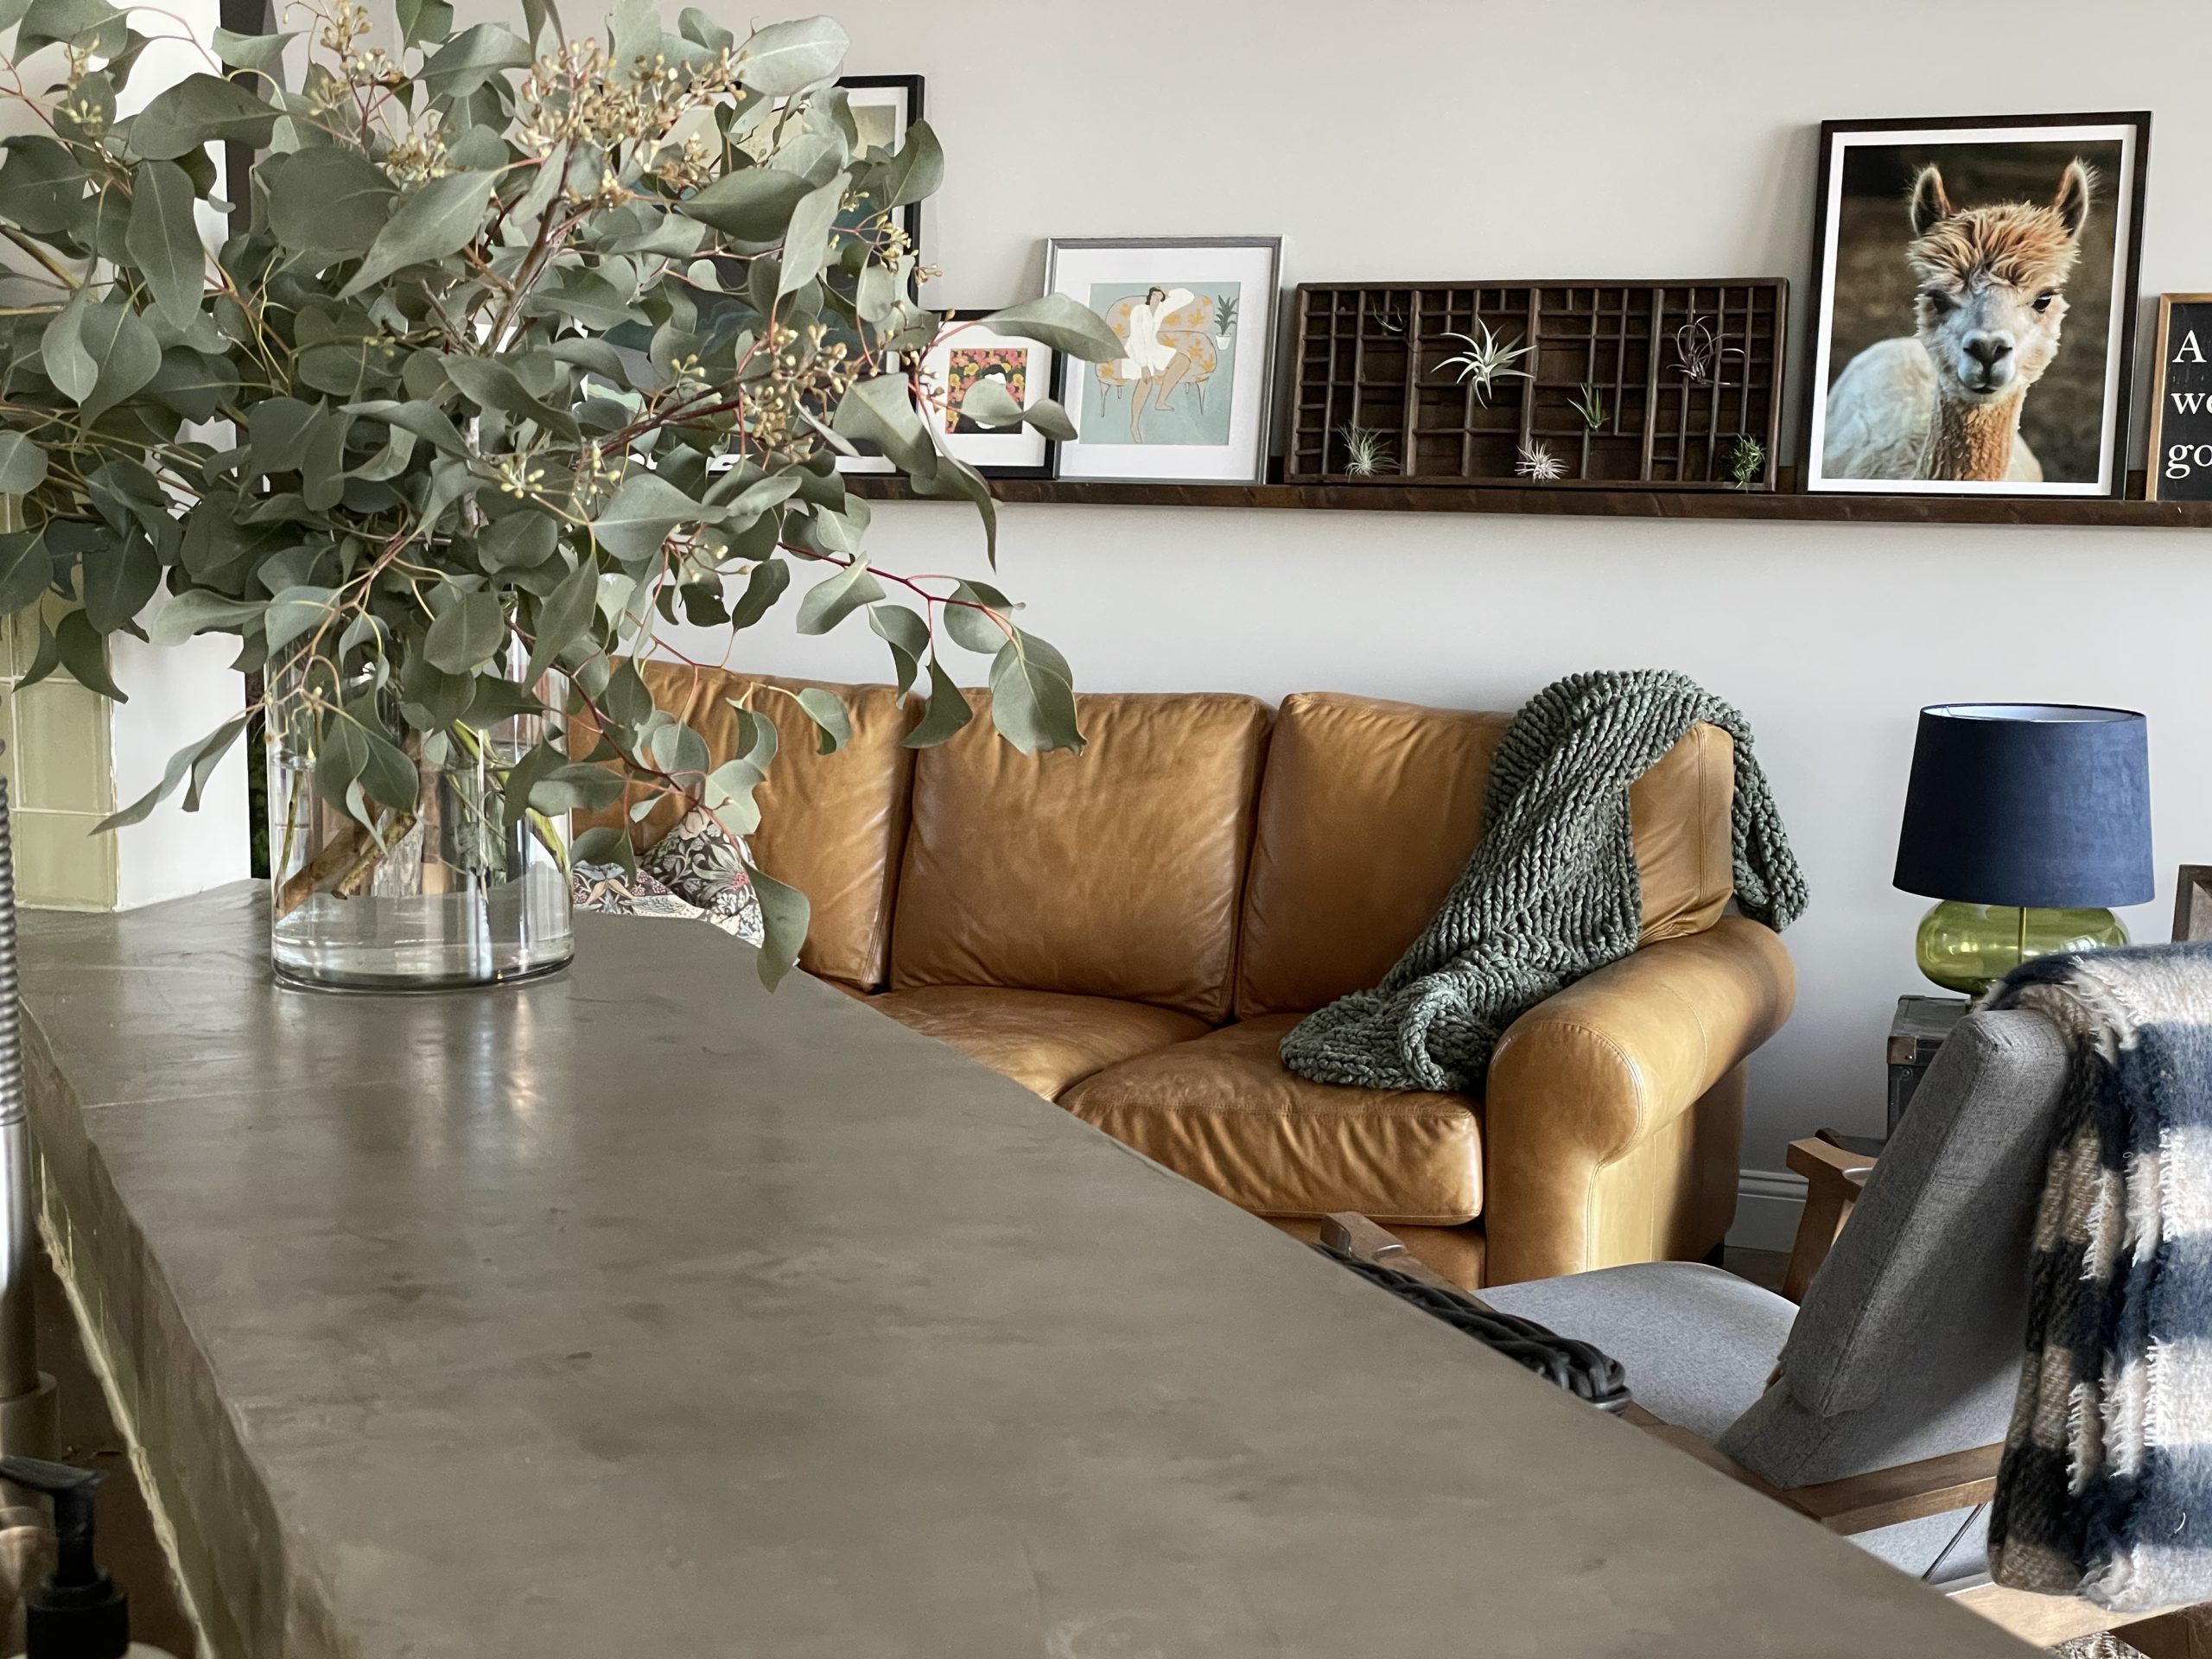
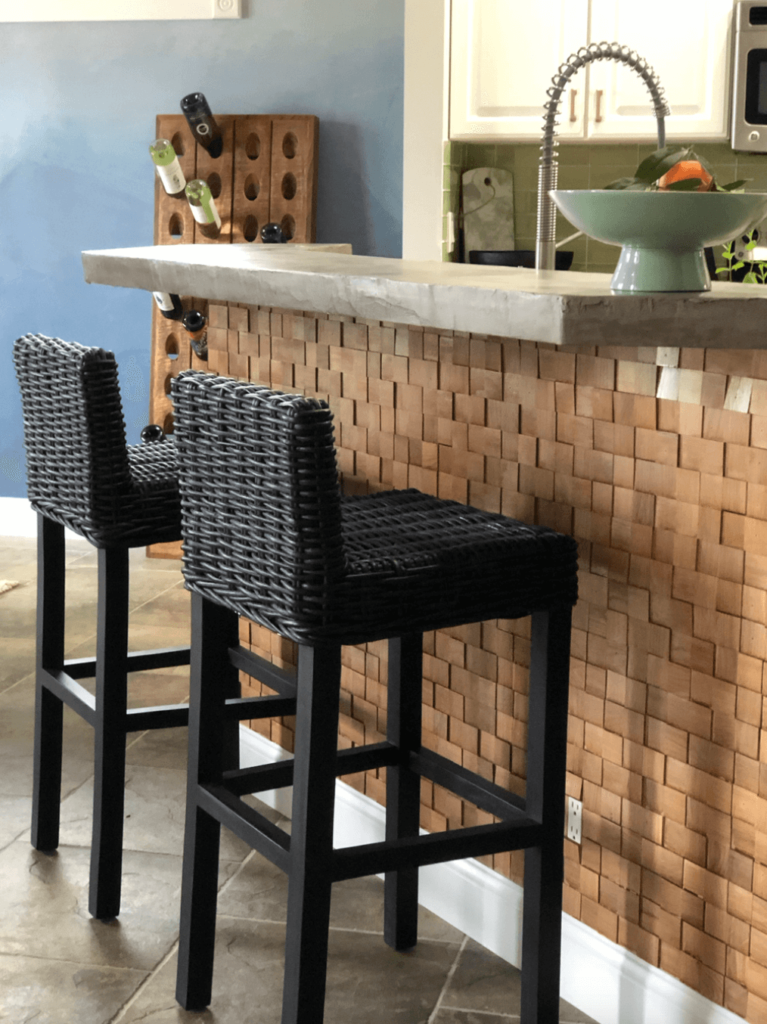
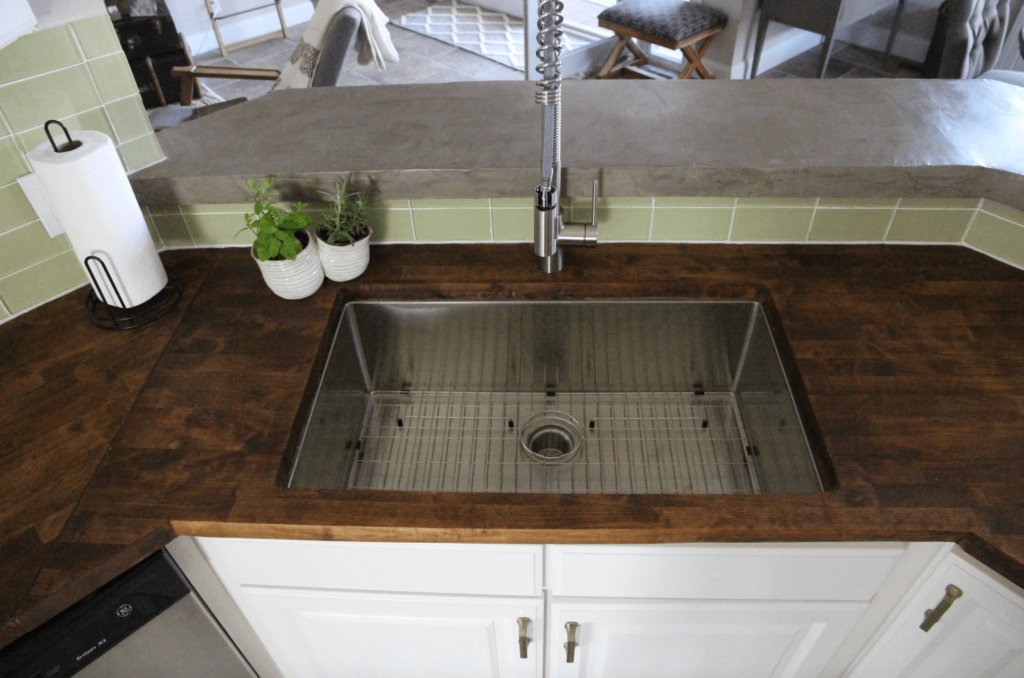
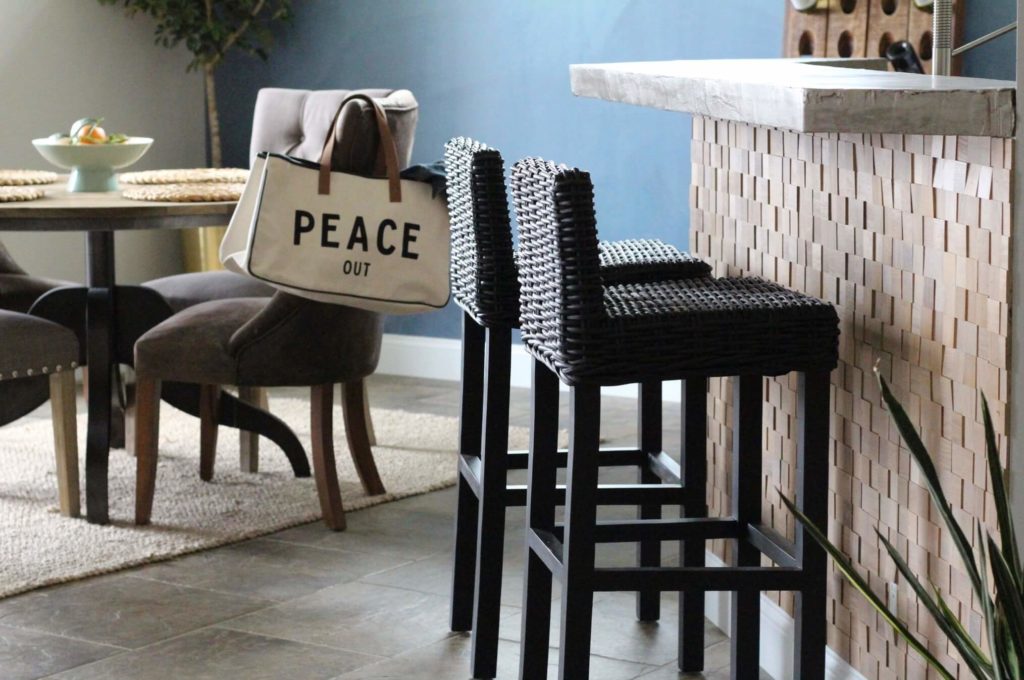
These feather-finish concrete countertops were one of my favorite design elements in my recent kitchen refresh. I love the mix of the concrete look with the warmth of the butcher block, and best of all… it’s a pretty easy way to make a DIY bar top yourself.

Why Use Feather Finish For a DIY Concrete Bar Top?
The short version is that using Ardex Feather Finish for the countertops was easier and less work than pouring real concrete. And since real concrete is HEAVY, creating an Ardex Feather Finish countertop is much more accessible to most homeowners.
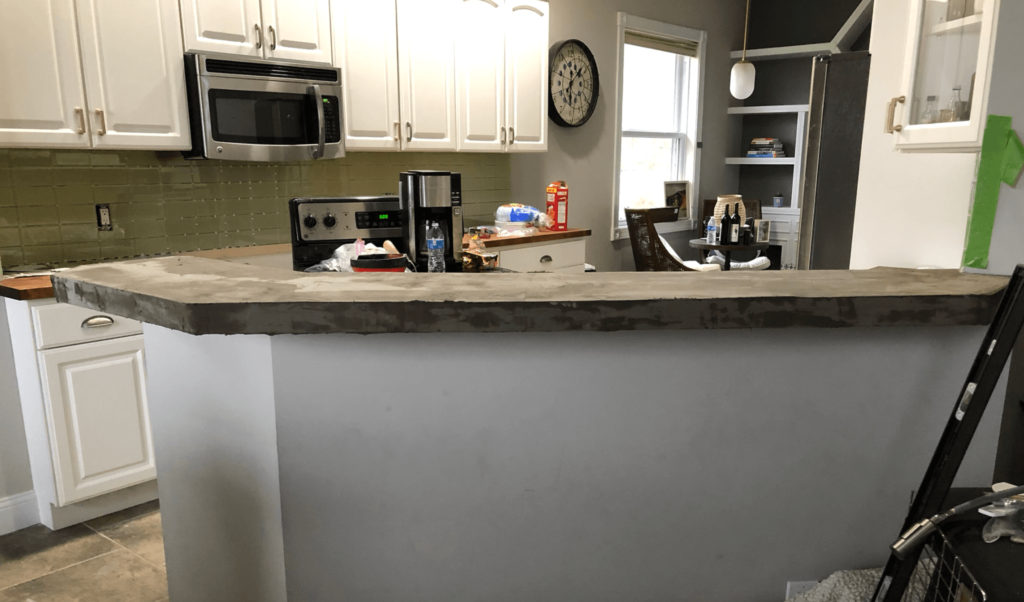
We had six weeks to finish the space when we worked on our kitchen refresh for The One Room Challenge. That’s a bit intense, considering this is our weekend home, and it allowed us about twelve days to get everything completed. But I LOVE the look of concrete in all forms (especially on countertops), so my heart was set on poured concrete to compliment the butcher block. About a week into the reno, I realized that the actual wall would need some reinforcement to hold a 2 + inch concrete countertop (my dream), and we would need brackets or something to hold the weight. Yikes!
I didn’t want to have brackets added to support the counter because it would take up valuable space, and two, we were quite honestly running out of time (remember, we only had six weeks to finish). So I thought, okay, I need a plan B. I had used a skim coat product once before at our rental home, and it has held up really well. So I decided I would use the same product here. You can peek at that DIY countertop here.
This is a simple DIY project; even a newbie DIY’er can do it. It requires some sanding, which is messy and requires patience. But I am confident you will love the results!
Tools for a Feather Finish Concrete Bar Top:
You’ll need just a few tools for this DIY bar top project.
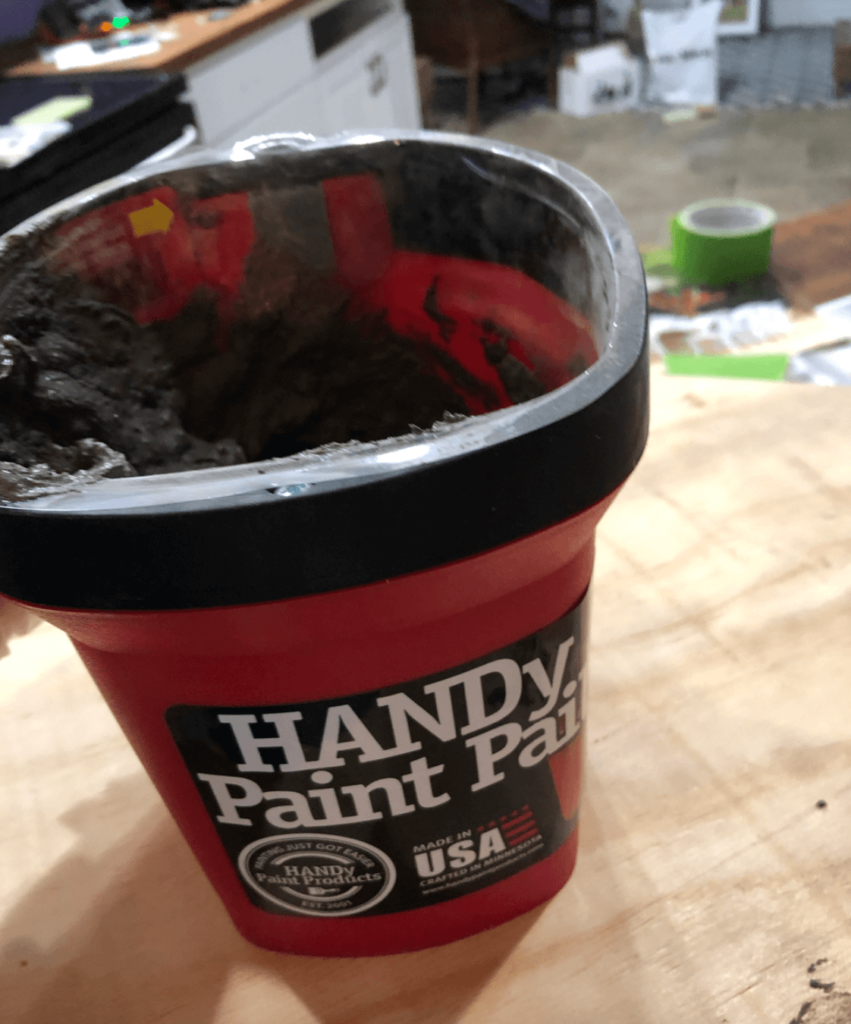
Handy Paint Pail (with disposable liners)
Paint sticks to mix the product
Sandpaper (I hand sanded this time)
Rags
How to Make a DIY Concrete Bar Top with Feather Finish
Here’s the exact process I used for this cement countertop DIY project. Keep in mind that you’ll need to apply several layers and allow a few hours for drying between each one, so you’ll likely want to split this DIY bar top project over 2 or 3 days.
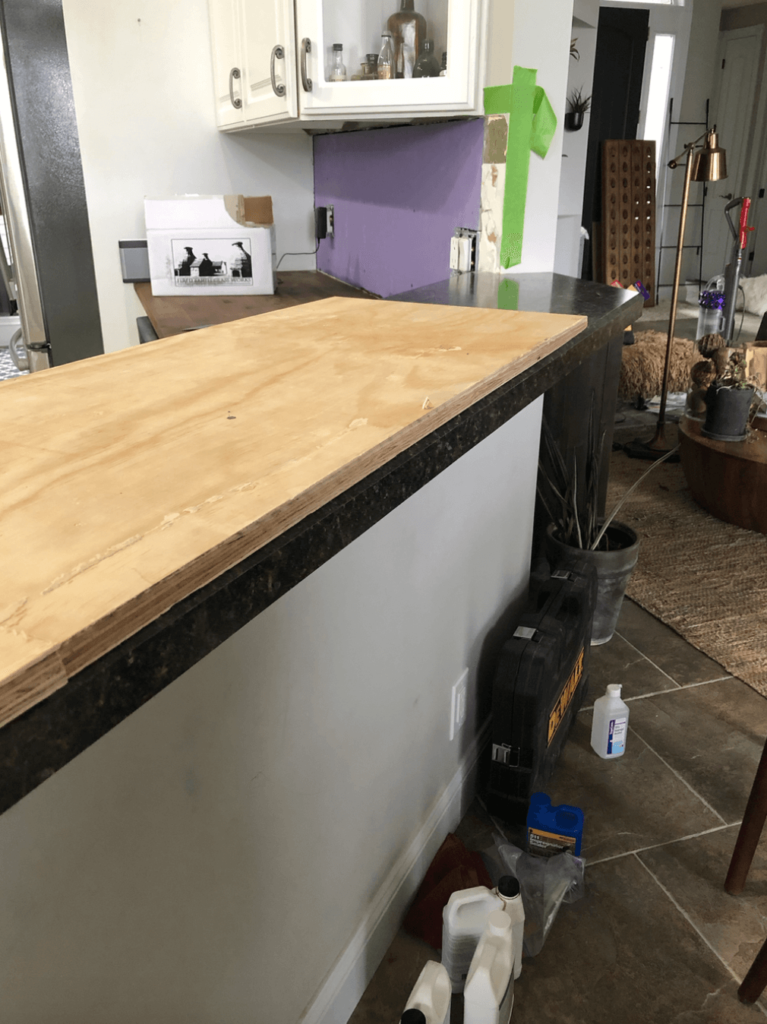
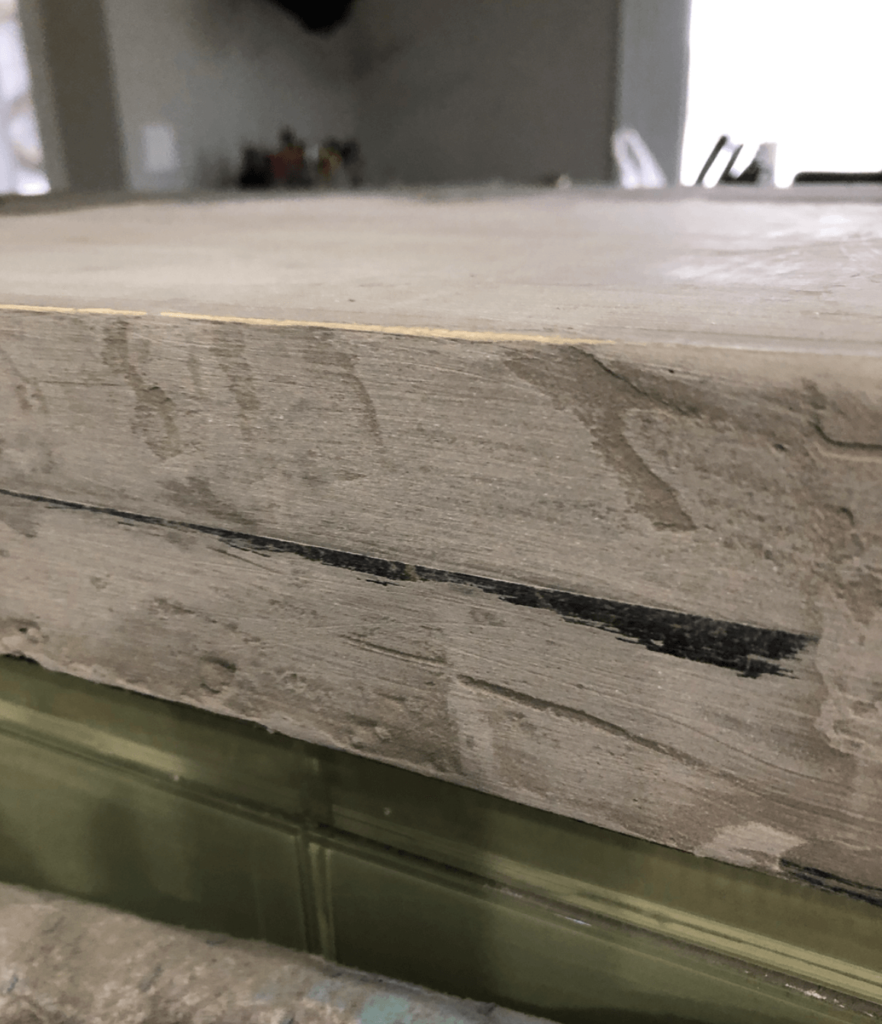
Prepare the countertop.
The first thing I did was add plywood to give me the extra depth I was looking for. I like a larger profile countertop as it seems more substantial. We cut the plywood to the same size as the Formica by tracing the outline onto the plywood from the bottom and used wood glue and some screws to attach it.
Prepare the finish according to package directions.
I mixed the product according to the directions. NOTE: Small batches work best; otherwise, the product dries out too quickly.
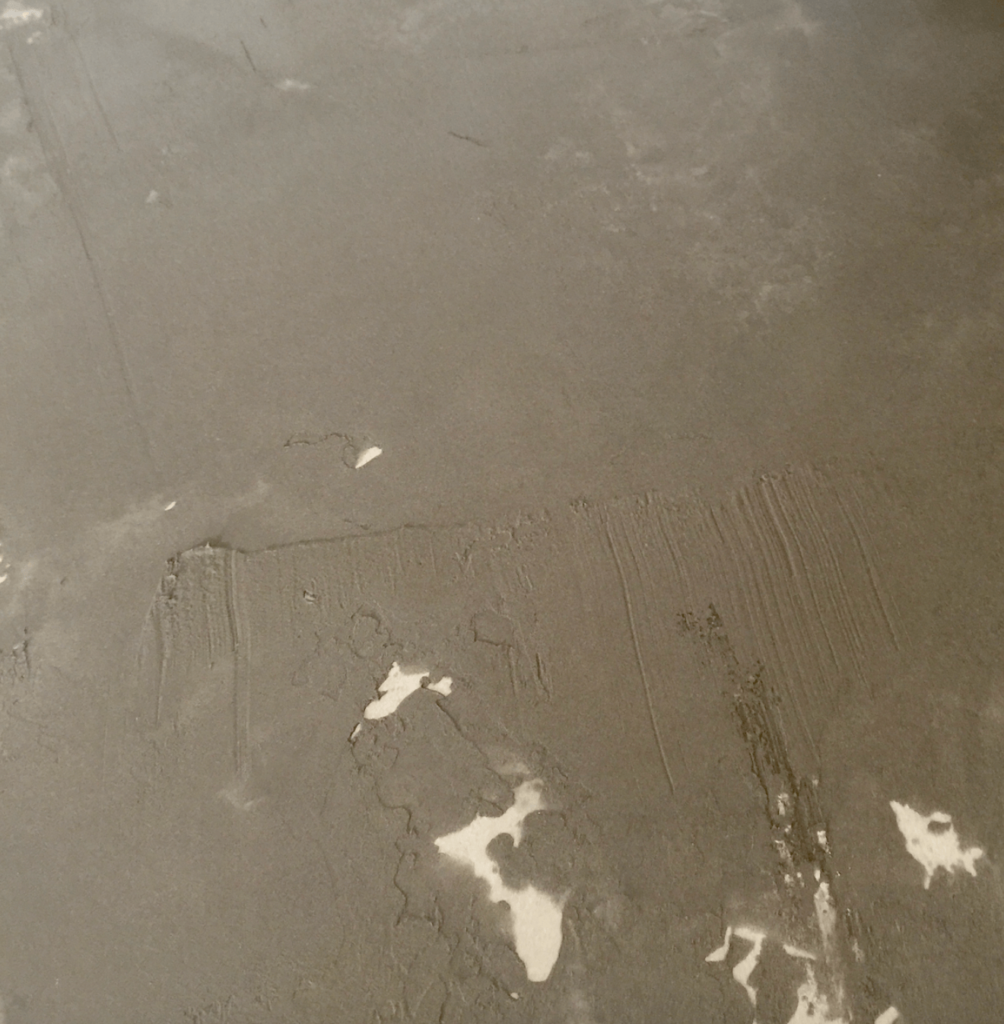
Apply the finish to the countertop.
The trick is to apply the thinnest, most even coat possible. The idea is to layer the product slowly.
Here, I filled the gaps between the Formica and plywood.
Let the finish dry.
Let it completely dry to the touch (I waited 2 hours for each coat).
Sand.
Sand to a smooth finish.
Repeat.
Wipe clean after sanding and add another layer of finish. Repeat a few times until you release the desired finish.
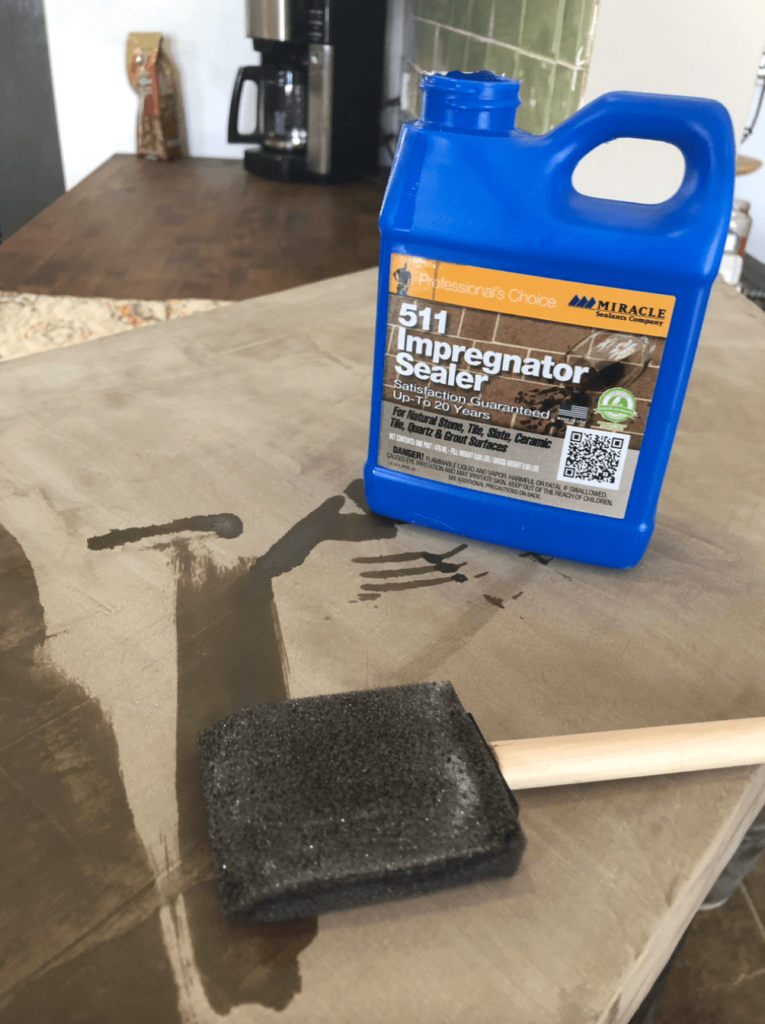
Seal the concrete.
The next step was the 511 Impregnator. This is to seal the concrete so you won’t get water stains and food stains. I used three coats (letting them dry well between applications) that I spread with the sponge applicators.
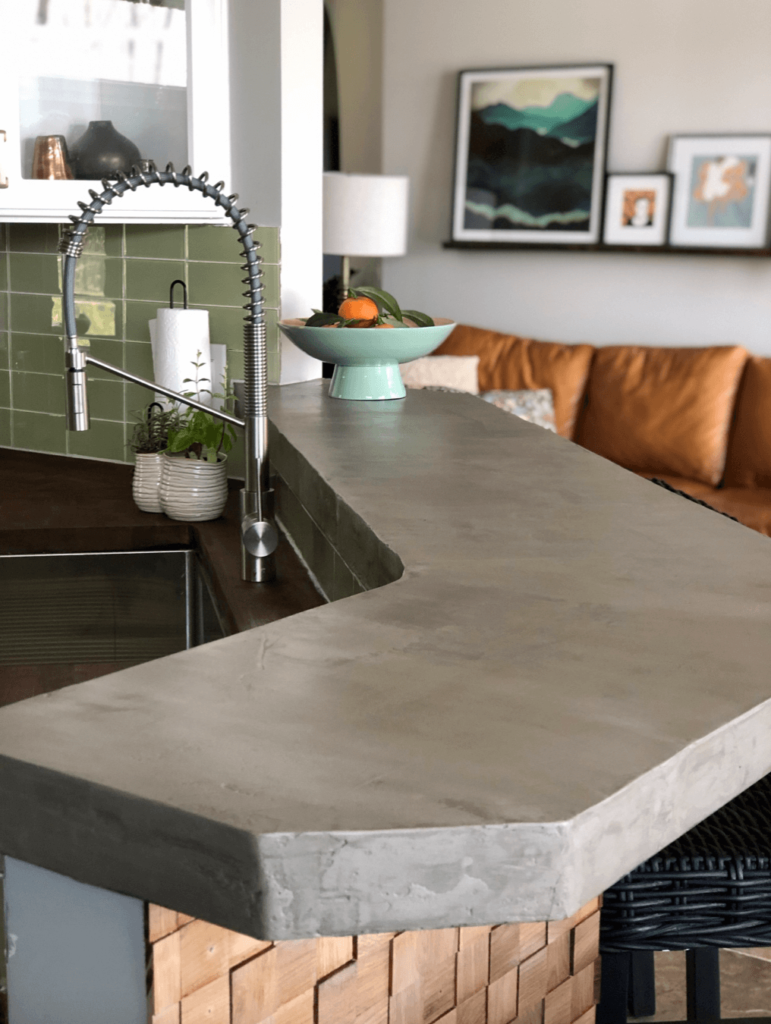
And that’s all there is to make a DIY concrete bar top in a weekend!
How Many Coats Of Feather Finish Concrete Do You Need On A Countertop?
This is four coats before sanding the last coat. I could have gotten away with three coats, but I got a little heavy-handed with the sanding on coat three and needed to even it out a bit.
How to Care for A Feather Finish Concrete Countertop?
Caring for these countertops has been easy. To clean them, we wipe them off with a gentle household cleaner.
How Durable Is A Feather Finish Concrete Countertop?
Ardex Feather Finish is quite durable. It has held up to many parties at the lake! One thing to note is that if oil or water gets on it, it can leave a stain. If it does stain or chip at all (or some other flaw), you can quickly fix it by restaining and sanding it again.

What Surfaces Can You Use Ardex Feather Finish On?
The Feather Finish worked really well on the plywood over our old countertop. Here are the other surfaces you can use it on:
- Wood
- Concrete
- Ceramic
- Vinyl
- Masonry
- Terrazo
There are so many possibilities! I love how this turned out so much that I think I’ll try it out on a fireplace next.
Shop the kitchen here:

More DIY Projects:
Why I chose Chevron Butcher Block Countertops
That’s all for now!
Until next time xo,
-Libbie

Hi Libbie!
Your countertops turned out beautiful! And I love how you left the edges a little rough! A friend’s husband just finished concrete countertops in their home. I haven’t seen them yet, but I’m looking forward to it. I would love for you to share this at Homestyle Gathering via Serving Up Southern.
>>> Kim
Thank you, Kim! Done. 🙂
This turned out beautifully! I want to redo my countertops until I can get all new cabinets, etc., and this may be the perfect way to modernize it while I’m on hold and beyond.
Wow it turned out amazing!! Well done!
What a transformation. It looks sooooo good! My friend Katy and I just started a new link up. We’d love it if you would share your posts!. You can find the link here if you are interested. https://handmadeweekly.com/handmade-otherwise-link-party-week-1
I’ll have to do this when I get a house!
briana
https://beyoutifulbrunette.com/
Libbie, I’m so impressed with your counter top. You are amazing! Thanks for sharing on Tuesday Turn About. 🙂
Wow, I love the way your countertop turned out, Libbie! I would be so afraid to try this, so your tutorial really helps to see the process and make it less scary. Thanks for sharing at Tuesday Turn About!
Libby, you did a lovely job! I really like the industrial look with the wood and green, as well! Maybe someday I can add this to a home of my own! We are so happy that you linked at Tuesday Turn About (all three of us are happy! LOL!). Hope you’ll be back this coming Tuesday! Hugs!
I am so impressed right now. It looks fantastic! So happy to find your fabulous blog!!
Steph
Magnolia Stripes
http://www.magnoliastripes.com
What a lovely compliment! Thank you.
Wow!! Who knew it could be that easy to have concrete countertops! Thanks for sharing this idea – I have never heard about this option!
Cindy!!!
Thank you for your kind words. I love this option so much I was happy to share. 🙂
Love how easy this actually is! I always thought you need to do some kind of magic to have a concrete countertop, but you’ve certainly proved me wrong. Love the industrial and modern vibe of your countertop, it looks top notch. Thank you for this useful post!
Katarina,
Thank you! We are loving the new countertop. As you can imagine at a house on a lake we have lots of company this time of year. It’s holding up well. Thank you for stopping by.
I love this! I currently have wood countertops that I hate! ( were here when I bought the house)
I’ve wanted concrete countertops,but every video I watched was pouring 2 or more inches! I dont have time for that! I am definitely gonna do this! Thank you for sharing!
If you try them please show pictures! I’d love to see it.
Libbie
How much sanding do you have to do and is it a hard sand or fairly easy? Thanks
Sandy,
It was easy sanding but a bit messy. You need to sand with fine sandpaper between each coat. It’s a bit tedious but not hard at all. If you try it let me know how it goes.
🙂
Libbie
Libbie! I saw your original concrete counter project at the rental property and then linked over to this in the comments. So glad to see you loved it enough to do it again! I’m planning on giving it a try on some fabulous pink formica, and I’m really curious if you’ve stumbled on any extra tips, and also how well it’s holding up? I did notice you added the 511 before the acrylaq, so I’ve got it on my list to pick up this weekend. Very excited for this low budget remodel!!
I am just seeing this! I hope your project turned out for you!!
Hi Libbie. I’ve watched both your links and i’m so very impressed with your results, they look brilliant and the kitchen is beautiful. We will be re-decorating our kitchen soon and would love to try this, thank you so much for the tips. Happy designing and keep safe X
Thank you, Shelley!
Your shopping link isn’t working…
Thanks for letting me know!
How did you fasten the concrete top to the base securely, with such a large overhang
We added the plywood to the existing counter top that was already mounted. 🙂
Always wanted to know how to do this. Thank you.
This looks beautiful! May I ask what you used on the wall under the bar top? I would love to do something similar 🙂
Very good blog post. I certainly appreciate this site. Continue the good work!
Thank you! What a nice compliment!
Hello there! I could have sworn I’ve visited your blog before but after going through a few of the posts I realized it’s new to me. Nonetheless, I’m certainly happy I came across it and I’ll be book-marking it and checking back often!
Thank you and welcome, Llissa!
[…] Trích nguồn: … […]
[…] Photo from A life Unfolding […]
This is beautiful! I am looking for a link or post about the wall under your concrete bar top. How did you do the wood design? Thank you!
Thank you, Stacy. It’s a product by Timber wall. This is a link for it. https://rstyle.me/+nnMcnyK0LtybyDg9cHZqmA
Can you use this same technique on a new countertop with plywood and cement/hardie board? I am building an outdoor kitchen so don’t have an existing countertop to use this technique over top of.
Absolutely!
This DIY post makes the project look very doable for a weekend, but anyone who’s actually done sanding and multiple coating layers knows how physically demanding it can be. After a full day of hands-on work like this, my arms and lower back usually feel pretty sore
That’s exactly why I booked a Honey Room massage after a similar DIY project, and it made such a difference. The massage wasn’t overly intense, but focused on gently releasing tension and helping my muscles recover from all the repetitive work. I left feeling relaxed and re-energized.
Finishing a beautiful bar top and then taking care of your body afterward is the perfect way to wrap up a productive weekend. Highly recommended!