
I am at it again! I can’t seem to stop putting texture on my walls.
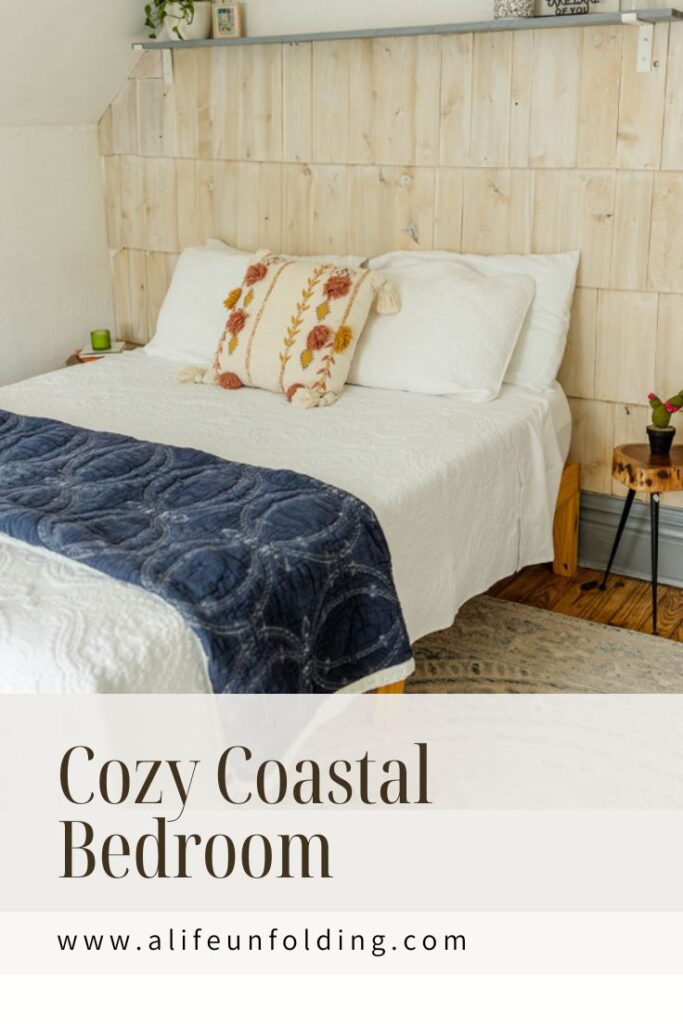
Today I am sharing how I added some cottage style to one of the bedrooms at the Airbnb.
I love the paint and trim color but wanted to give the space more visual interest and a cottage/coastal feel; the space lacked the texture.
Then last week, as we were adding some replacement pieces of cedar shake shingles to the porch outside, a lightbulb went off!
See how I made and accent wall from cedar shake to give a cottage style to the guest bedroom.

Using Cedar Shake for texture
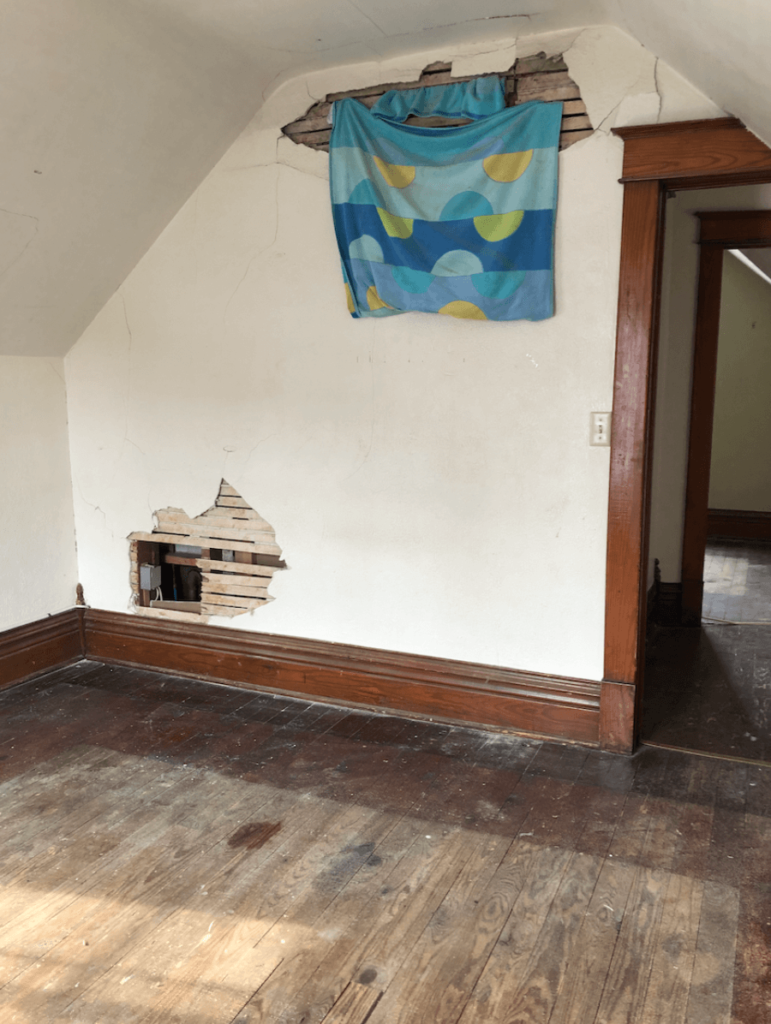
Here is what the space looked like when we bought the house last Spring.
It was a foreclosed property and needed a great deal of TLC.
Yikes!
You can see the entire renovation here.
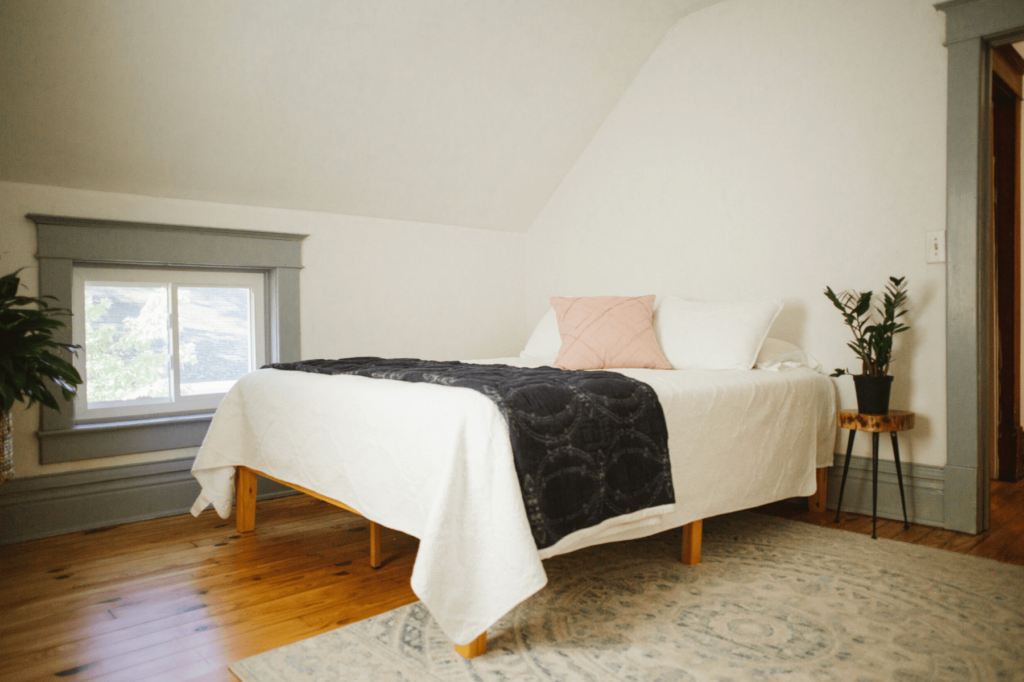
We got to this point when we started renting the Airbnb.
And while I loved the room (especially the painted trim), it lacked a bit of warmth and personality.
It is a pretty space but not quite the cottage style I was going for.
The room is SW Alabaster with Morning Fog trim.
Materials Needed for Cedar Shake Accent Wall
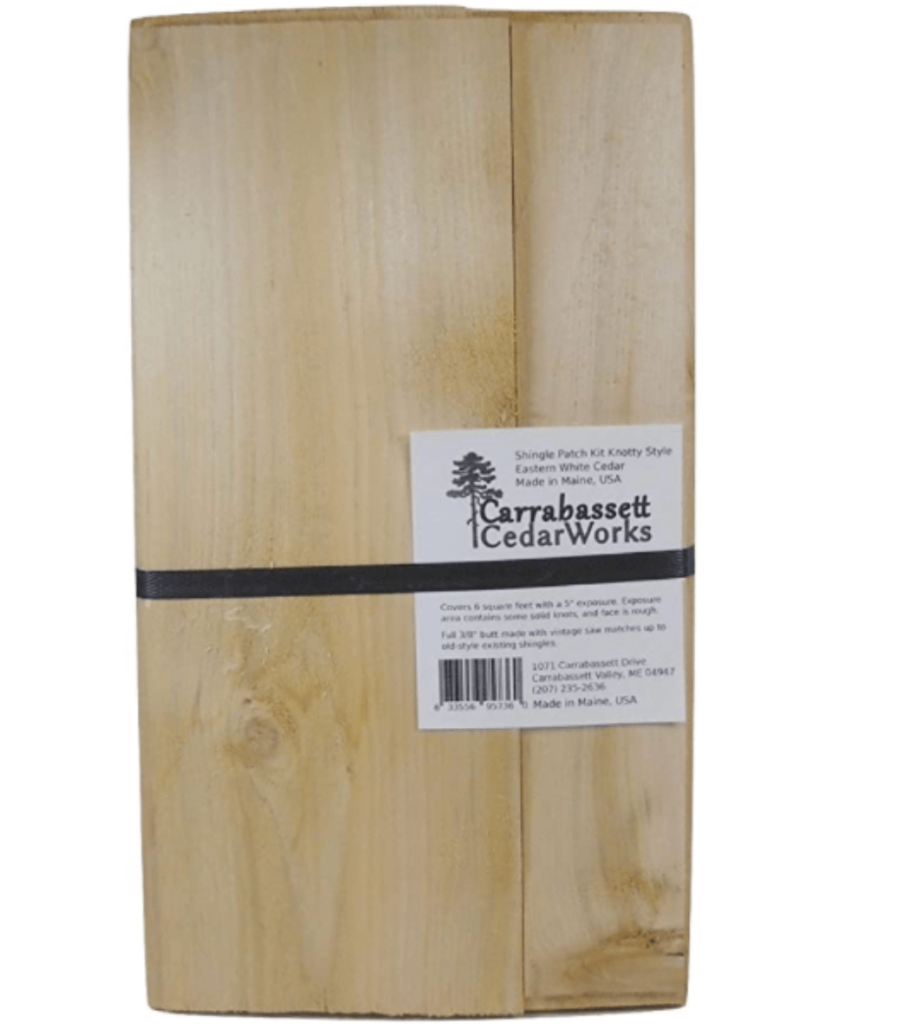
These are the cedar shingles we used on the shed (more on that project soon).
- Cedar Shake Shingles
- Pneumatic Nailer- We have this one
- Paint
- Board for shelf
- Brackets for Shelving
Since we had some leftover shingles, I decided to use those and order another box from Amazon for the accent wall.
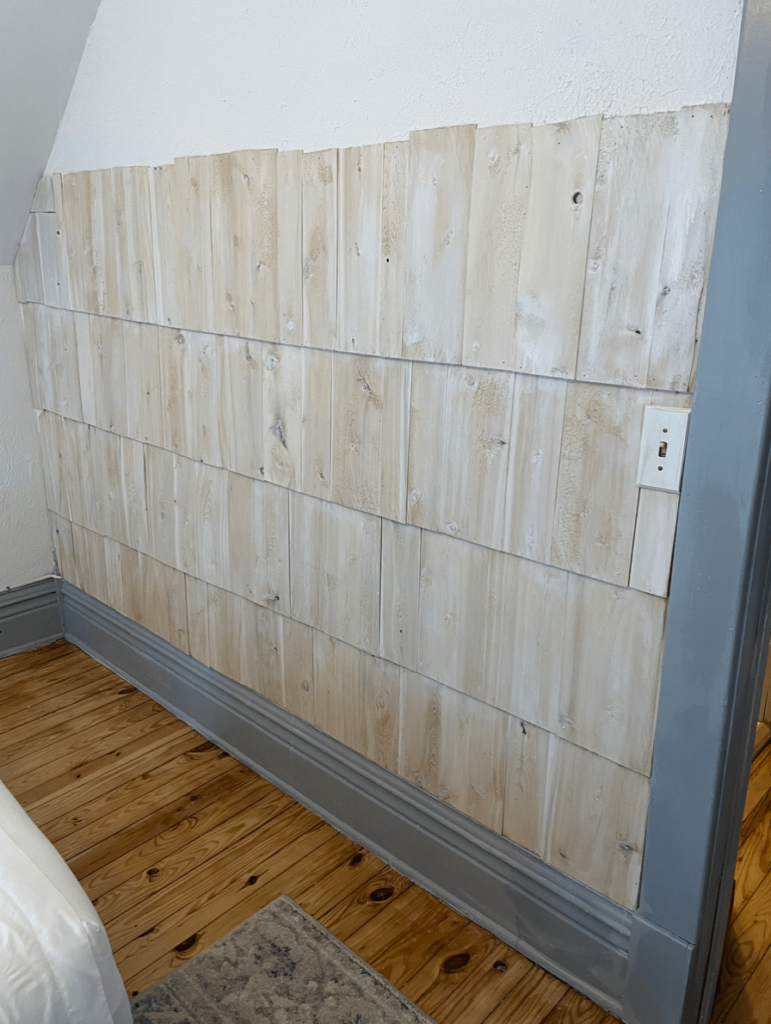
First, I lined the cedar shake shingles along the wall to decide the pattern (the cedar shake comes in different widths within the box) of the accent wall.
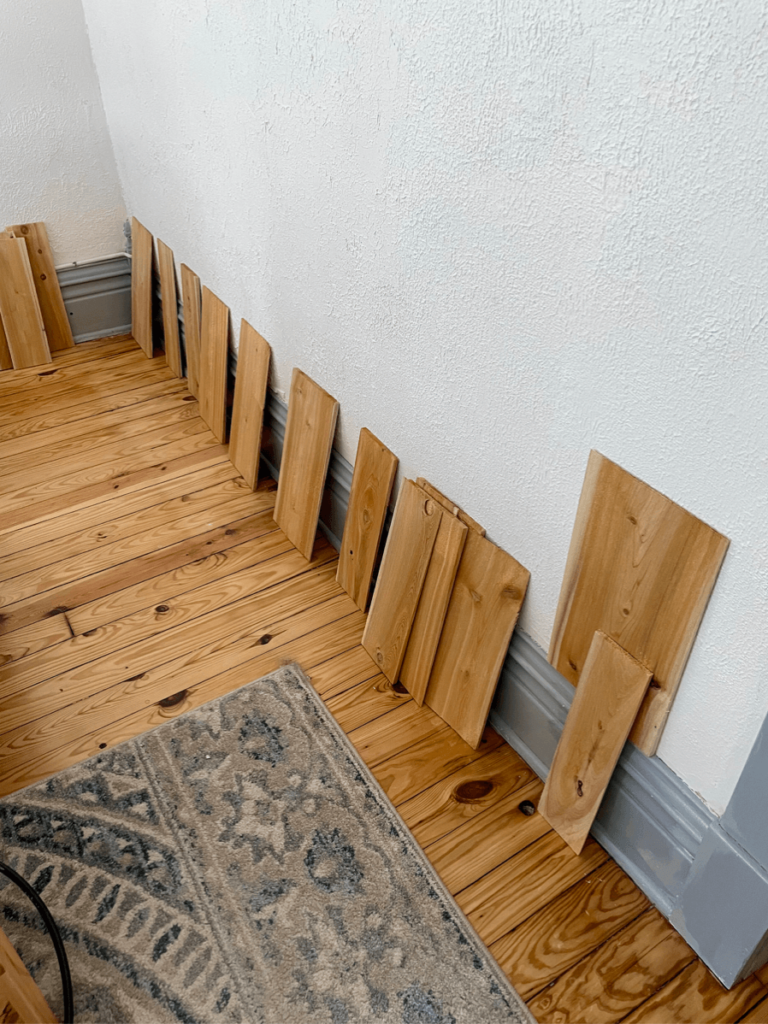
I then used a pneumatic nailer (you can also rent a nailer from your nearest big box store) to attach the shingles to the wall with the thin side at the top.
Overlap the shingles as you go, making sure to nail the shingles three inches from the top where the next row would cover the nail holes.
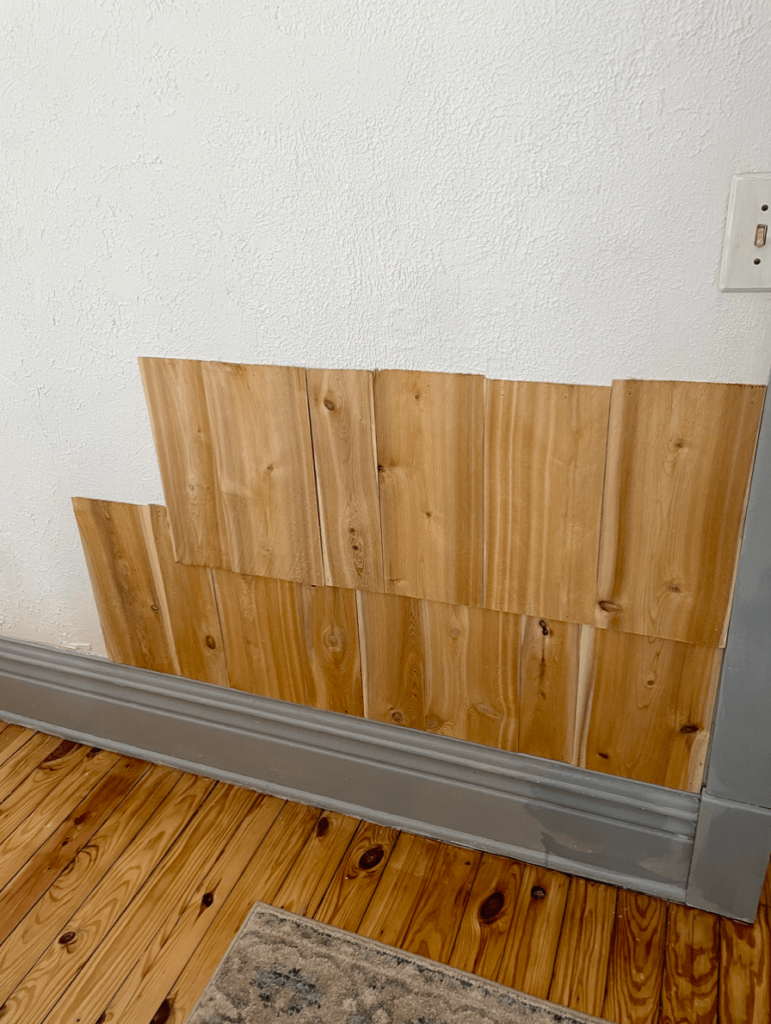
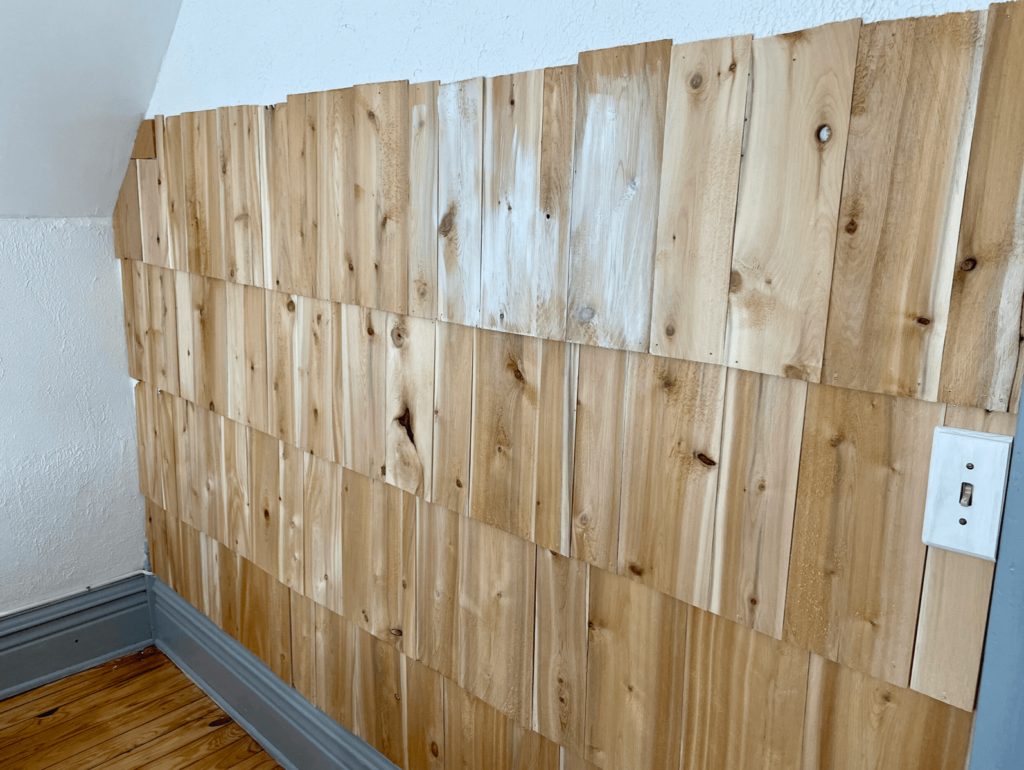
I kept the rows going until……I RAN out of shingles!!
Usually, this would not be a big deal, and I would order more.
However, if you have recently tried to DIY anything (especially wood products), they are shipping slowly.
Shipping another box would be three to four weeks, and because we had Airbnb guests checking in later in the week, I didn’t want to wait.
So I sort of “hodgepodge” in the last corner piece and moved on to a plan “B.”
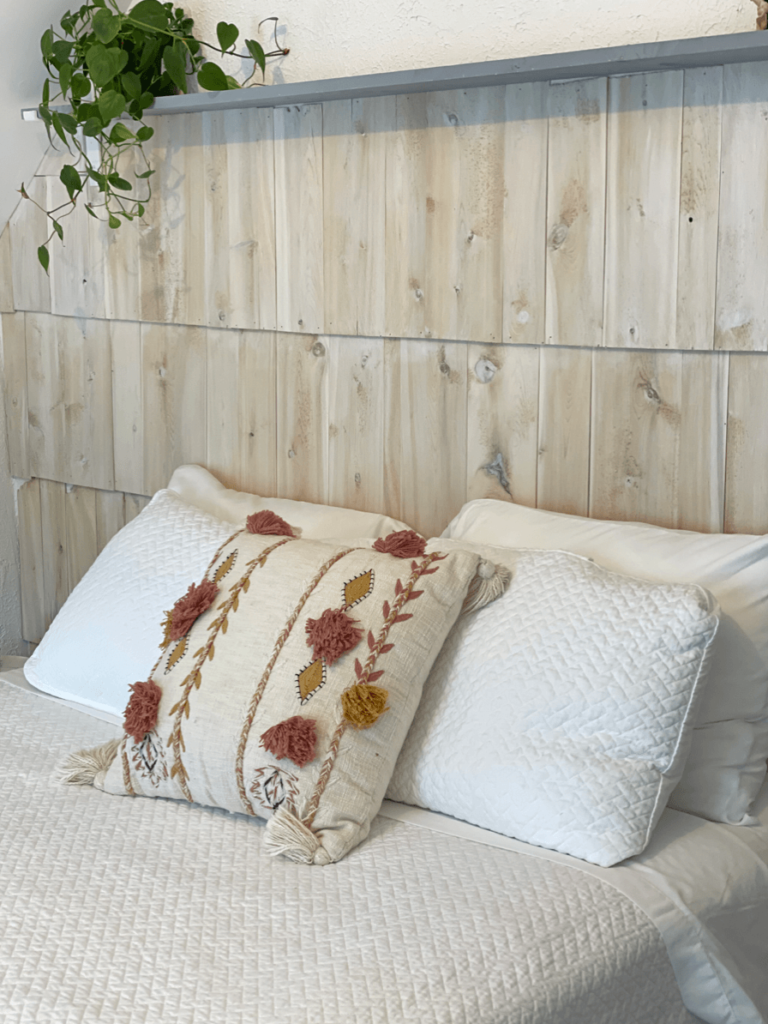
Before moving to plan “B,” I lightly hand sanded the shingles as they were a little rough.
I then whitewashed the cedar.
Whitewashing the Cedar Shake accent wall
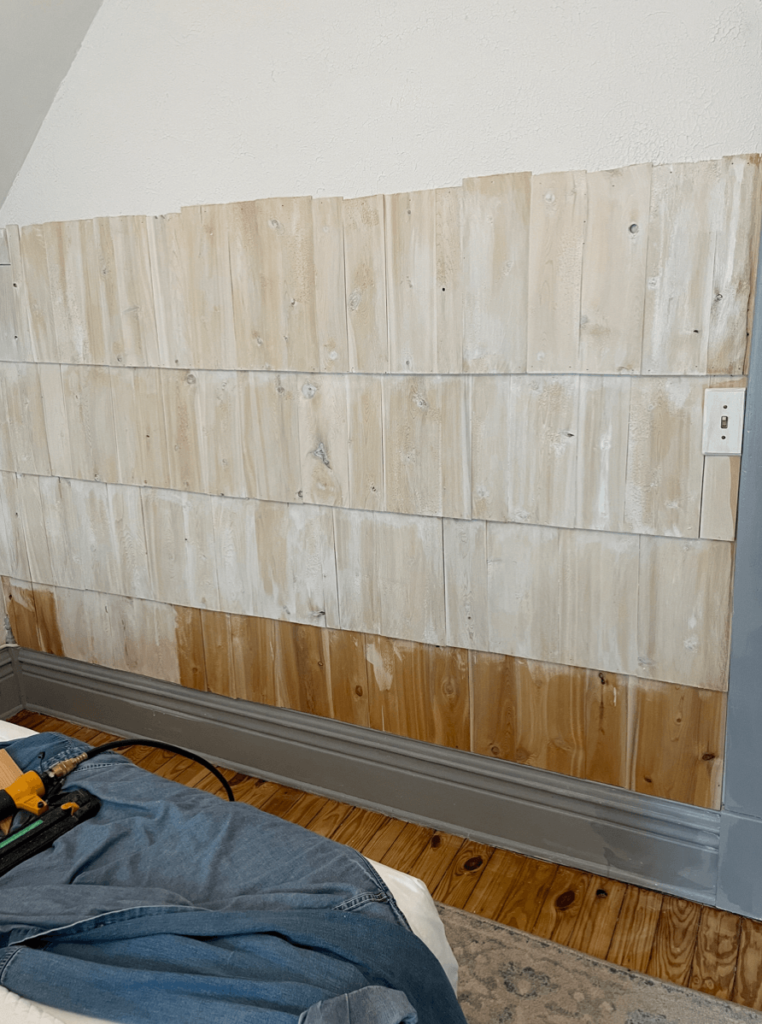
Whitewashing is a simple process that I have used many times.
You can see another example of whitewashing on wood planks here.
Start by diluting the paint with water (use a paper cup) and brush or rag it on.
With this project, I am using leftover sample paint from another project.
I used three parts water to one part paint and wiped it on with a rag to apply.
I then went over it to add more color wherever I thought it needed more coverage and to even it out.
Adding a shelf
Back to plan B.
With a little more than half of a wall covered with shingles, so what to do?
I loved the cottage feel of the cedar shake and it still felt like an accent wall.
After some thought, I decided to add a plant shelf.
The shelf would add a stopping point that feels intentional and allow for more color!!
Bonus win.
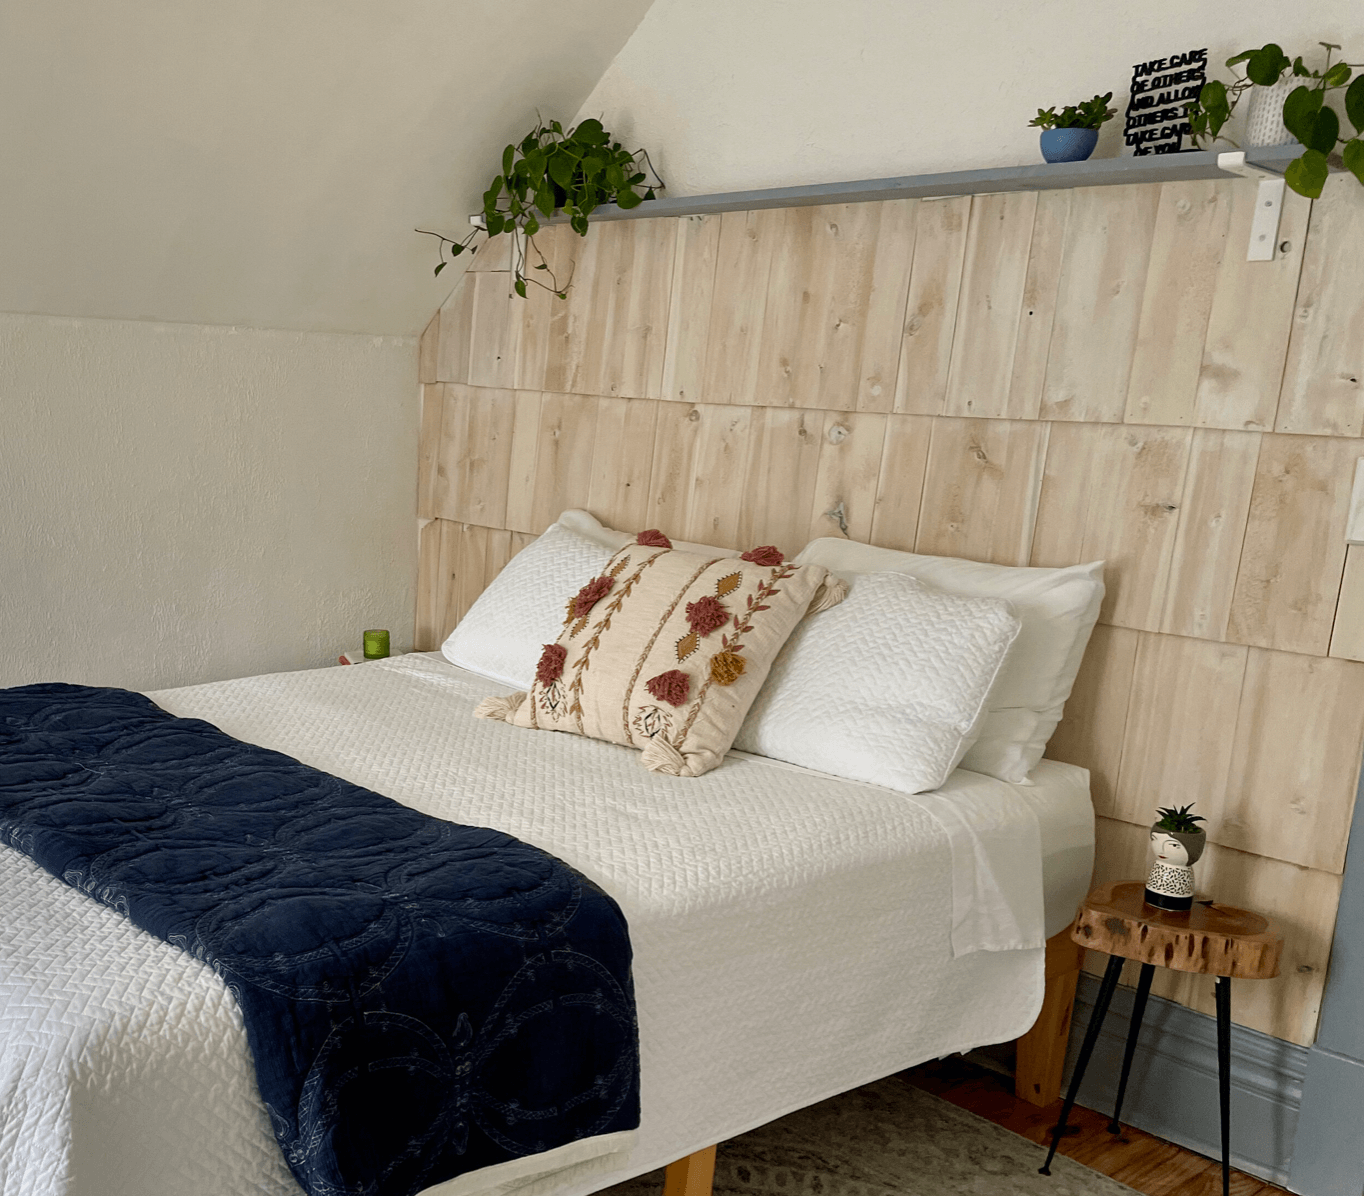
Unfortunately, I didn’t take my camera to the Airbnb the day I hung the shelf, but here it is finished!

I painted the shelf the same color as the wall trim (SW Morning Fog).
I used these 10-inch brackets from Amazon and spray-painted them white.
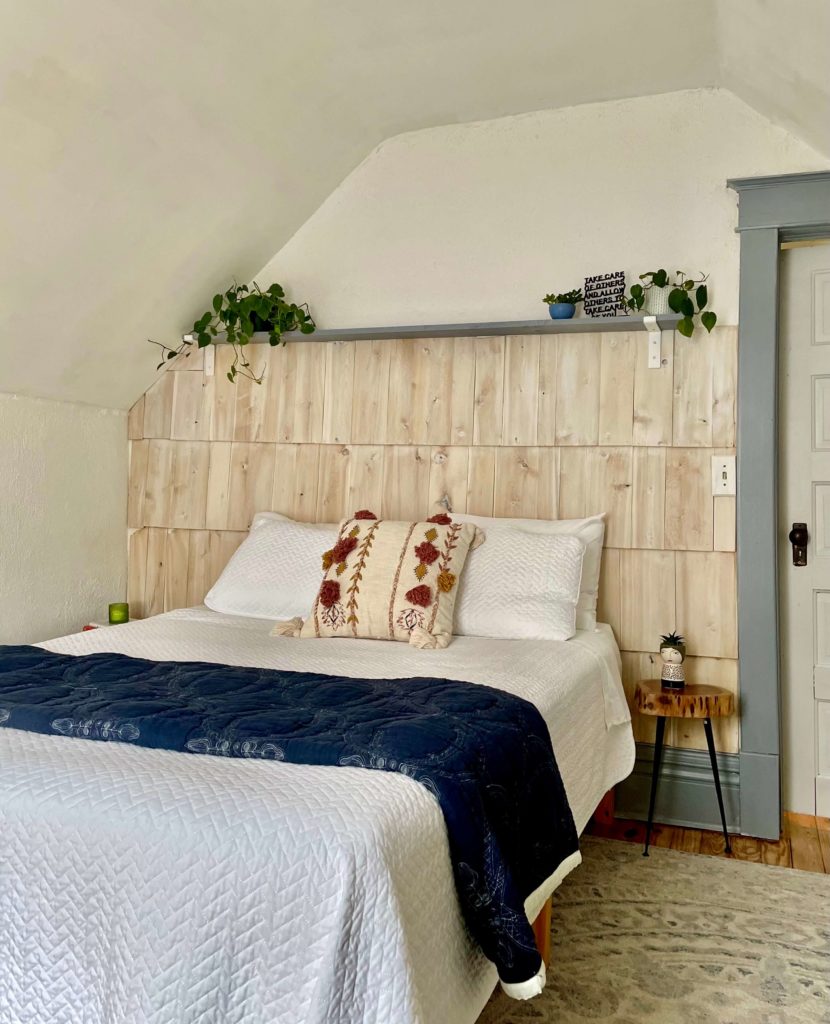
I love the texture and the look!
And it smells WONDERFUL!
Until next time,
-Libbie
You may also like:

Oh, Libbie! This is such a fun and creative idea to add life or texture to a cottage style home. Thank you for the idea.
Thank you, sweet friend!
So pretty! Nice work!
What a great idea, this looks so good! I’ve always been timid with texture, but I’ll definitely be trying this in the future.
Allison,
Texture is my love language! Wood textures especially.
I LOVE this … great idea and super adorable! I may have to try this in a room sometime soon!
What a great way to bring in a cottage feel. I love the trim color in this room too!
Marie,
Thank you for noticing the trim color. It’s one of my favorite SW shades called Morning Fog. xx
Wow this is a brilliant idea! Never though about adding cedar inside but it makes sense since it’s texture like wood paneling
This is a great project! I would have never thought to do this and it really changes the look of the room. Nice job!!
Thanks Kim!
Oh my gosh, I’m a huge cedar shake fan but I never thought to use it indoors. I LOVE this … its fabulous! xo
That looks so pretty! Thank you so much for sharing with us at Encouraging Hearts and Home. Pinned.
Wow, Libbie! this is such a creative idea and it looks amazing!
What a great accent wall. It looks amazing!
When you first started I thought oh no, but the end it was "Wow". It looks fabulous.
LOL, funny that’s what I was thinking too!
I love the focal wall. The change is beautiful. Thank you for sharing at #omhgww. Pinned and Tweeted. So creative.
Libbie, I totally love what you’ve done with this bedroom wall!!! A great way to use up the shingles that were left over and it turned out beautifully (even with a couple of odd spots)! 🙂
Happy to feature your DIY post at this week’s Share Your Style #300. <3 Really nice job!
Hugs,
Barb 🙂
This looks great, Plan B worked like a charm!
Thanks Rita,
I am a fan of plan B’s and sometimes C’s and D’s!
I love how this came together! Plan B worked great!
Thanks, Morgan!
I am all about having a backup plan or two. 🙂
Well isn’t this the cutest thing I’ve ever seen!!!
This is such a great idea and I love it!!!
Thank you, Maria!
That is very ingenious & adorable! What did you do the the hole up top?
Hi Pam,
We drywalled both before we put the cedar up.
Don’t you just love the towel they used for the hole? The other side of the wall is the bathroom so I think they used it for privacy. 😉
This looks great! If you didn’t tell I bet we never would’ve guessed stopping and adding a shelf wasn’t the plan! Thanks for sharing on Traffic Jam Weekend! If you don’t already, our readers would love to see this on Happiness is Homemade & You’re the Star Blog Hop on https://LifeasaLEOWife.com!
XO~
Niki
[…] 16: A Life Unfolding […]