
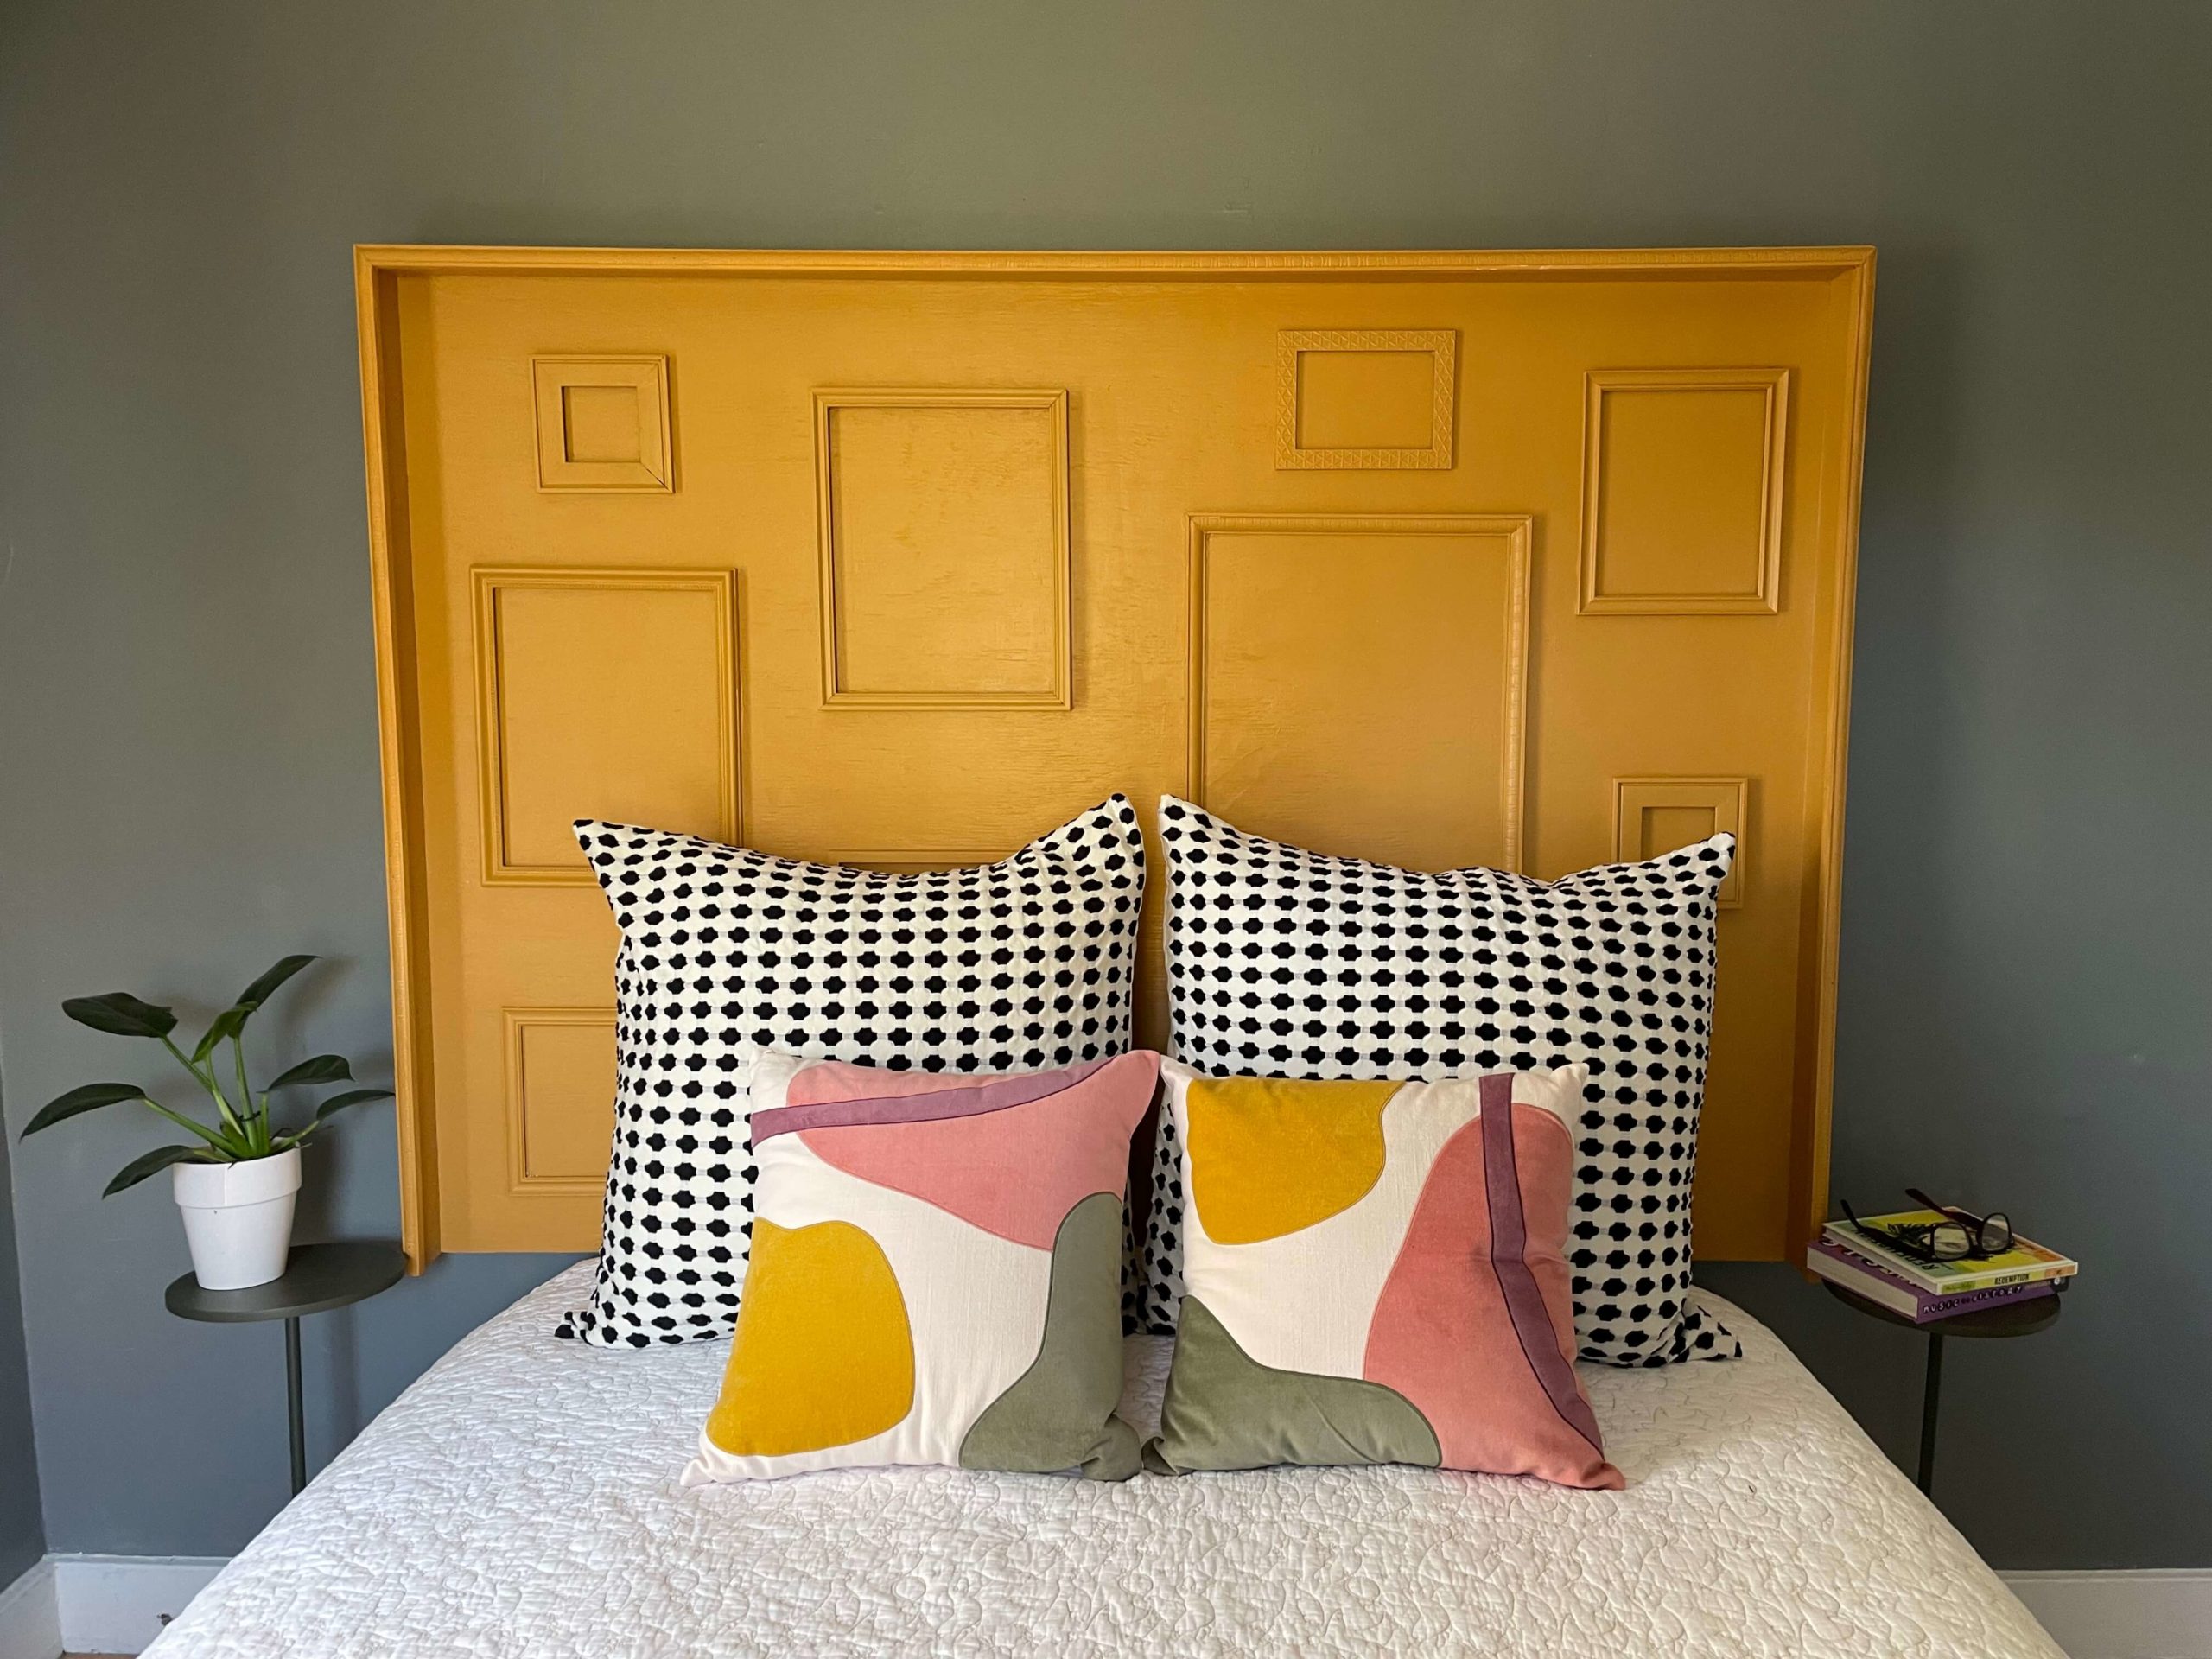
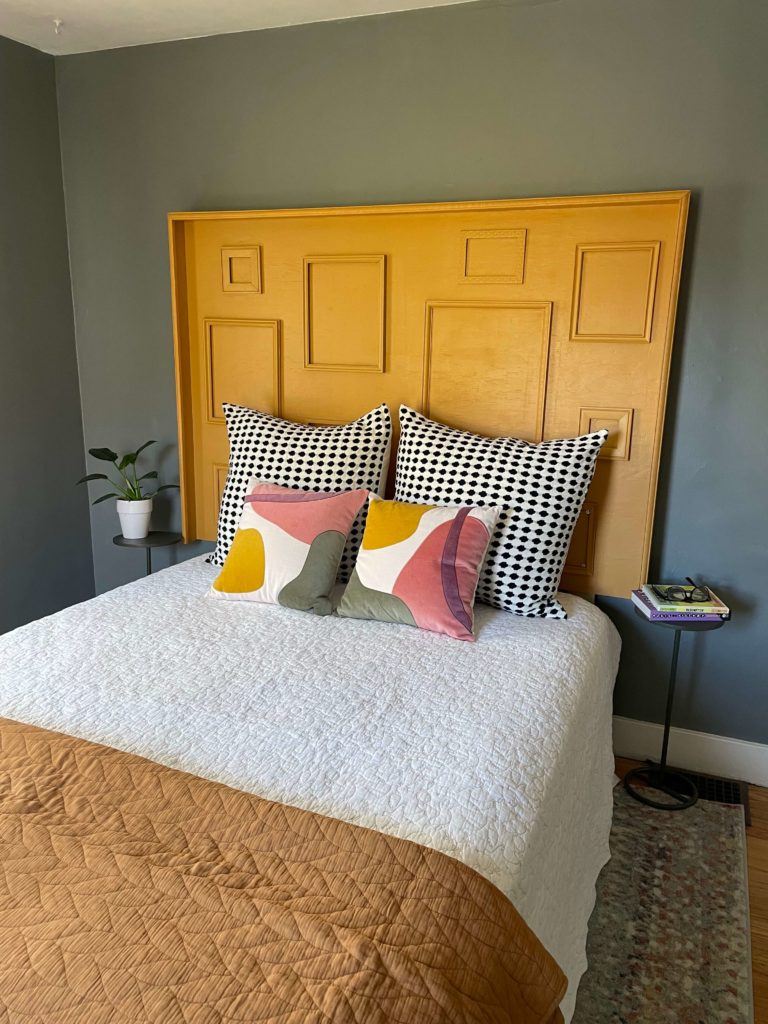
Today, I am sharing the latest DIY I have been working on. When I was looking for a headboard for our latest renovation, I couldn’t find anything that felt quite right, so I decided to make one from plywood. It turned out to be easy.

How to make a Headboard
I knew I wanted to start with a substantial frame, but I also needed to keep it reasonably inexpensive, as this is going into one of our furnished rental homes.
Plywood
The first step was a trip to the local Home Depot, where we picked up a piece of plywood and some 1 x 2’s for the frame.
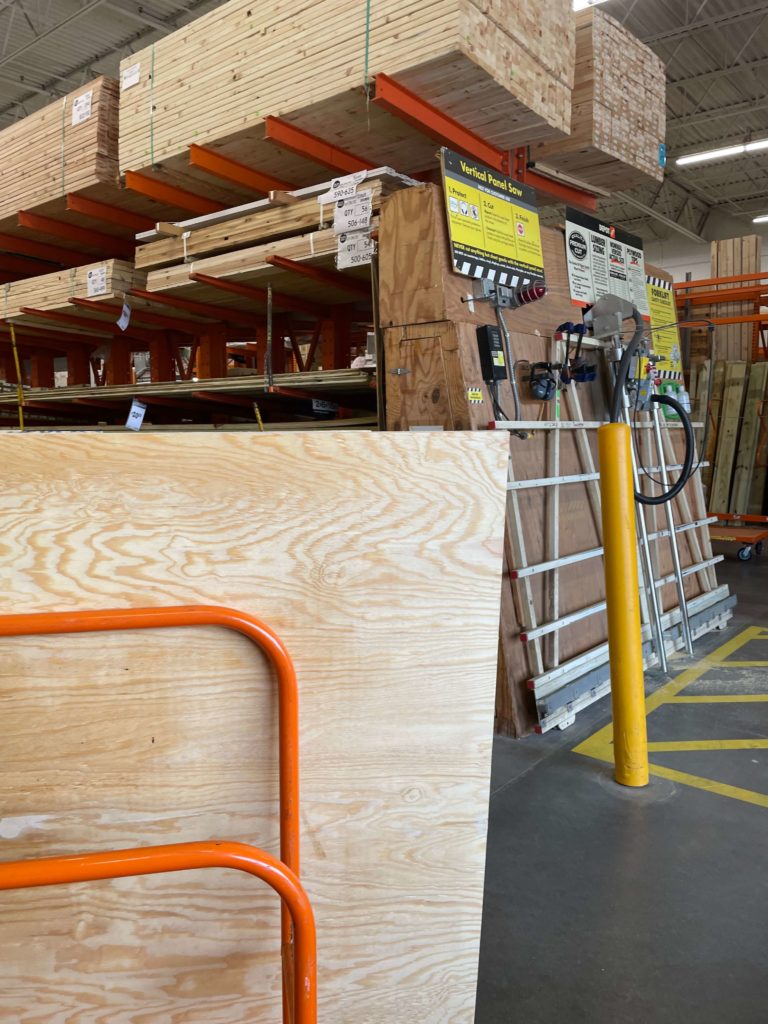
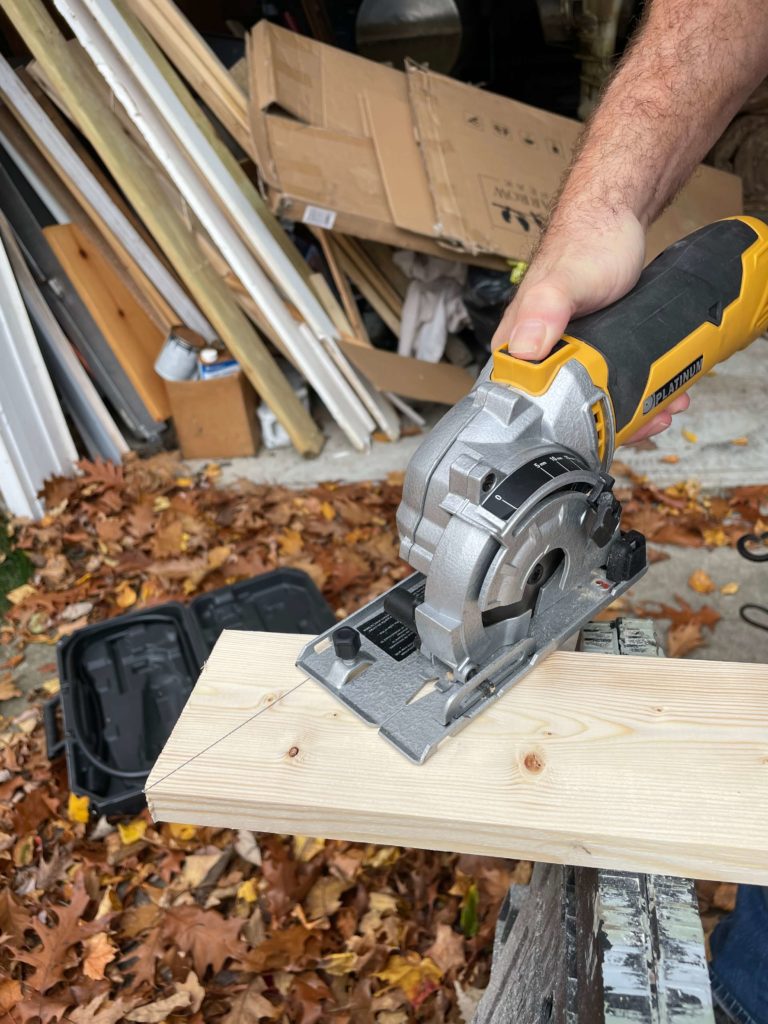
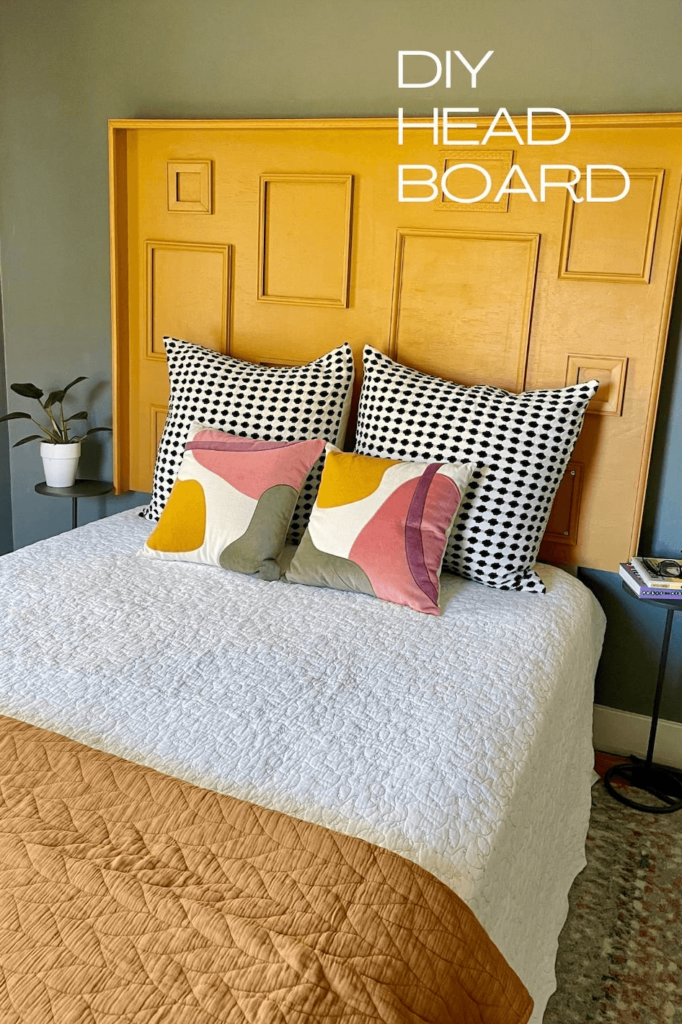
This is a queen-size bed, so we had our local Lowes cut the plywood to 48H x 72L. Once we got the plywood home, we cut the 1 x 2s to size to make a frame for dimension.
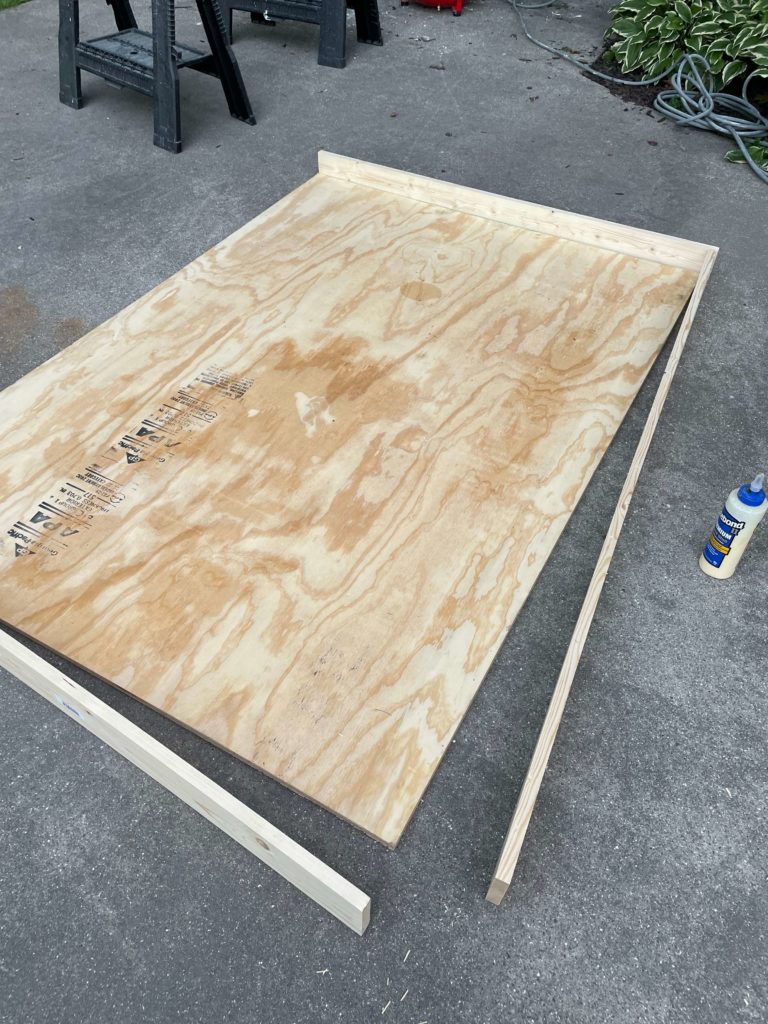
Framing it out
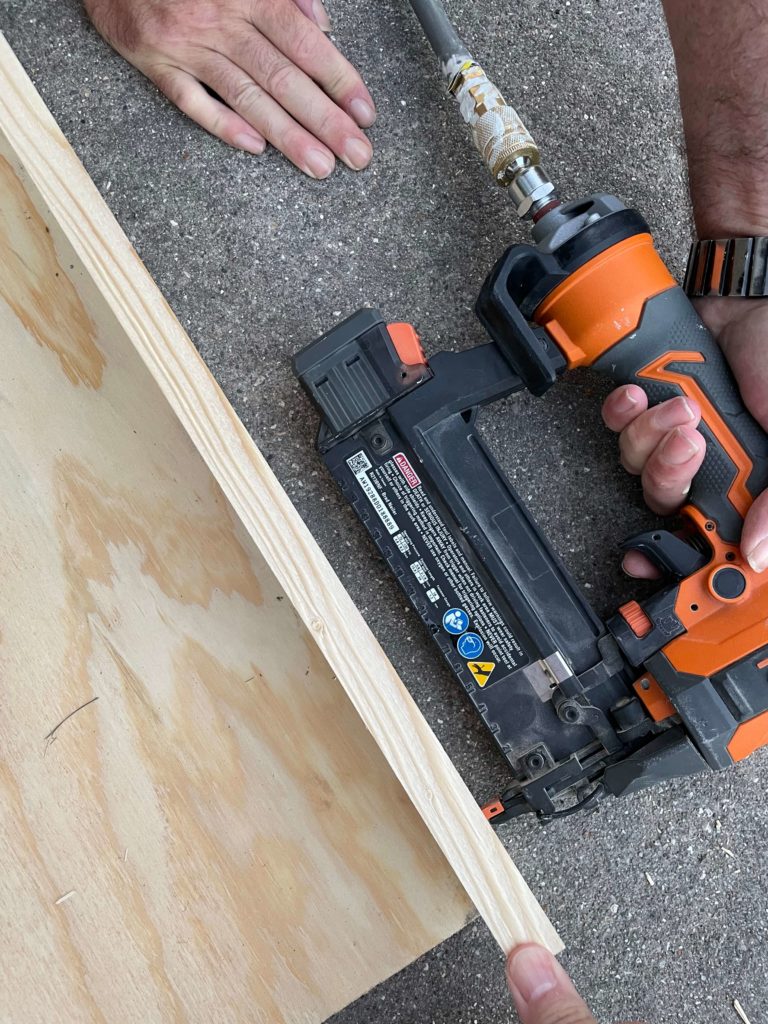
I then added this pretty moulding I found at Lowes, which we attached to the 1 x 2 boards.
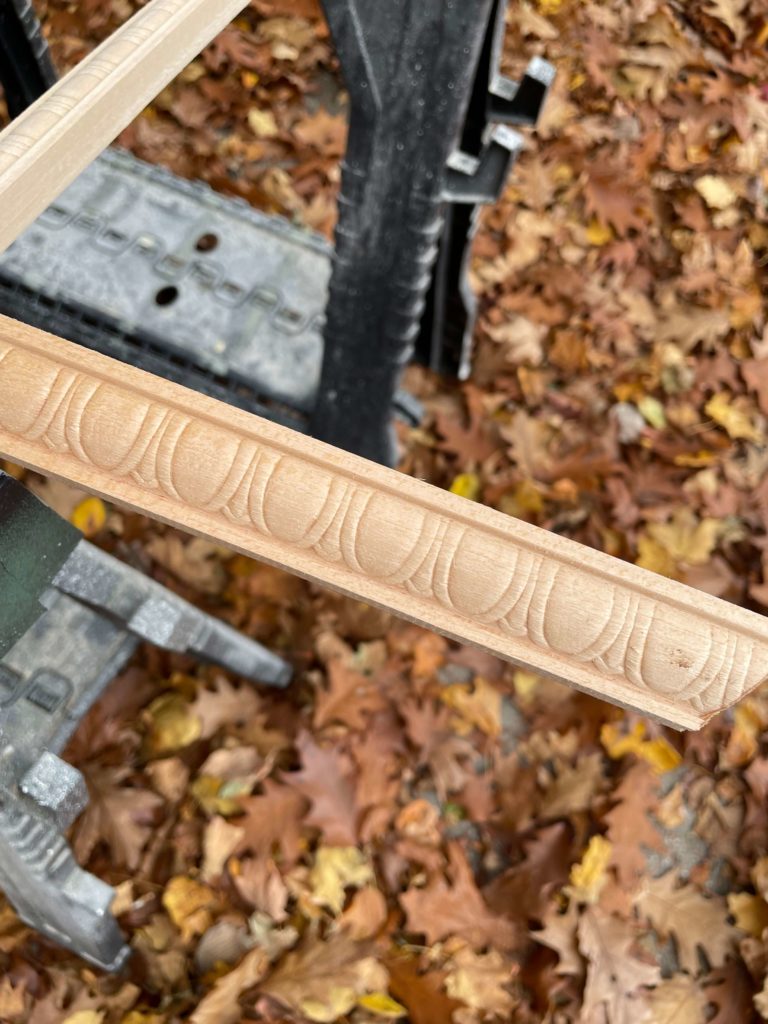
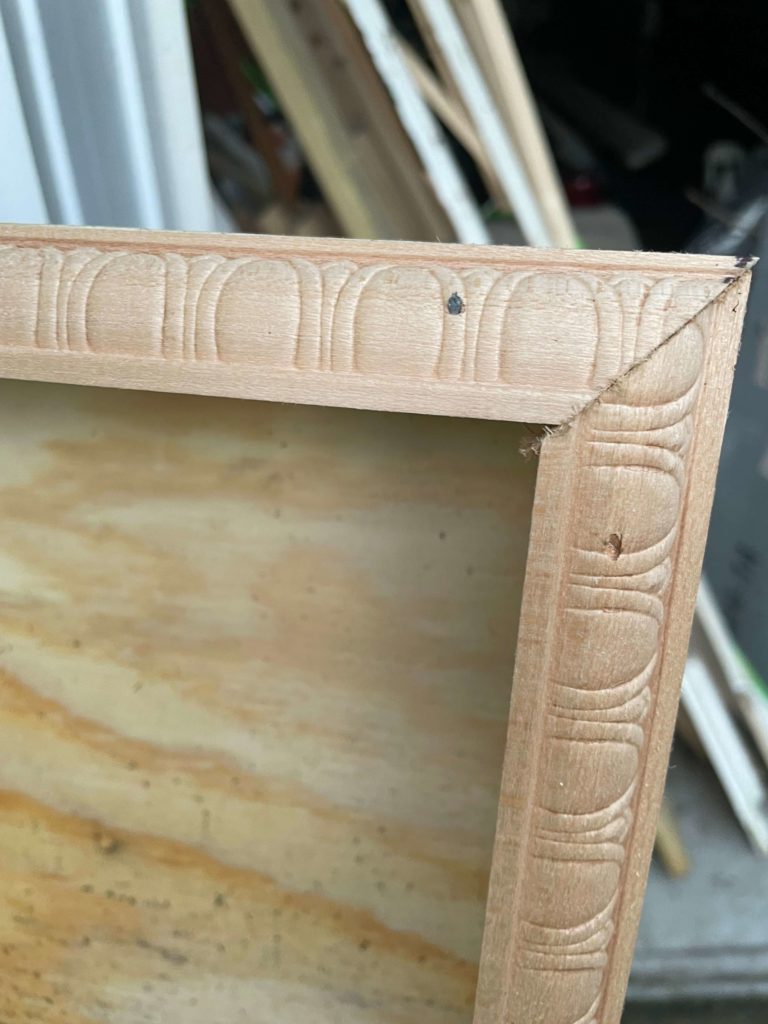
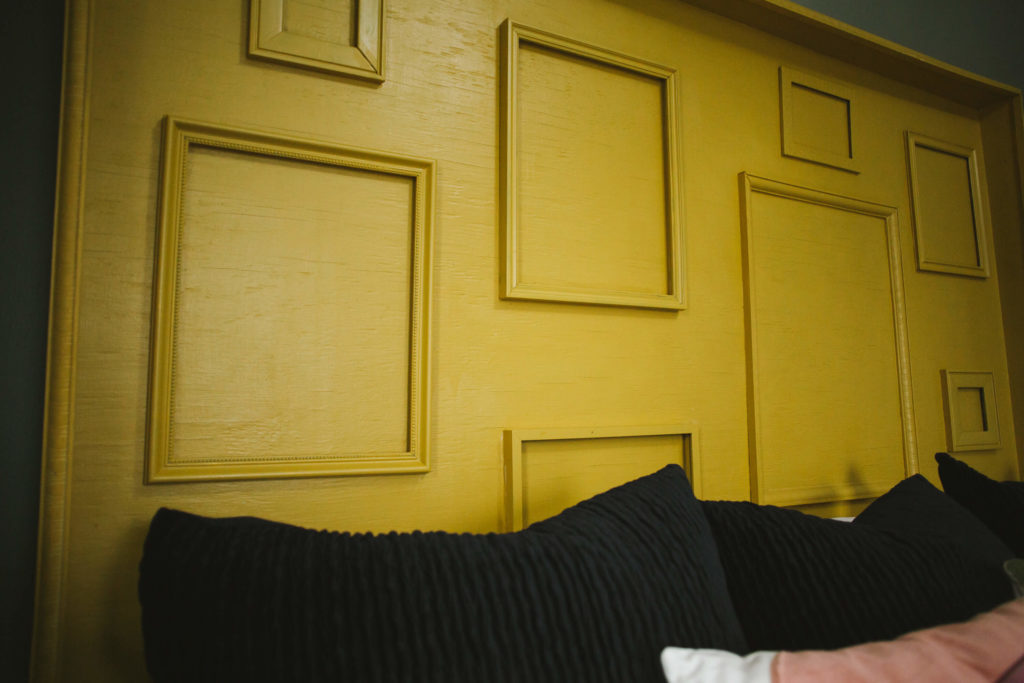
Isn’t that detail on the moulding pretty? Next up, it was time to choose a pattern and color for the inside of the frame. I was thinking something like this accent wall pattern I used last year, and it’s simple yet modern, which is what I was looking for.
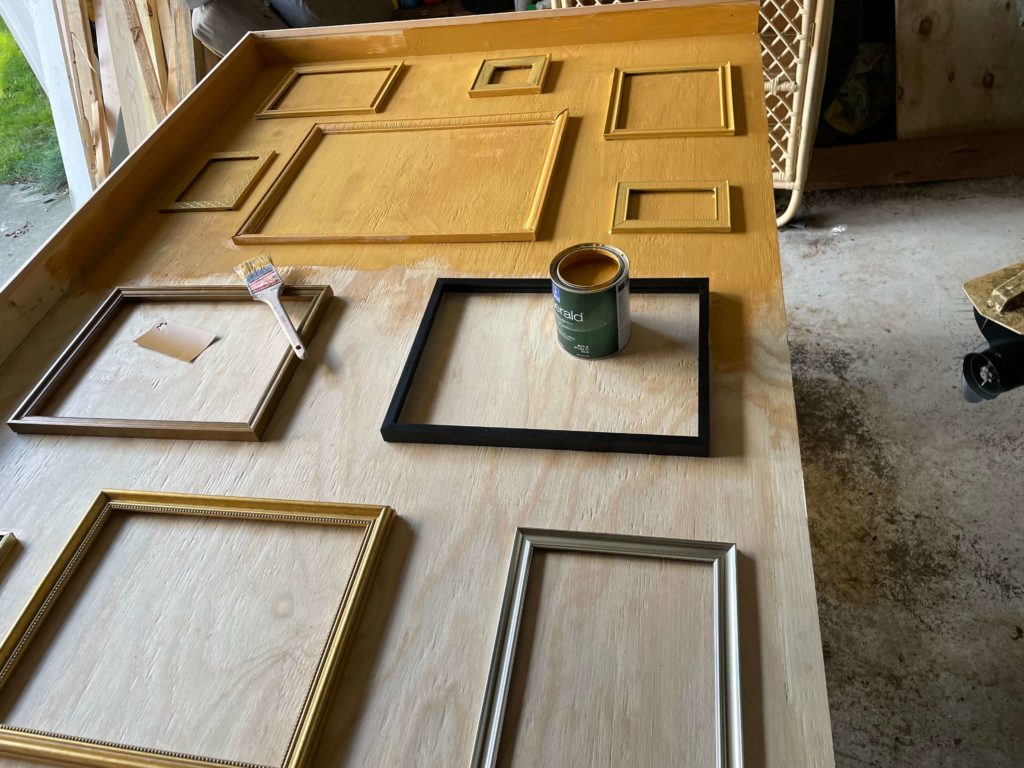
Adding frames
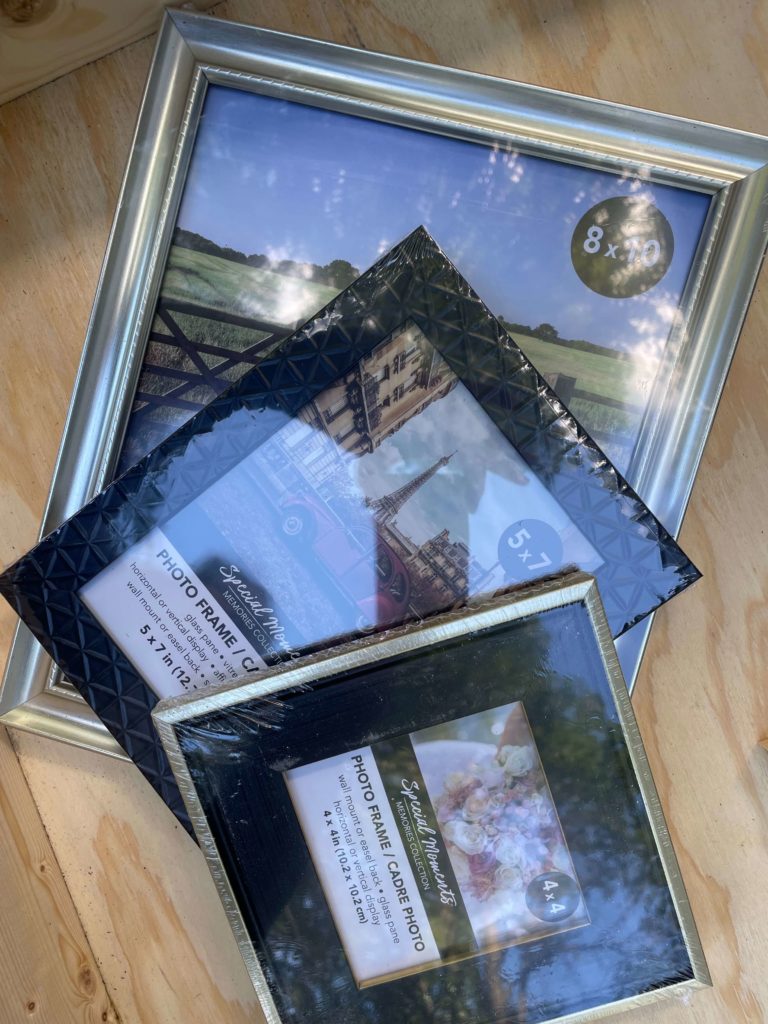
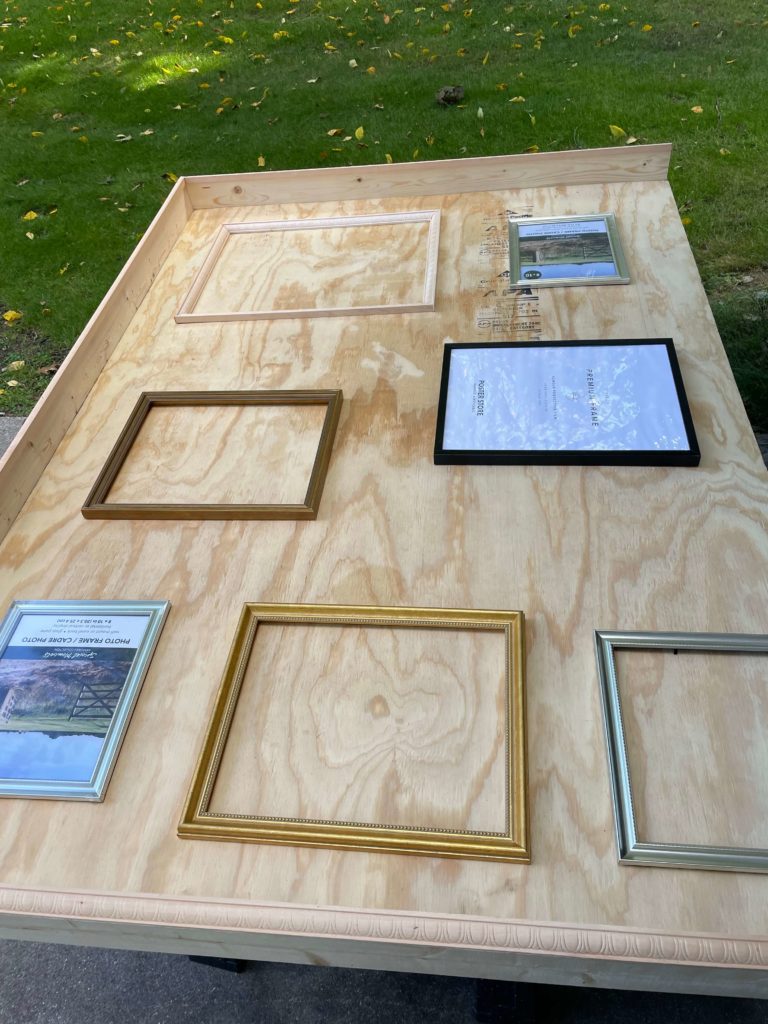
While looking at ideas for a pattern, I found a few empty old frames I used in the wedding decor a few years ago when my daughter married. As soon as I saw them, I knew what I wanted to do.
We needed more frames than we had, so I used some leftover moulding to make a few more frames, and then I made a quick stop at the dollar store to pick up a few more.
I laid the frames on the plywood to get the pattern I liked.
Attaching the frames
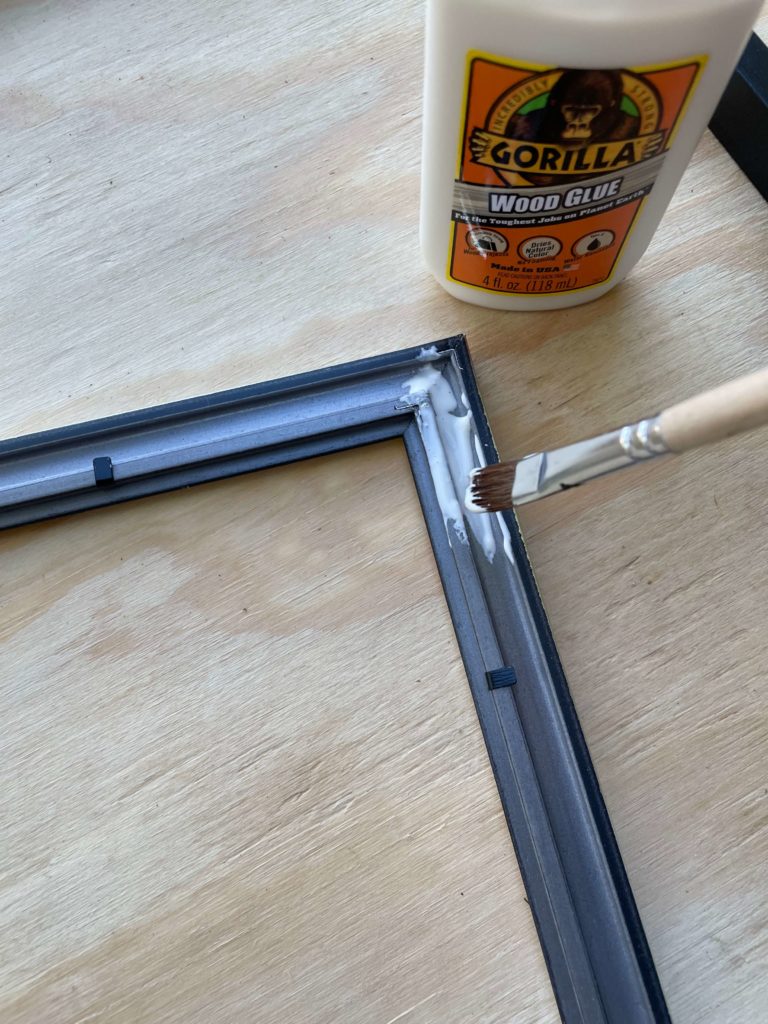
I used wood glue to attach the frames by covering the edges generously with an artist’s paintbrush.
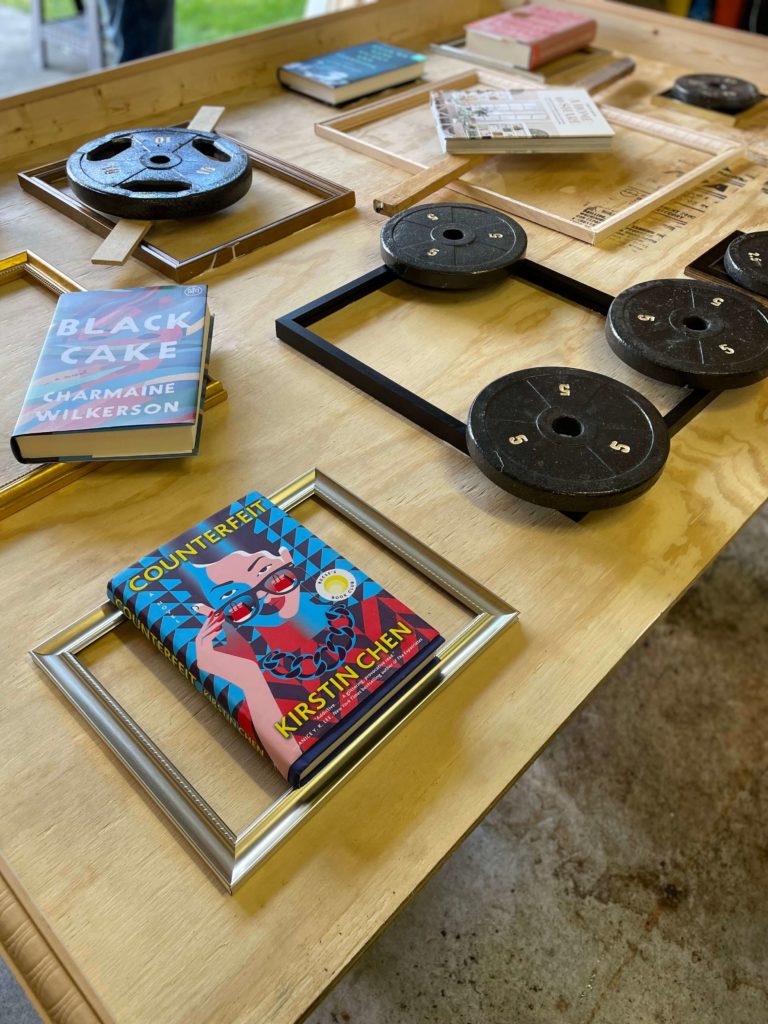
Next, I weighted the frames down and let them set overnight for the glue to dry.
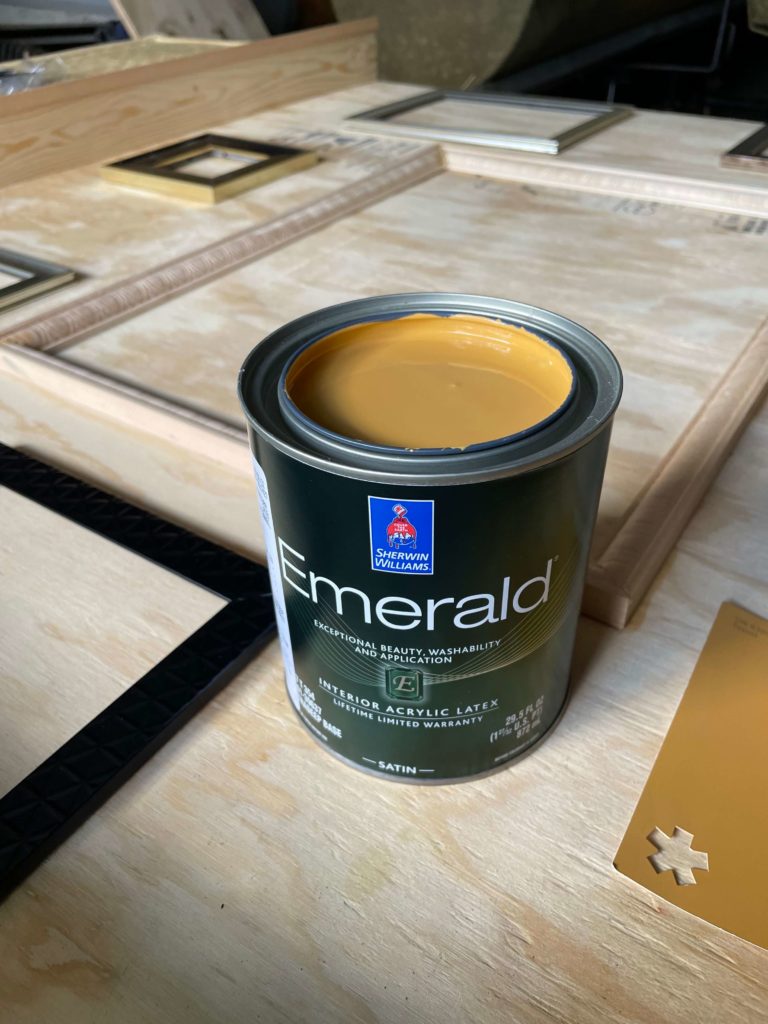
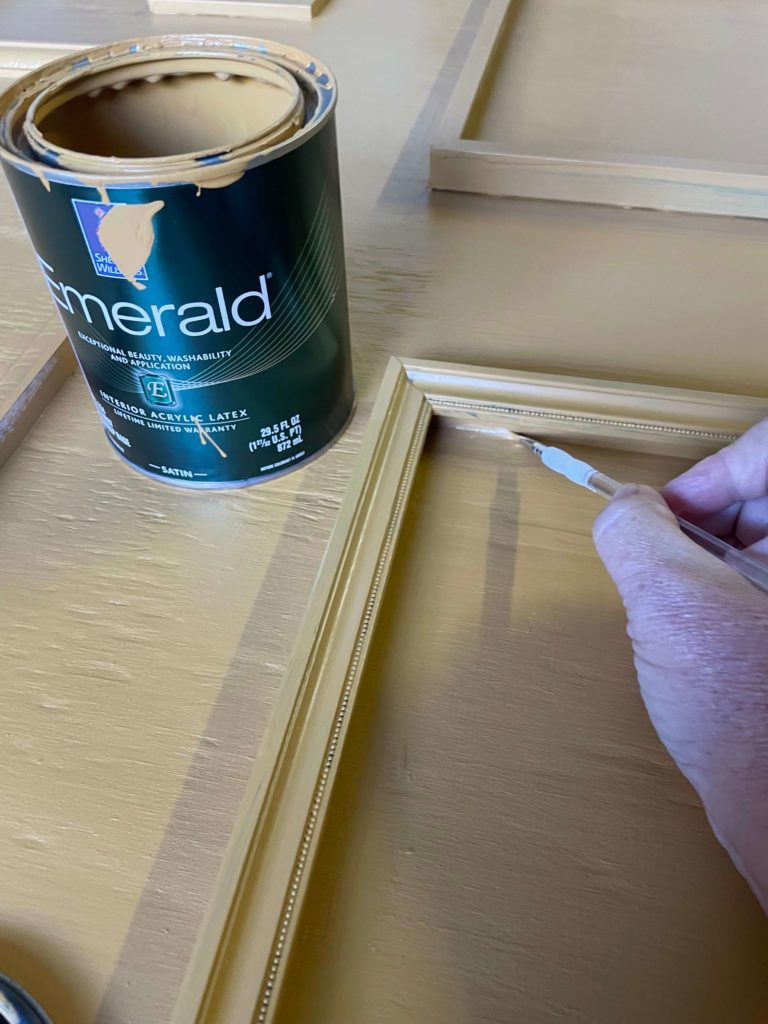
Painting the DIY Headboard
*This post contains affiliate links.
Using a smaller artist’s brush, I got in all the nooks and crannies.
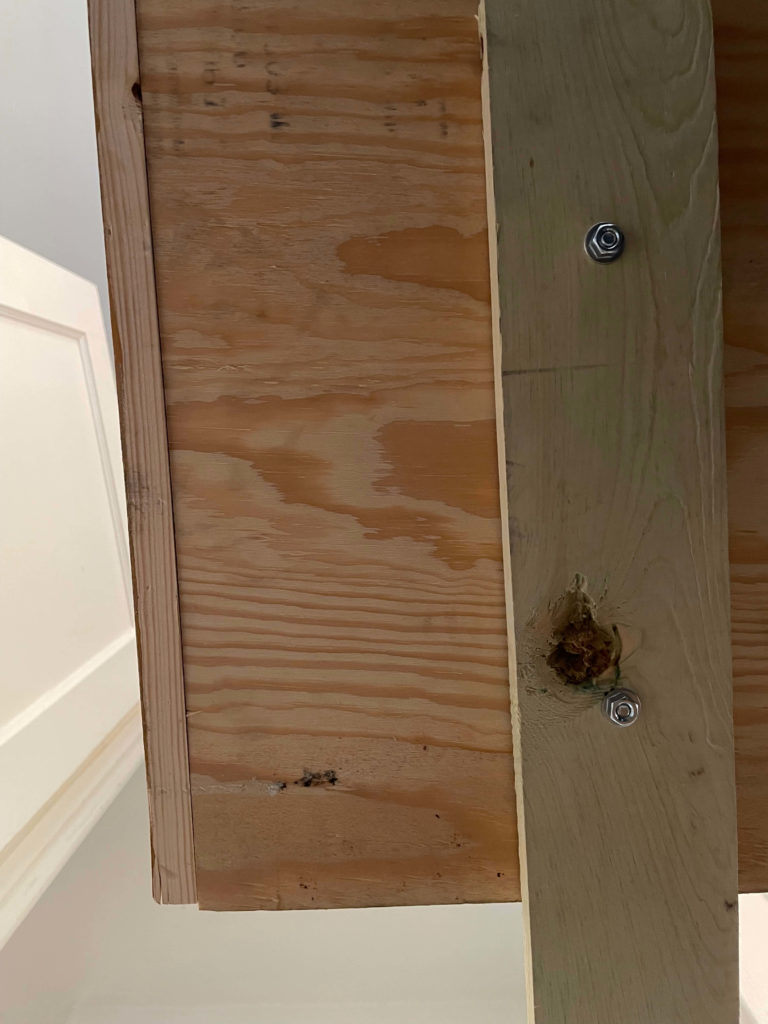
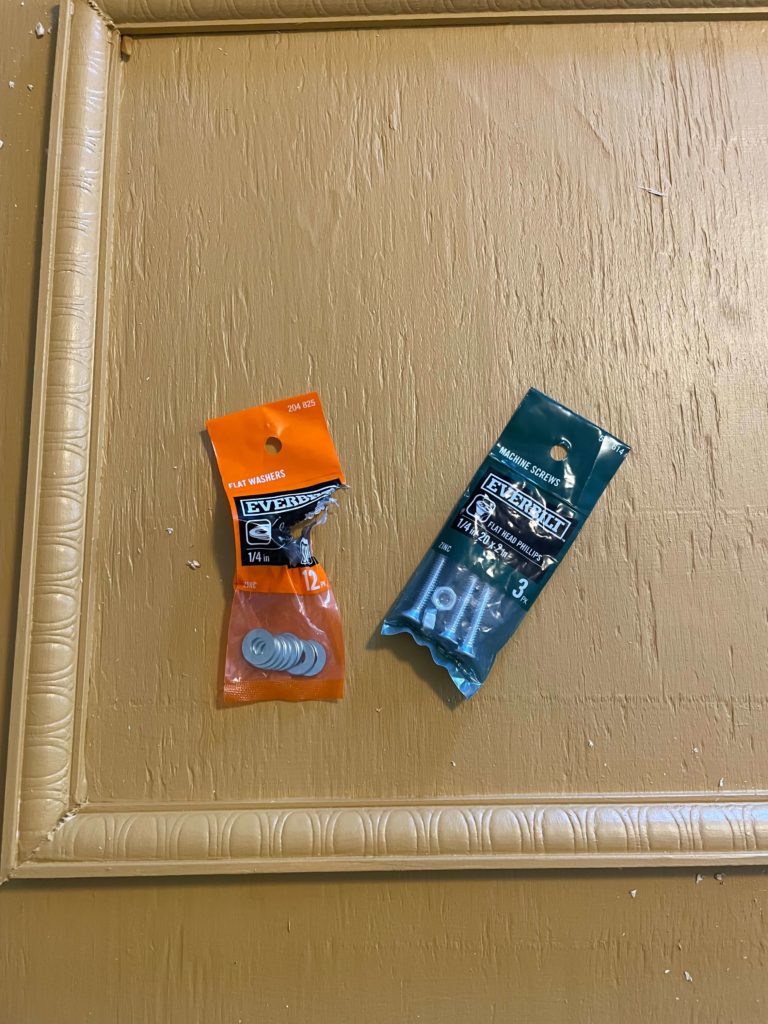
Adding the legs
We needed some support as the frame is pretty heavy. I measured the bed frame height and measured out 1 x 2’s and then attached them to the DIY headboard.
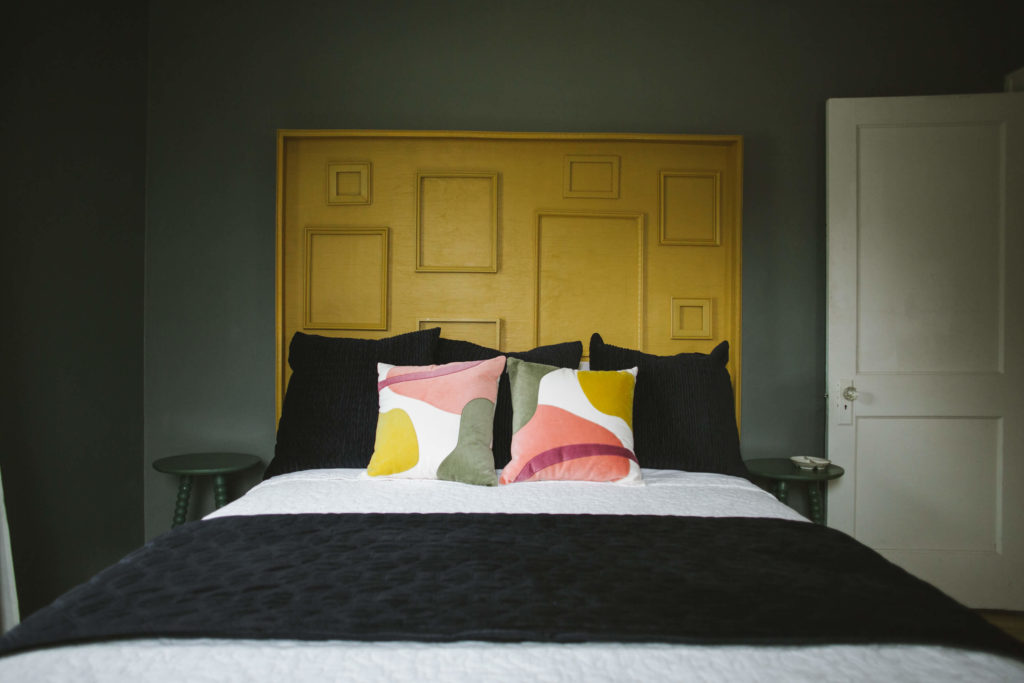
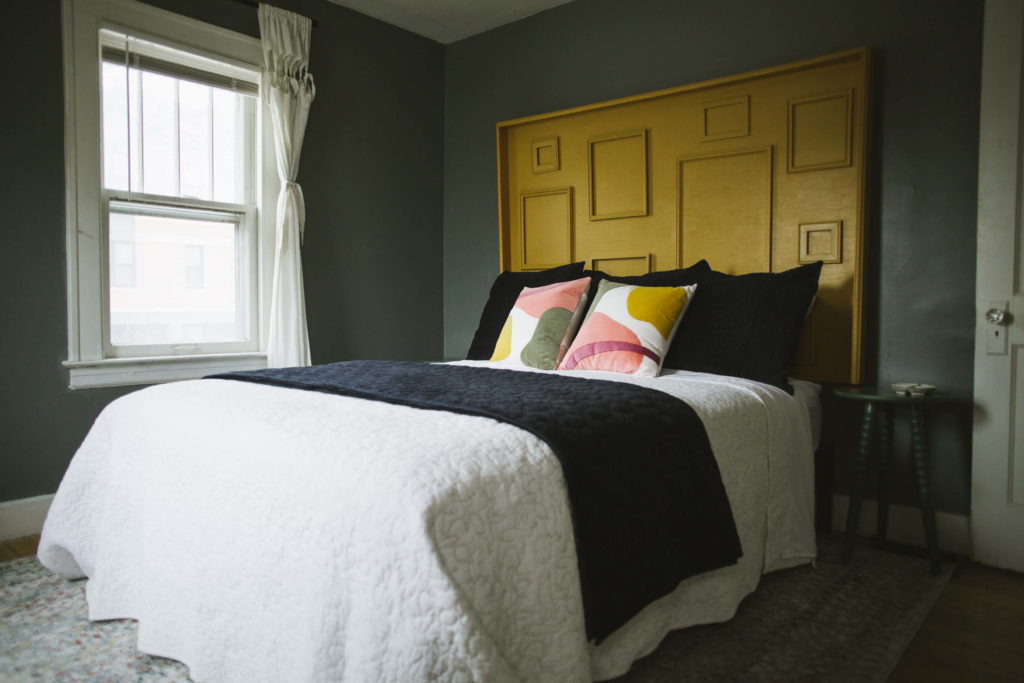
Finally, we attached it to the wall for the safety of our guests.

Materials I used:
- Plywood
- 1 x 2’s
- Moulding
- Dollar Store Frames
- Wood Glue
- Paint
- Artist Brushes
That’s it, and it was easier than I thought it would be. It took about four days because of the glue and paint drying time. I LOVE how it turned out.
Shop this post here:

What do you think? Do you like it? Let me know in the comments.
Until next time,
-Libbie
You may also like the following:

This is amazing! I love not only how it looks but also the inspiration behind it and how easy it was to pull off. I am in the market for a new headboard for my guestroom and if I can’t find something I like by the first of the year I might have to borrow this idea. Pinned and this post will be a feature this week as well. #HomeMattersParty
[…] DIY Headboard from Plywood because we still have yet to decorate our master bedroom since we moved to our new home! […]
Brilliant headboard idea and I love the color!
[…] Source link […]
I love this idea and the color you used!
Love it! This will be my next project 🙂