

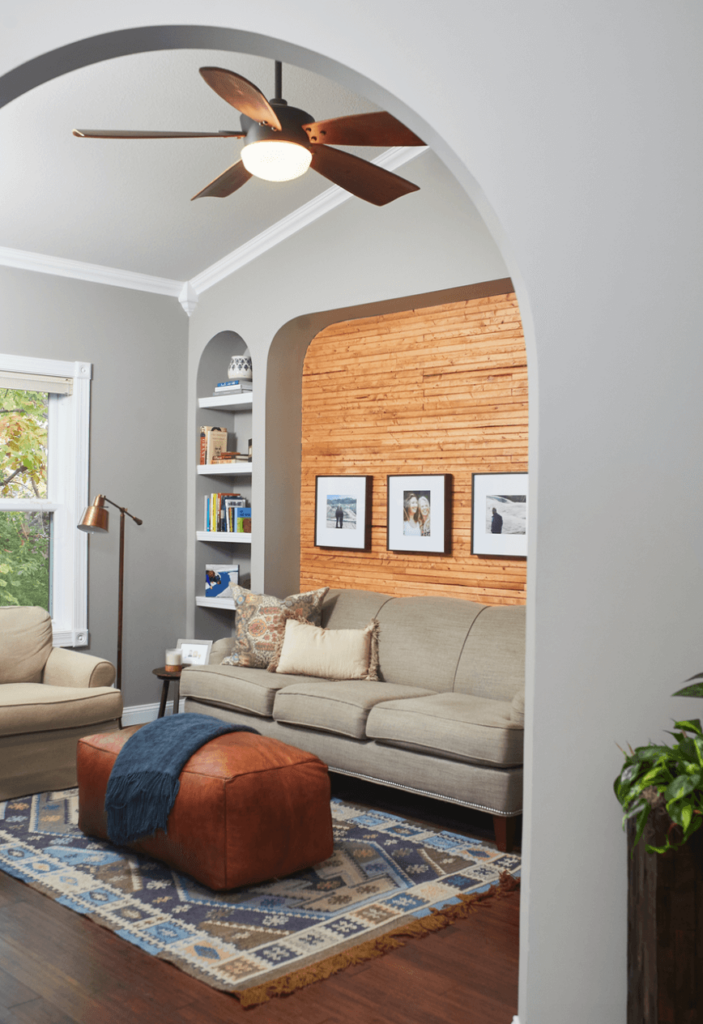
We have been putting our personal touch on the Lake House we bought last fall. The house boasts soaring ceilings and an open floor plan that we love. Though the house was built in 2004, the actual plans were designed sometime during the 90s. The original owners loved the floor plan so much that they built an identical house when they moved from Florida! Talk about some serious house love. One of the things that was driving me crazy was a wall niche in the Den. It’s a tiny space to begin with, and the layout is such that the sofa has to sit inside this niche (don’t get me started on the 90s trend of weird niches). We decided to update our 90’s niche with a slatted wood wall.
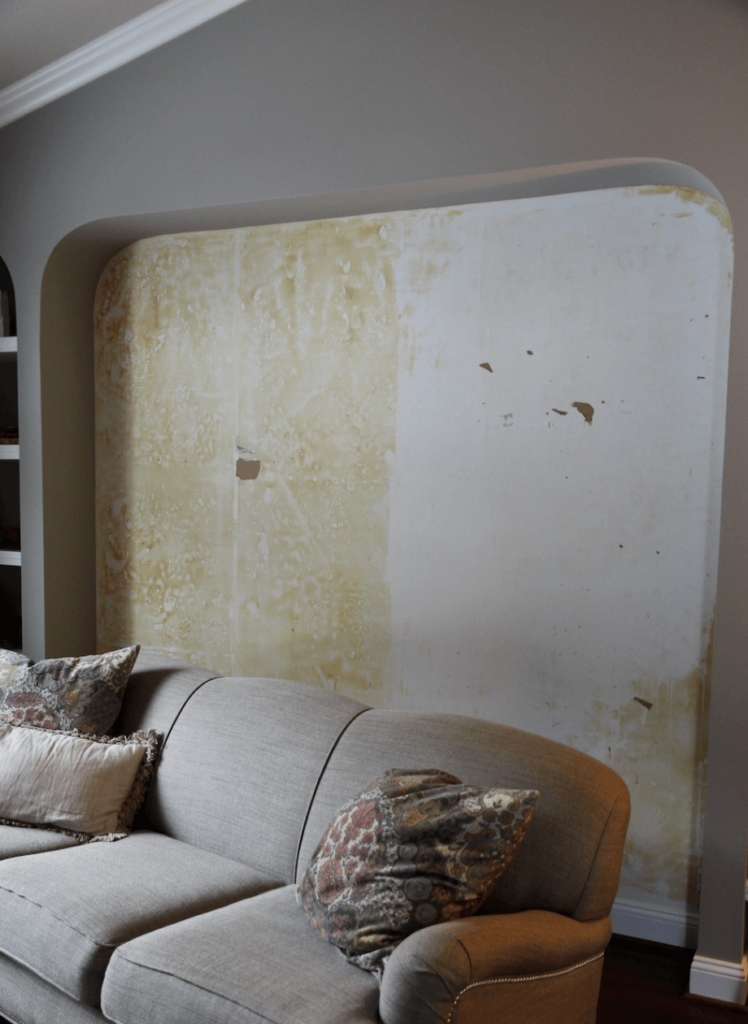
Here is a photo of the room when it we bought it.

Choosing Material for an Accent Wall
The main thing I wanted for this space was to make it feel a bit more updated. So off on a Pinterest binge I went.
Do you follow me on Pinterest? I am quite a fan. 🙂
*images are from Pinterest but were not attributed.

Wallpaper seemed like a quick solution and I do love a good grasscloth. I was looking for texture but still having nightmares about removing the Coca Cola wallpaper I took out of the rental unit (previous post). I also considered some sort of trellis or bamboo for texture. We wanted to stay away from another pallet wall as we been there done that with the wood walls and then I saw this on Fixer Upper.
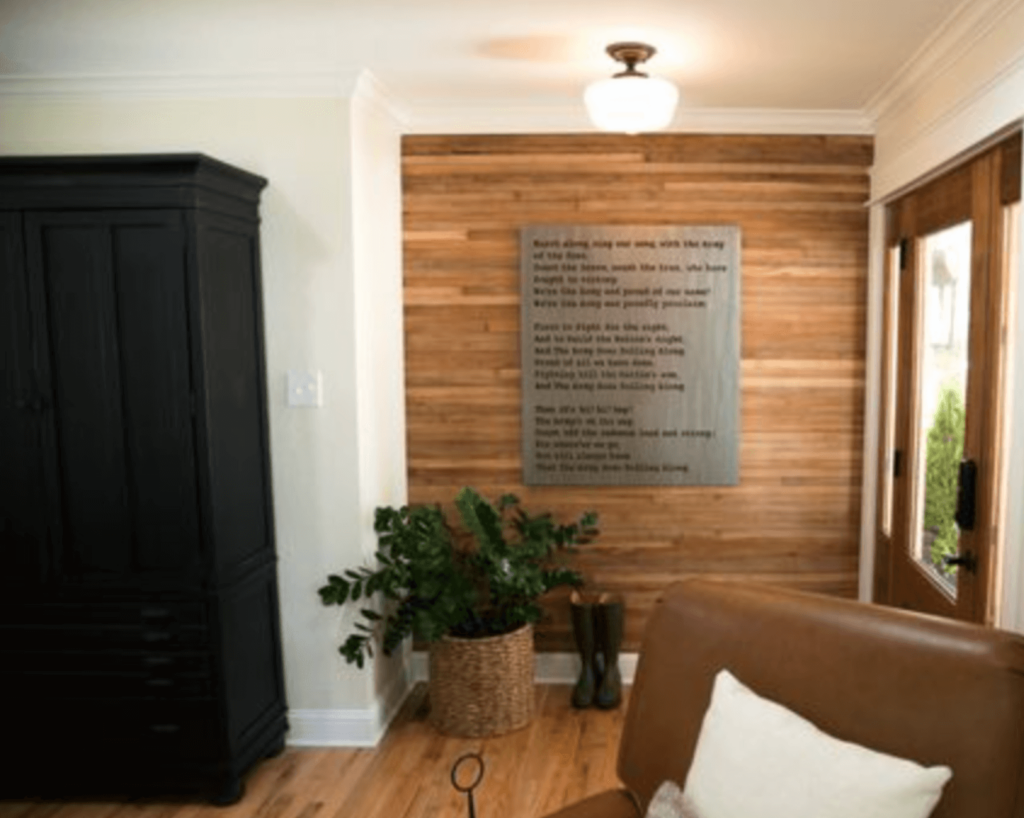
I was watching Fixer Upper (alone with my wine and popcorn) that I shouted that’s it!!! I then waited for Dave to come home and made him watch. He lives for this stuff. 🙂 I left the idea to marinate for a bit so wasn’t pushing or anything when the very next Saturday Dave woke up and said: “hey, do you want to work on that wall you showed me today”? Um, YES!
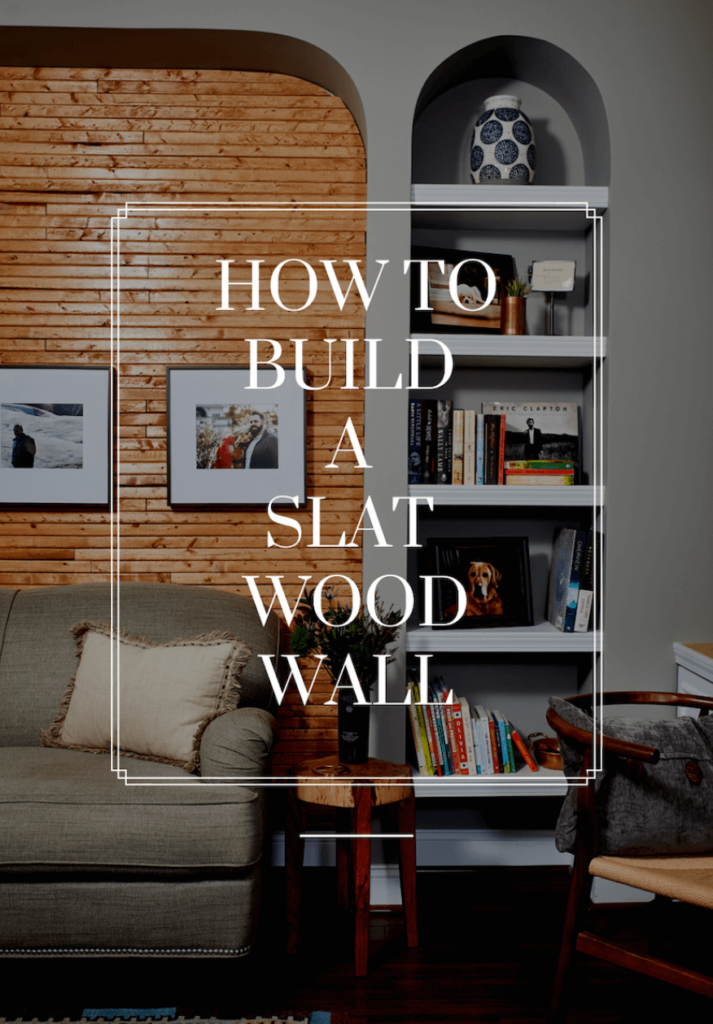
Building a Slatted Wall
First I stripped off the wallpaper. That 90’s wallpaper glue was something!
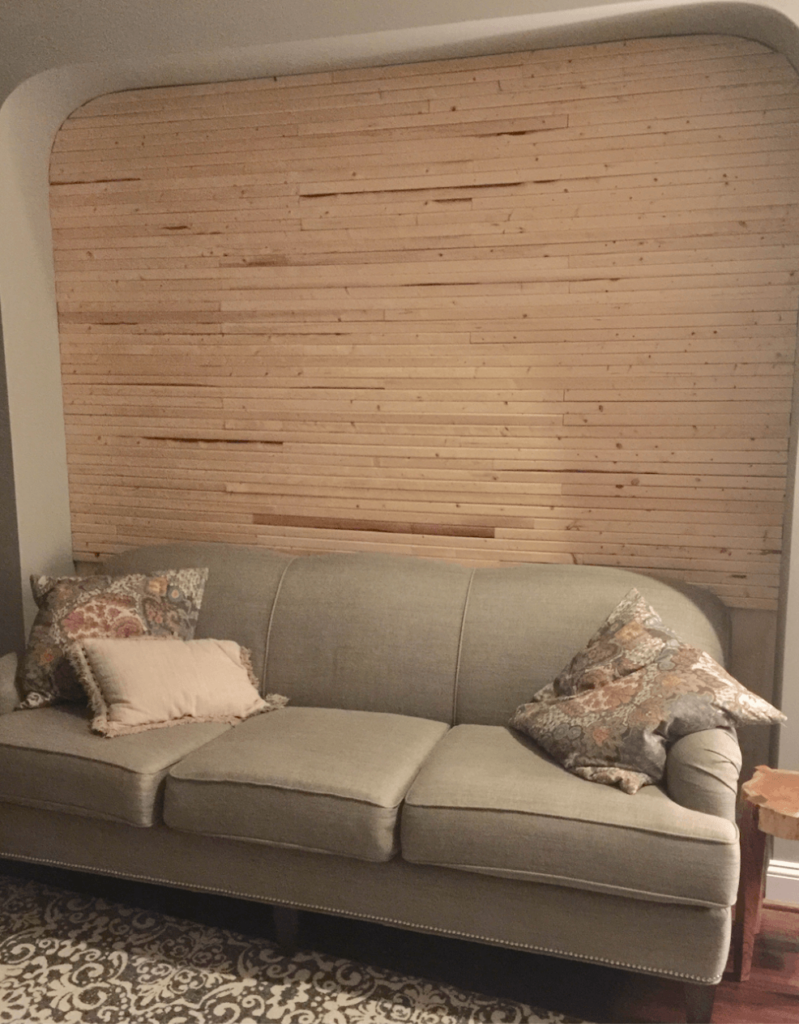
The wall itself was relatively straightforward, though it took a bit longer than our previous wall projects. We used 1 x 2s, which are actually 1 x 1.5 inches, and randomly nailed them directly to the wall with our pneumatic nail gun. The tricky part for Dave was the curve at the top. He created a template and used it to guide his cuts, which worked perfectly. Now, here’s a tip: do as I say, not as I did. I didn’t stain the boards beforehand. Why, you ask? Two reasons. First, I was considering leaving the wall natural and simply sealing it. Second, and more importantly, because my husband woke up on a Saturday morning and declared that we were going to work on the wall without any prior discussion! I’m not one to slow down momentum over minor details like staining, folks! However, if I could do it over, I would stain the boards beforehand. It was challenging to avoid getting stain all over.
I used Minwax’s Cherry stain, which I adore. We’ll add a coat of polyurethane next weekend.
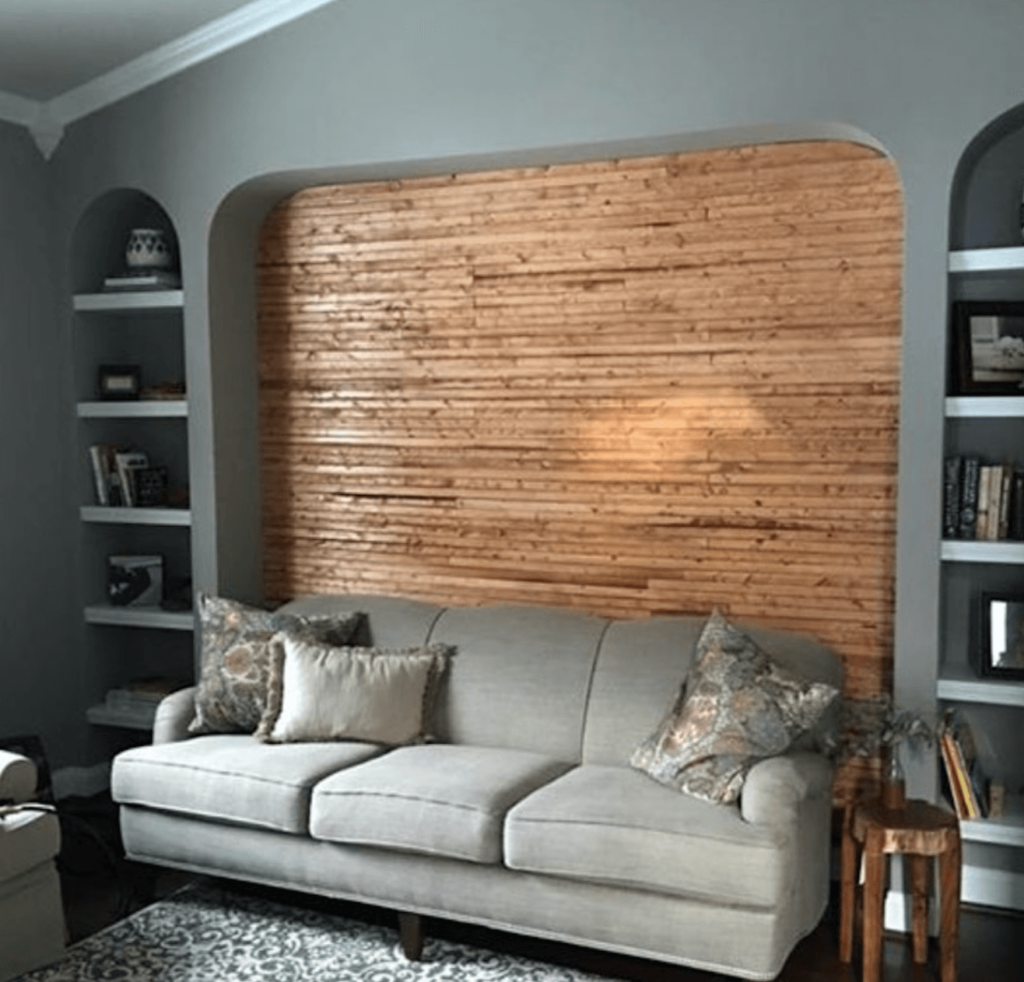
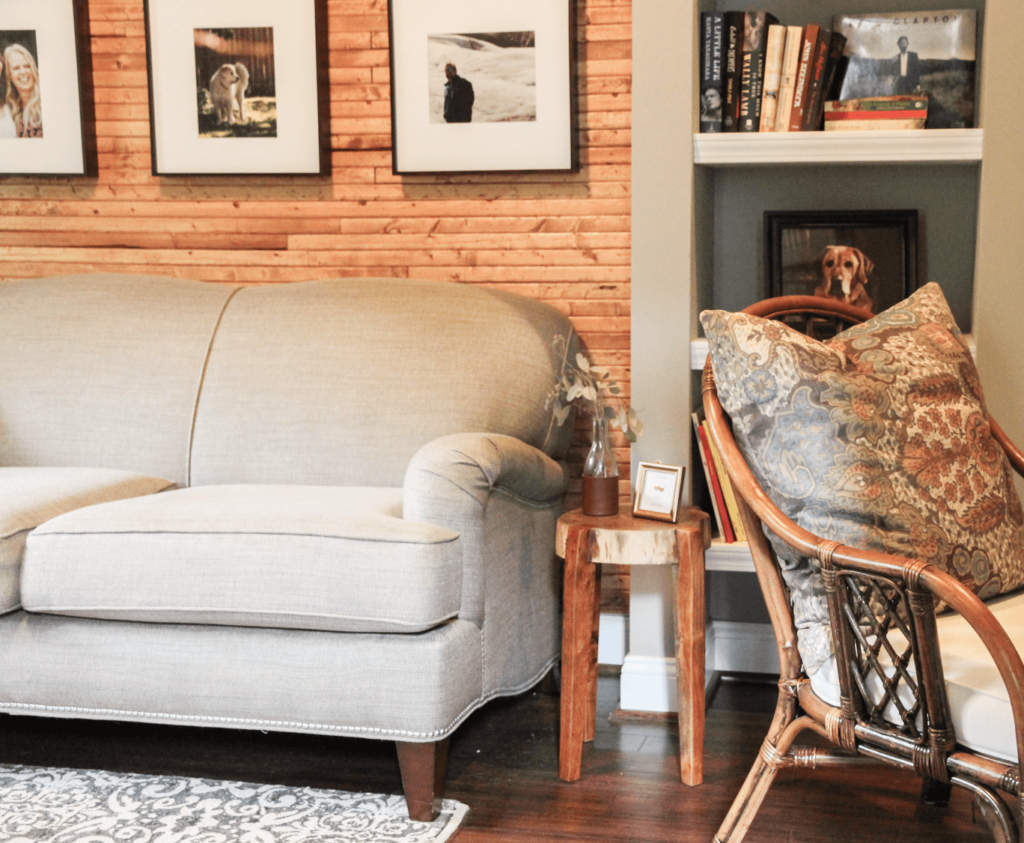
And tada, the finished wall!
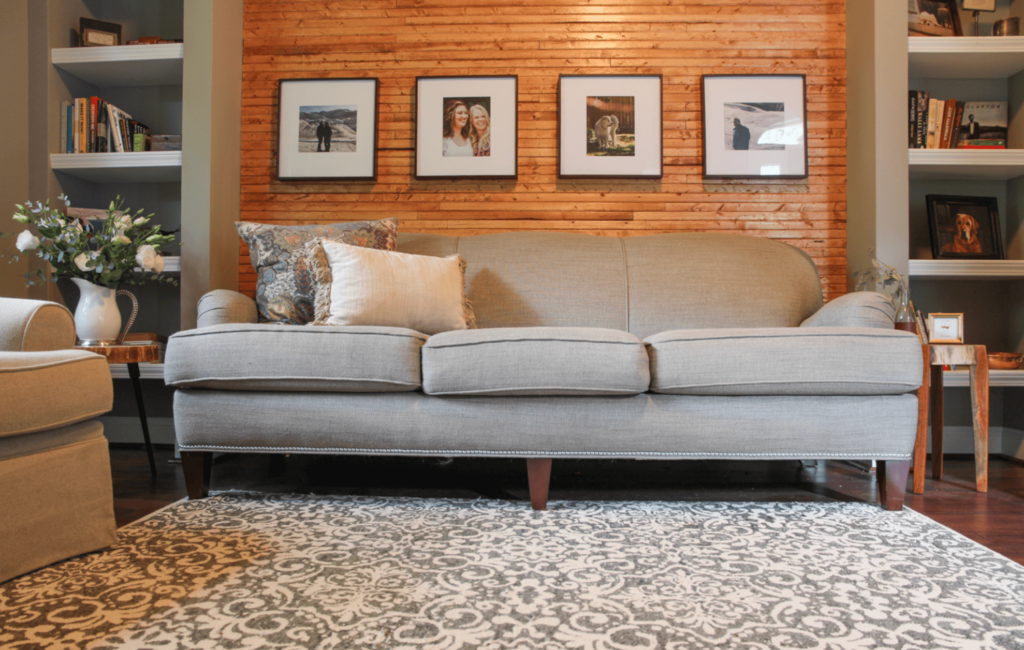
What do you think? Would you build a slatted wood wall in a niche?
Until next time,
Libbie
You may also enjoy the following:

you guys sound like my husband and I. There are son anybthings that we changed in our house and they all started with me having or getting ideas from Houzz Pinterest etc and him getting stuck doing it. We did a lot of the renos in our house ourselves. Great job on the wall though what a change!!!! 👌👍
LOL. My husband loves the words "hey honey, I have an idea". 🙂 Thanks for stopping by the blog!
This is beautiful! I love it!
[…] 11. Add wood to the back wall. Look at how a DIY wood treatment transformed this 90’s niche at A Life Unfolding! […]