
I am excited for Mother’s Day weekend this year. Once again, my daughters are expecting babies, and it just makes it feel extra special. Today, I am popping in with an easy way to create a lovely and heartfelt gift for your mom, grandma, daughter (or special person). Let’s upscale those traditional Mother’s Day bouquets into a DIY floral arrangement. It’s easy, and she will love that you made it yourself. You don’t need to be a professional florist to create something beautiful. With a bit of planning and this easy-to-follow guide, you can create the perfect gift, a one-of-a-kind arrangement with Mom’s favorite flowers in her favorite colors.
*This post contains affiliate links

Getting started:
To start your Mother’s Day floral arrangement, gather the following tools:
- Scissors
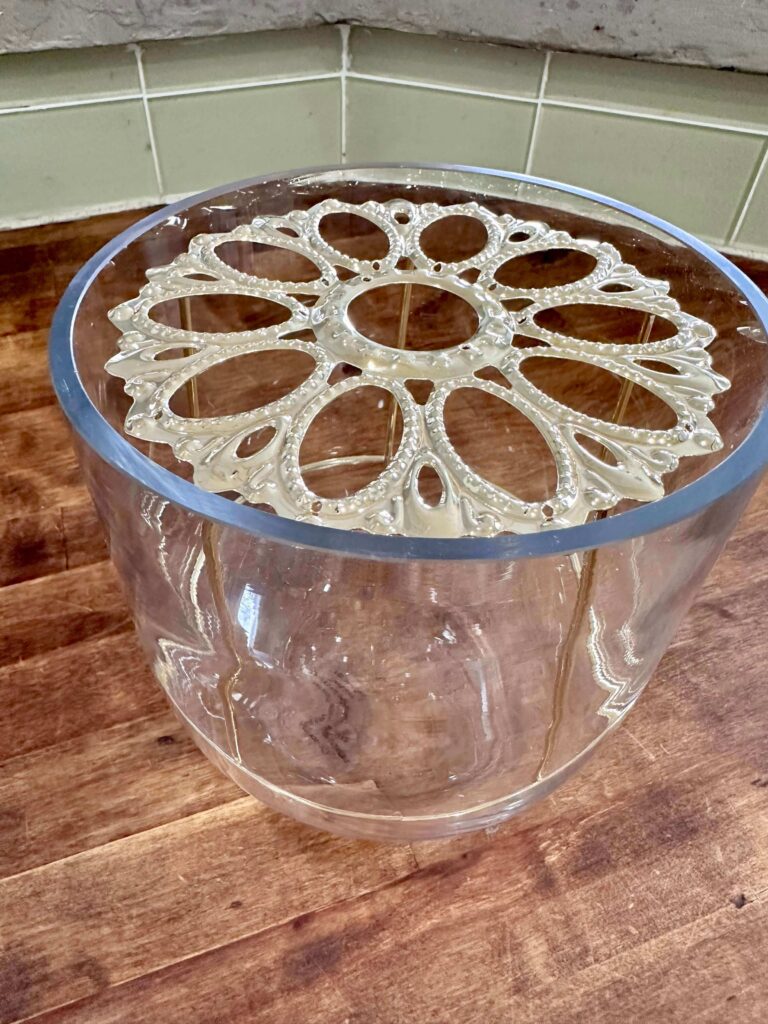
- Metal Flower Grid– The most important tool for designing your DIY floral arrangements
- Vase or vessel
- Flower Food
Choosing your Flowers:
The flower choices are totally up to you. I kept things simple by choosing one of the beautiful bouquets from my neighborhood grocery store. Some of the most popular flowers for mother’s day are yellow roses, pink tulips, and pink carnation. This is the perfect opportunity to show Mom that you remember HER favorites. Does she like bright colors? Or something more unusual (I am a fan of Protea). Just keep in mind the best flowers are going to be fresh, and you can’t go wrong if you choose your mom’s favorite color!
- Pink Roses
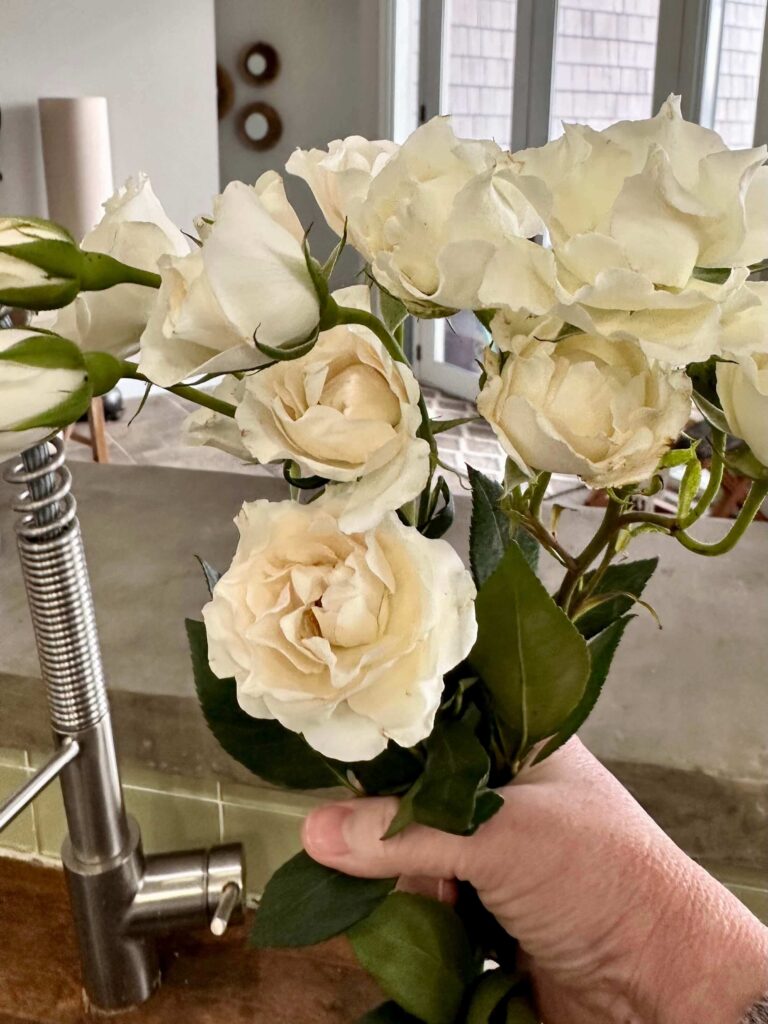
- White Spray Roses
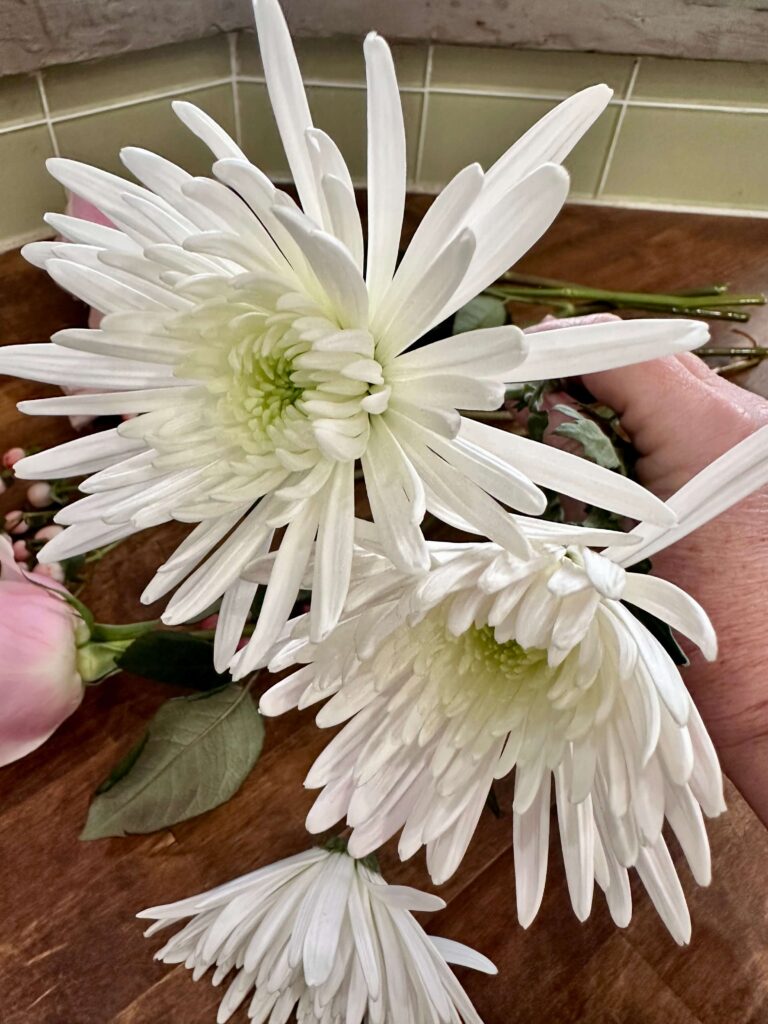
- White Fuji Mums
- Hypericum (look like pink berries)
- Brillantina Greens

Arranging your Flowers:
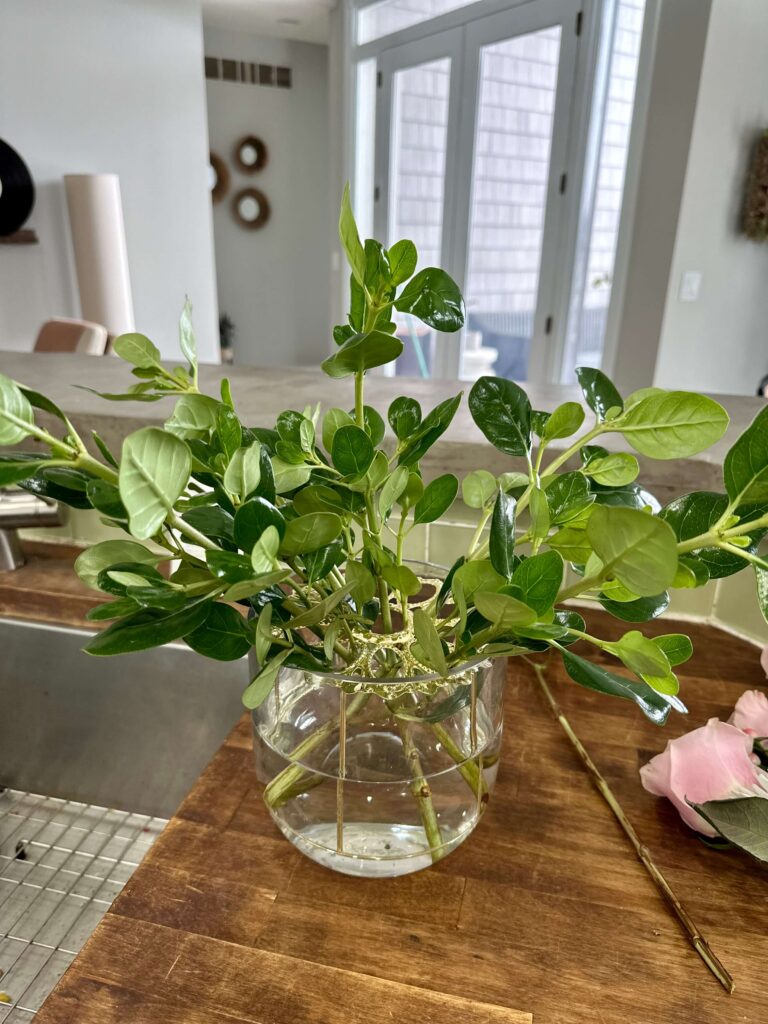
Begin by filling your vase with cool water and add your favorite floral preservative. My biggest tip for those just learning to arrange flowers is to use a grid. You can do this in several ways. You can use green floral tape and make a grid (even scotch tape will work in a pinch. However, I prefer using these metal grids to add more structure to my fresh flower arrangements. This handy tool will provide a stable base to hold your flowers in place, allowing you to create a more professional and balanced design. They are especially helpful if you are using heavier blooms like hydrangeas or peonies or longer-stemmed flowers like tulips.
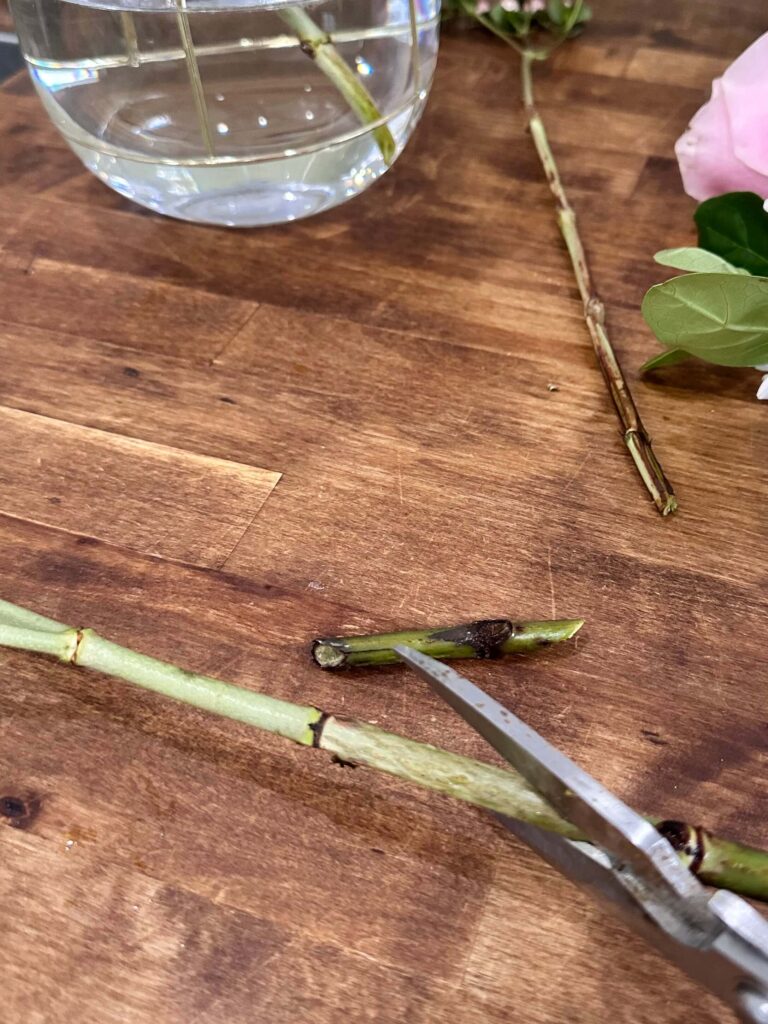
I like to begin with the greenery. Give each stem a fresh cut at an angle to ensure it can absorb fresh water.
Then, begin to fill in your grid with your greenery.
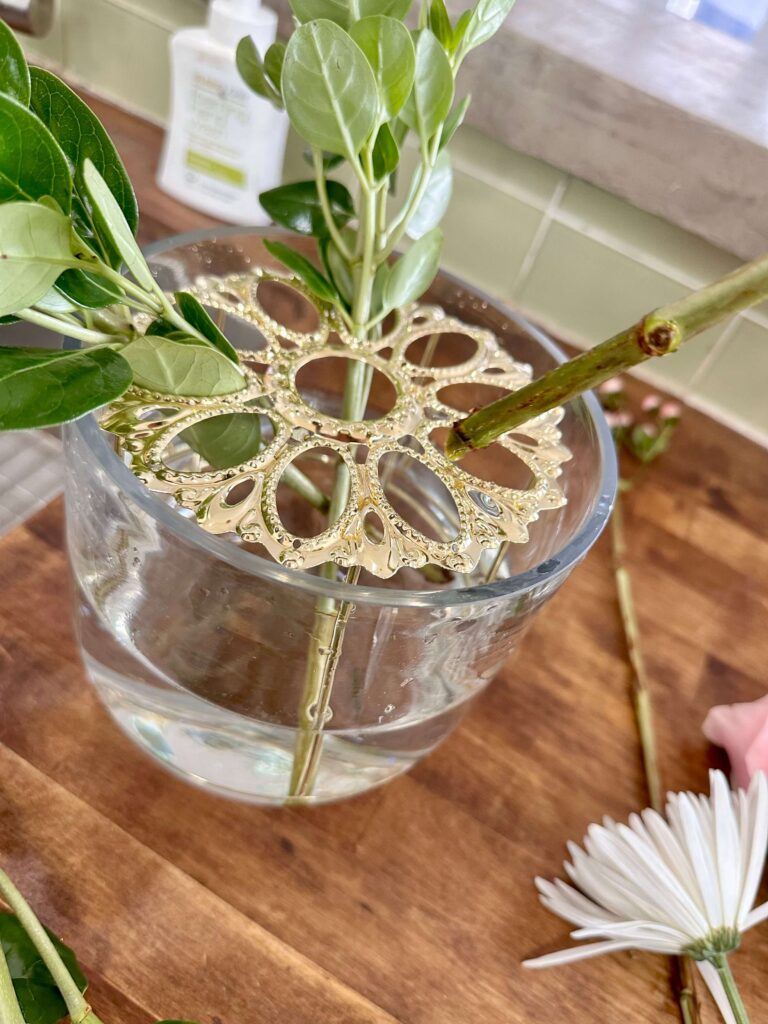
Work your way around the grid, filling it in with the greenery and turning the vase as you go.
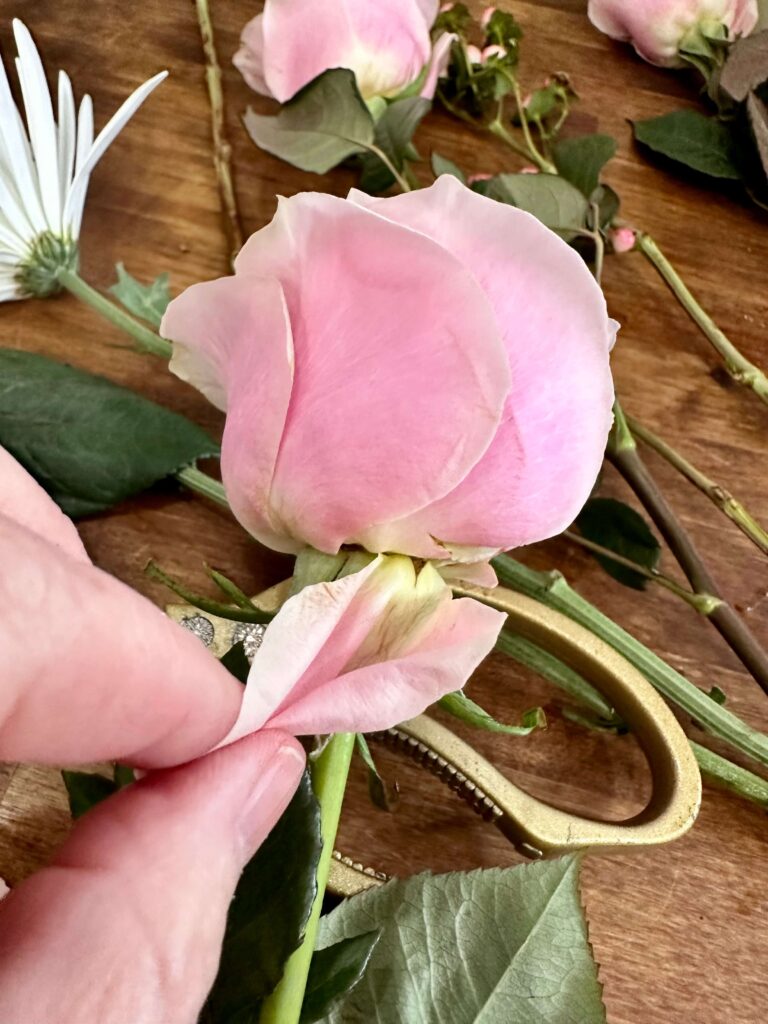
Next, choose your primary flower or the largest flower in your bouquet. Mine are the pink garden roses. With roses, you are going to want to pull off any guard petals—those are the petals they leave on to prevent damage in the shipping process. They may look “old” or “bruised.” No worries; they are fine. To remove them, gently pull the petals from the bottom and discard them.
Place your roses into the grid, spacing them evenly apart.
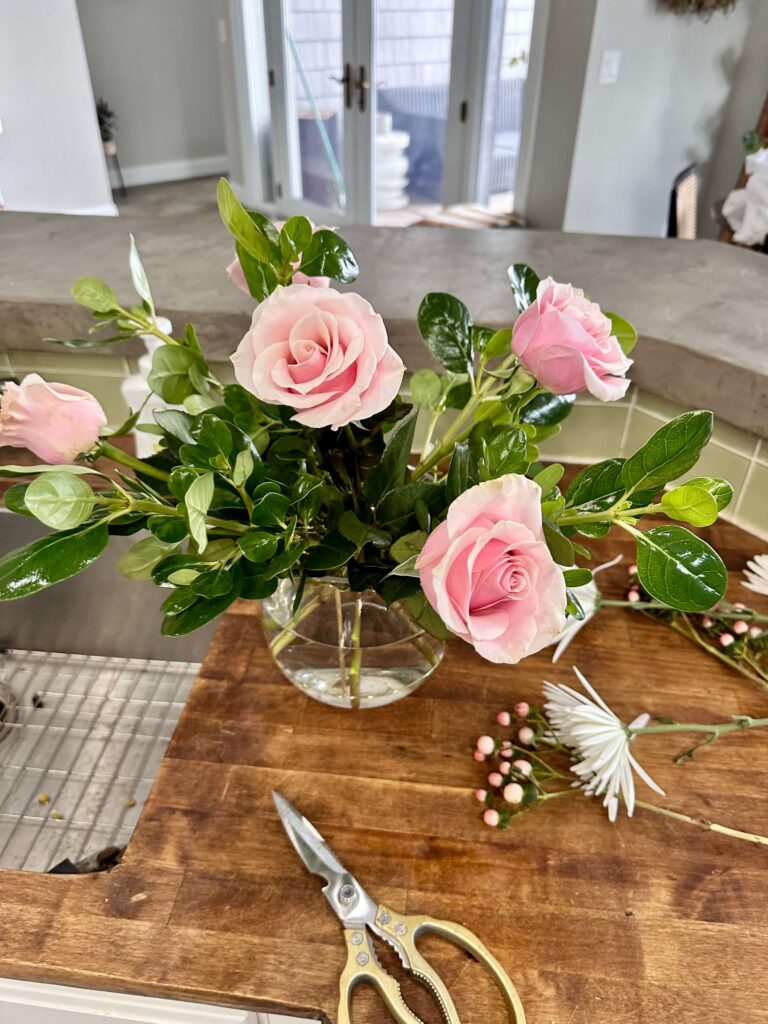
Next up, I am adding my white spray roses that will being to fill in the gaps.
I placed my spray roses between the pink roses. Then I added the white fuji mums—I love these; they are very long-lasting flowers.
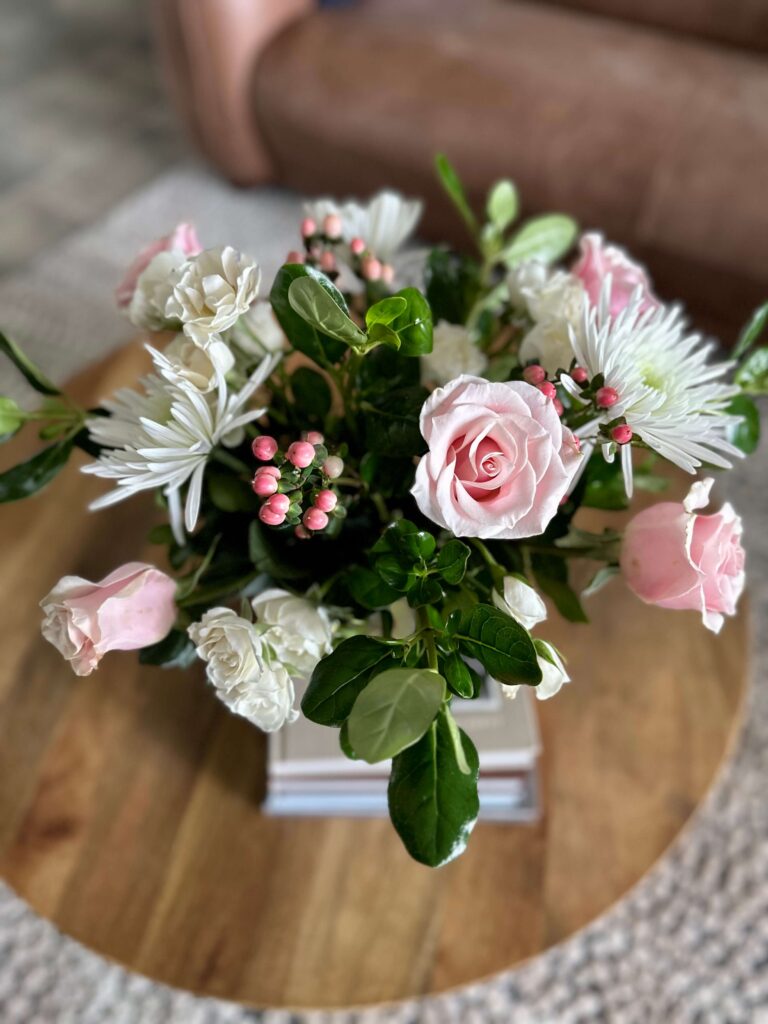
Once the Fuji mums were added, I added the Hypericum and additional greens to fill everything out. A great way to ensure that your arrangement is symmetrical is to keep turning it as you add flowers.
Tada!
A Few Tips for a Beautiful Arrangement:
- If your roses are very tight and you would like them to be more open, hold the rose petals up under warm water.
- Change the water daily. It will make a difference in how long they last.
- Once some of the blooms start to fade take out the greenery-which can last weeks, and any blooms that still look fresh and place them in a smaller vase to enjoy even longer.
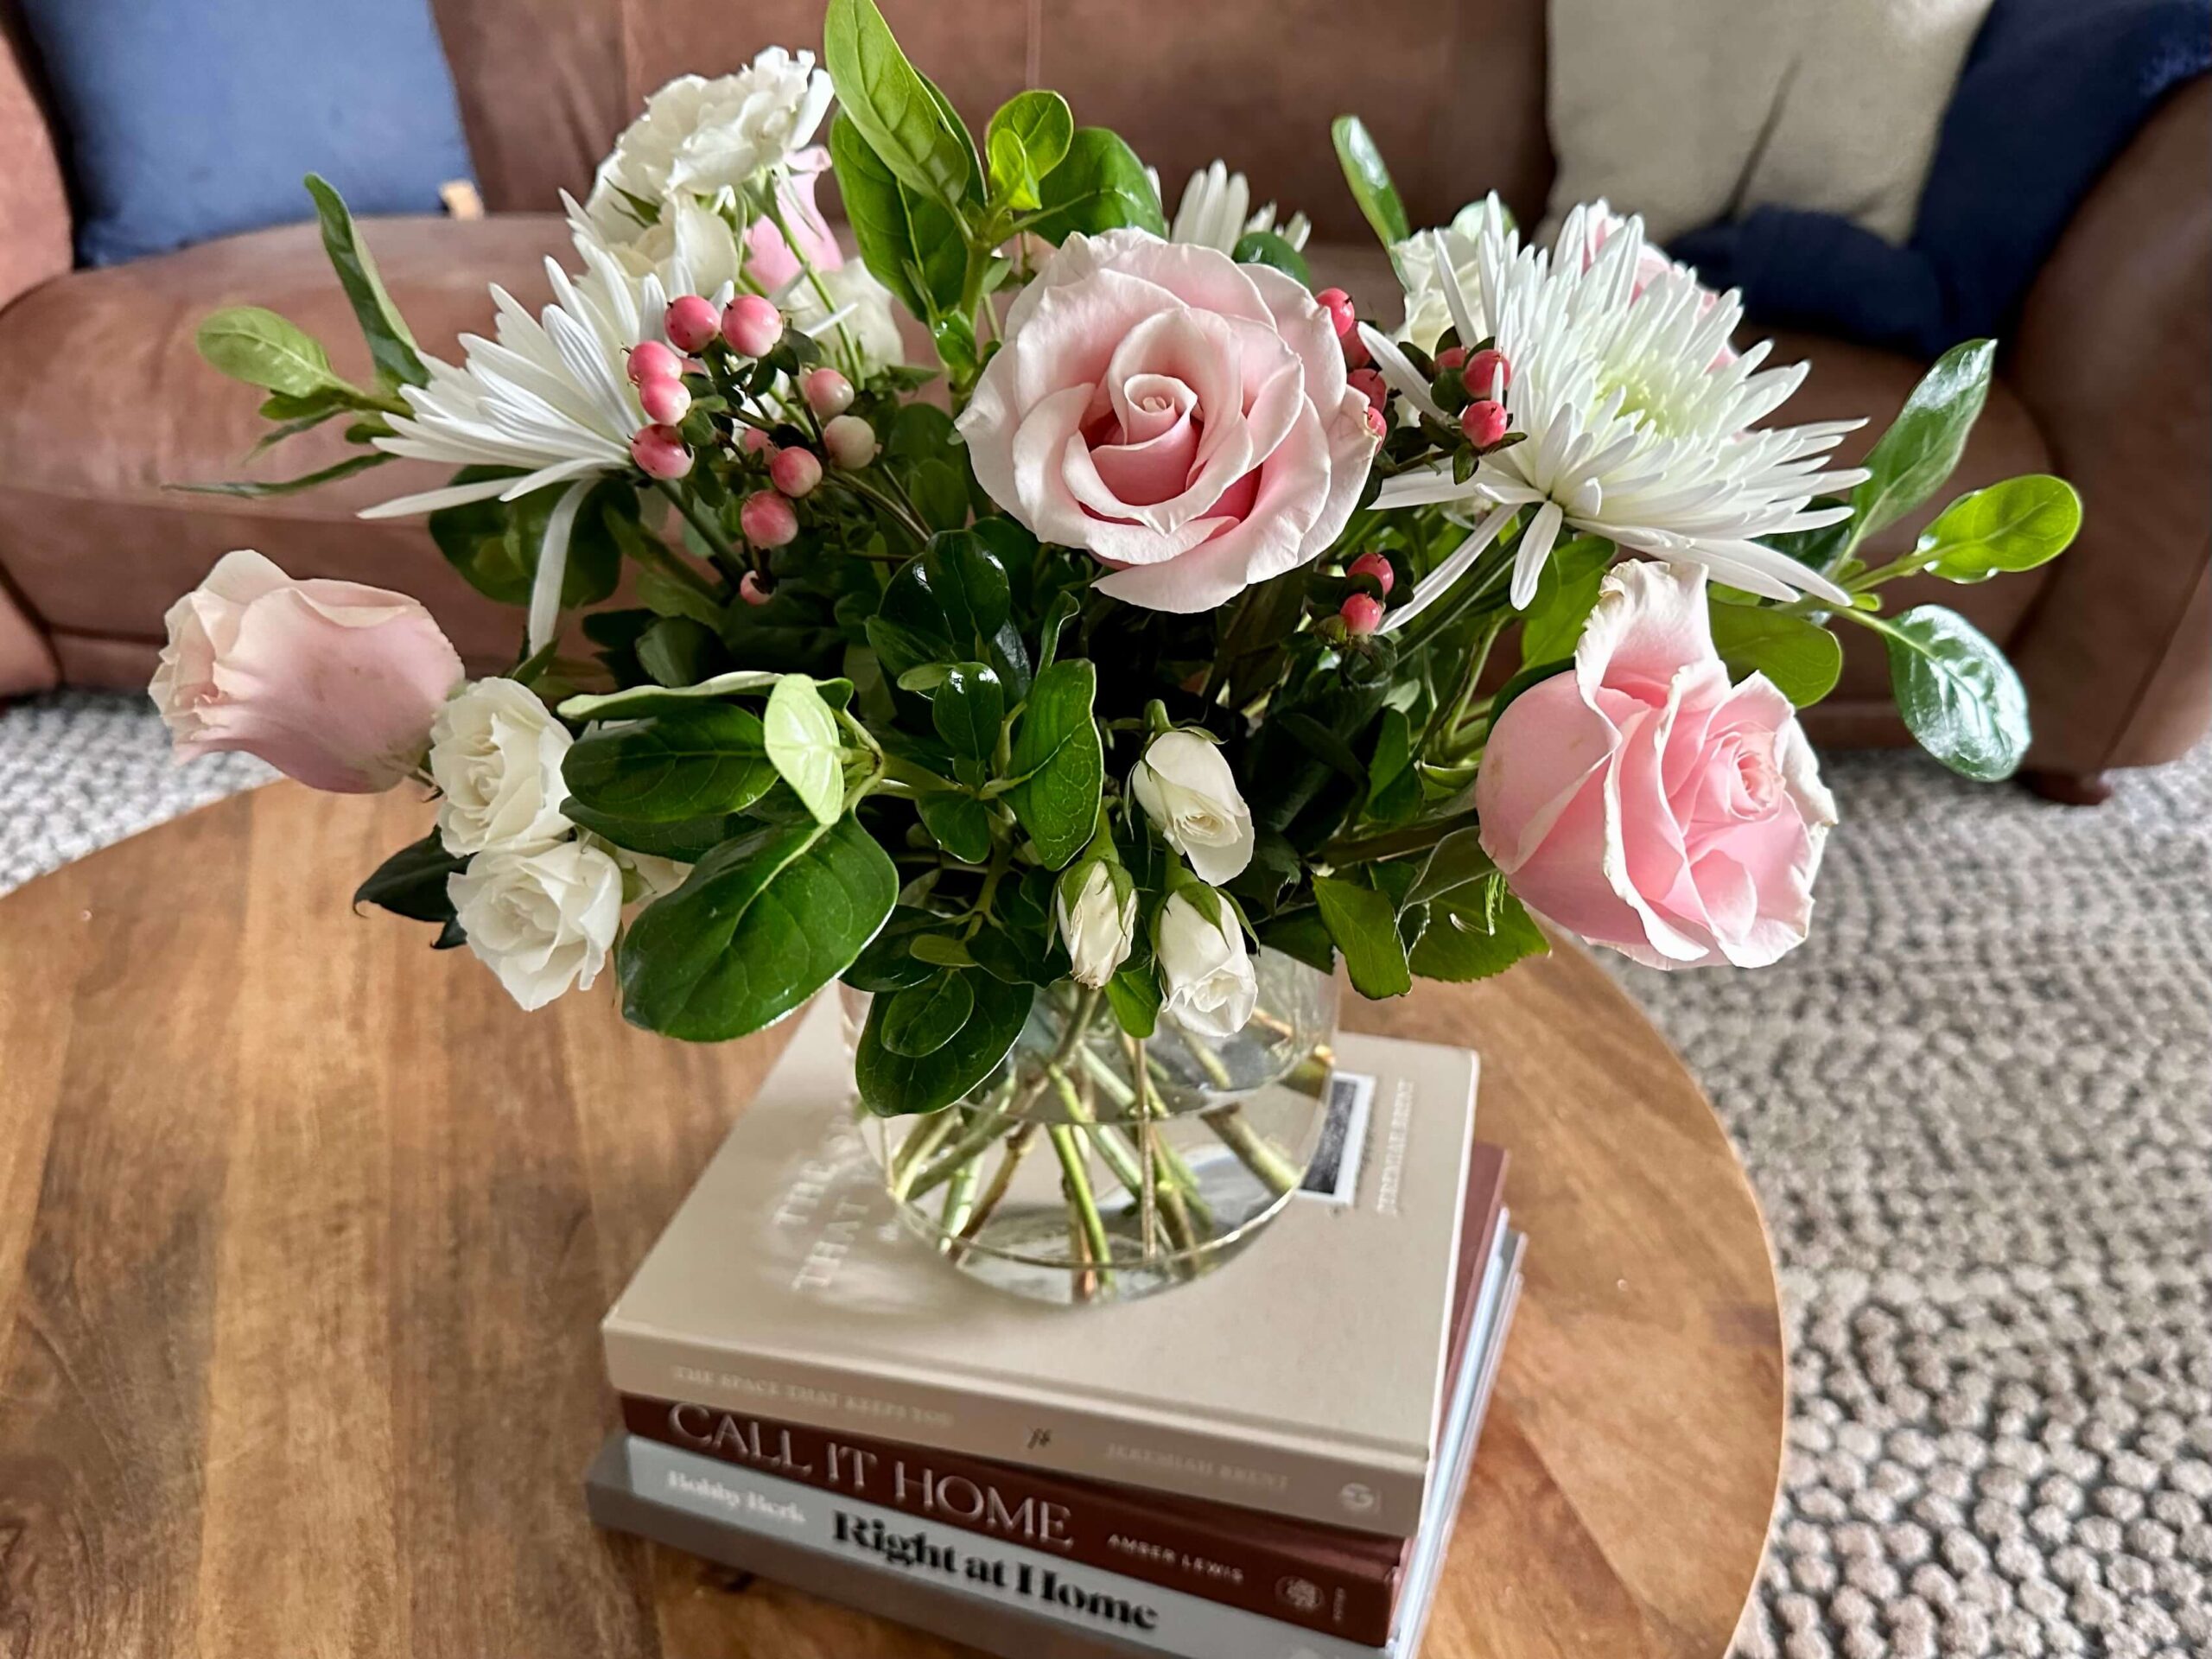
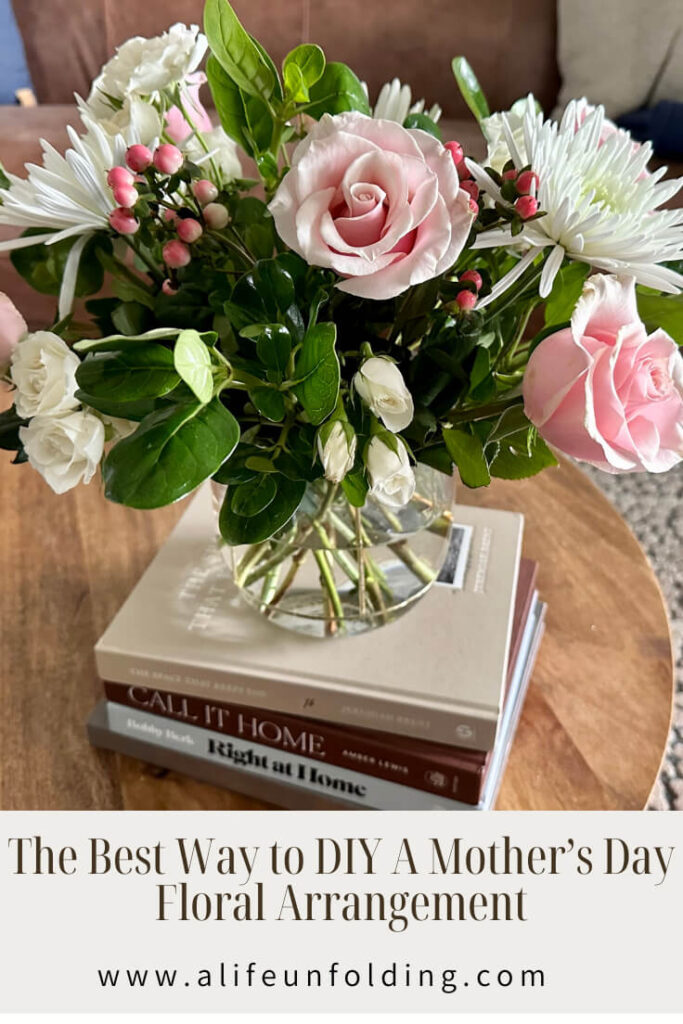
Mother’s Day Floral Arrangement:
Finally, add a handwritten note that you can tuck into the flowers, and you have a lovely handmade Mother’s Day gift for her special day!
Will you give it a try? If so, please send me pics and let me know what your mom, grandma, or daughter thinks!
And today I have a BONUS for you! How about a Spring Blog Hop!!

I love this time of year with Spring celebrations everywhere and I am excited to be participating with a talented group of bloggers in a Mother’s Day/Spring Celebrations blog hop. Thank you to Carol from Blue Sky at Home for gathering us together and a warm welcome if you are visiting from the blog Masterpieces of My Life and my friend MaryJo. Weren’t her candles a lovely gift idea!?!?! Next up is Kristy from At Home with Kristy and she is sharing a beautiful Spring tablescape. Let’s get this party started!


Until next time,
-Libbie
You may also enjoy:
Surprise Your Neighbors with May Day Flowers
How to create a simple Spring Bulb Flower Arrangement
How to DIY A Summer Citrus and Flower Arrangement
White flowers add a touch of romance to your Flower Arrangements

Gorgeous and perfect for Mother’s Day! I’m delighted to be featuring your post at the EXTRA BIG Tuesday Turn About this week! Pinned!
Libbie, this arrangement is so pretty and how special for you waiting on two babies. I’m waiting for my second grandbaby due in November… what exciting times!
Thank you for sharing your DIY Mother’s Day floral arrangement at Create, Bake, Grow & Gather this week. I’m delighted to be featuring it at Friday’s party and pinning too.
Hugs ~ Kerryanne
Thank you, Kerryanne! 🙂
Lovely arrangement Libbie and great step by step. Great sharing with you today & have a lovely day. XO- MaryJo
Beautiful floral arrangement! Even your metal flower grid is gorgeous! I aways enjoy seeing what you do!
Libbie, your arrangement is gorgeous. I love the idea of the metal flower grid. Your process was so easy to follow and turned out beautifully. Thanks for sharing.
Libby, flower arranging can seem so intimidating! But you have really made this look simple. I’m headed to Trader Joe’s to try out my new found skills. Pinned!
Thanks, Sue!!
Beautiful floral arrangement, Libbie! It’s perfect for Mother’s Day! I love the detailed instructions too!
Thank you, Kristy!
Libbie, your Mother’s Day floral arrangement is gorgeous and you’ve given great instructions how to put it together. Love the metal flower frog is an awesome idea. Thanks for sharing this beautiful centerpiece for Mother’s Day.
Your floral arrangement is so very pretty! I love the colors! They are perfect for Mother’s Day. Using the grid is a great idea! Thanks for sharing your tips! Happy Spring!